Gear Reviews & Bundles
Razer Kiyo Pro Ultra Educational Setup: Document Streaming Bundle
21st May•15 min read
A streaming camera for church transforms your congregation's reach beyond physical walls, but only if it doesn't fall apart mid-service. The difference between a setup that works reliably and one that demands frantic troubleshooting is procedural clarity: knowing exactly which camera handles your specific venue, how to sync audio before the first hymn, and what failover protocol snaps into place when anything drifts. I've watched too many Sunday services stall because a camera auto-exposed into a bright window, or because someone didn't check that the backup camera was actually recording. The goal here isn't gear perfection; it's a worship service camera system that does its job invisibly so your production team (volunteer or paid) can focus on the service, not the tech.
Smooth hands, smooth scenes, zero mid-stream surprises ever.
Before you buy a camera, you need baseline data. Walk your sanctuary with a phone and measure three things.
Lighting Profile: Note the color temperature under windows, ambient fixtures, and any LED screens displaying lyrics or announcements. Most churches run a mix: tungsten house lights, daylight from windows, and RGB uplighting behind the pulpit. Your camera needs to hold skin tone consistency across this without exposure pulsing. Snap a reference photo on your phone using auto white balance at different times of service to establish whether your lighting stays stable or shifts across the hour. For practical fixes to balance mixed sanctuary lighting, see our streaming lighting setup guide.
Venue Depth and Field of View: Most churches benefit from at least two camera positions: a wide shot capturing the full stage/altar and a tight shot on the pulpit or speaker. A 70-degree to 90-degree field of view works for mid-to-large sanctuaries; anything wider introduces barrel distortion at the edges. Measure your distance from camera position to subject and note whether you need zoom capability for multiple focal lengths without moving the camera.
Redundancy Needs: Are you streaming one service or multiple simultaneous feeds? Is this a temporary setup for occasional use or a permanent installation? Redundancy isn't luxury; it's procedure. At minimum, you want a backup camera on a second USB port or network connection. I learned this the hard way backstage at a charity stream when our gaming cam drifted a full second behind overlays. Rerouting to a backup webcam, hot-patching scene transitions, and matching exposure across conferencing and OBS with a macro saved the show. That scramble became a readiness checklist I use before every event now.
Churches have three main streaming camera categories, each with distinct trade-offs.
Best for: Single-camera setups in well-lit sanctuaries; small churches or temporary installations.
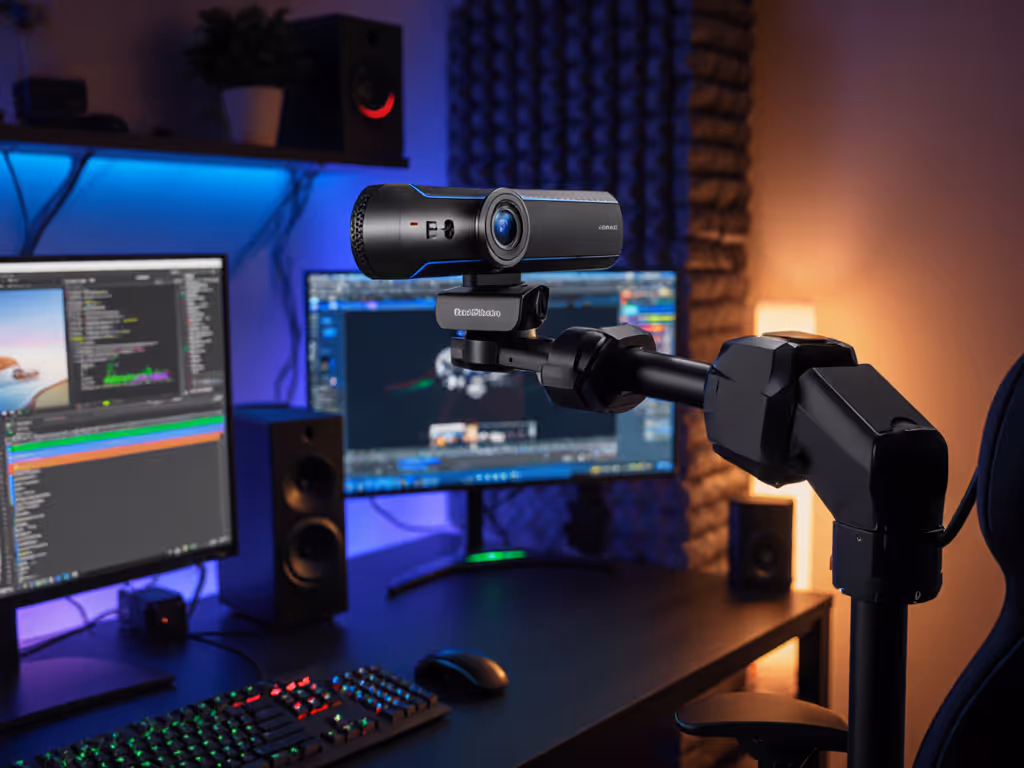
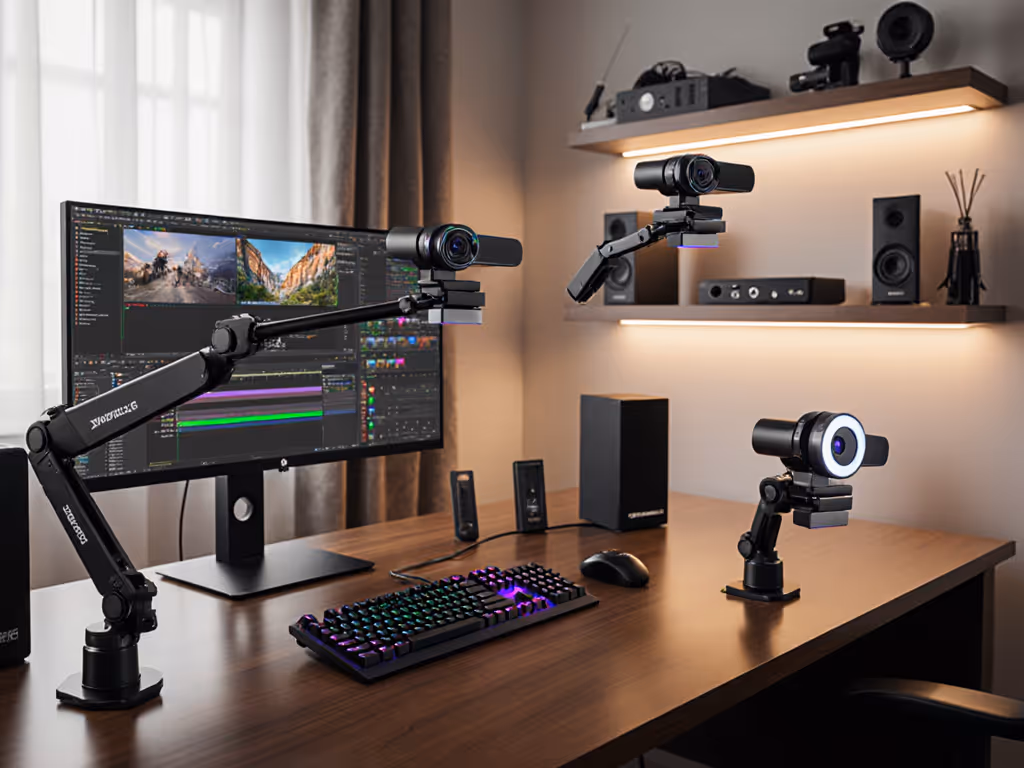
The Lumina 4K Webcam ($150) delivers solid 4K at 30 fps with auto-focus and handles mixed lighting reasonably well. It's the entry point: no learning curve, plug-and-play into OBS, and minimal driver headaches. The trade-off: you're locked to one FOV and can't reposition without reframing your entire scene.
The Logitech Brio 4K Webcam costs more ($200-$250 depending on bundle) but gives you true 4K at 60 fps, better low-light handling, and macro focus for close-ups if you're capturing hymn sheet details or communion elements. The Brio's RightLight technology stabilizes exposure under fluorescent and mixed lighting, which is crucial for sanctuaries with uneven illumination.
The Elgato Facecam MK ($150-$200) is technically a streaming camera, not a general webcam. It prioritizes face-critical quality: sharp skin detail, stable white balance, and minimal processing artifacts. If your primary shot is a tight frame on the pastor, this punches above its price. It's not ideal for wide shots because the 75-degree FOV feels cramped in larger venues.
Procedure for USB webcams: Use a powered USB 3.0 hub to isolate the camera from other USB devices (keyboard, wireless receiver, storage). This prevents bandwidth contention and dropped frames at 4K. Test your setup at least 30 minutes before the first service to verify auto-focus lock and exposure stability under actual sanctuary lighting.
Best for: Medium-to-large churches; multiple camera angles; volunteer-operated production.
PTZ (pan-tilt-zoom) cameras let one operator remotely control framing without moving hardware. They integrate directly into churches' existing AV systems via Ethernet and often ship with ATEM-style control panels. If you're comparing models, our PTZ webcams comparison covers streamer-tested 2026 units. The advantage: smooth, repeatable camera moves and the ability to cut between pulpit, choir, and wide sanctuary shots from a single device.
The challenge: PTZ cameras require network setup, IP addressing, and on-site control training. They're also more expensive up front. However, for a church with multiple services or a large sanctuary, the workflow efficiency pays for itself in production time and consistency.
Procedure for PTZ integration: Assign a static IP address to your PTZ camera on your network (not DHCP). Test network latency between your control device and camera; aim for under 100 ms ping. Create a preset system in your camera's menu: Preset 1 = wide sanctuary, Preset 2 = pulpit, Preset 3 = choir/musicians. Record these positions before the first service so volunteers only press one button instead of fumbling with joystick controls mid-stream.
Best for: Large churches; multi-camera productions; synchronized streaming to multiple platforms; organizations with dedicated tech staff.
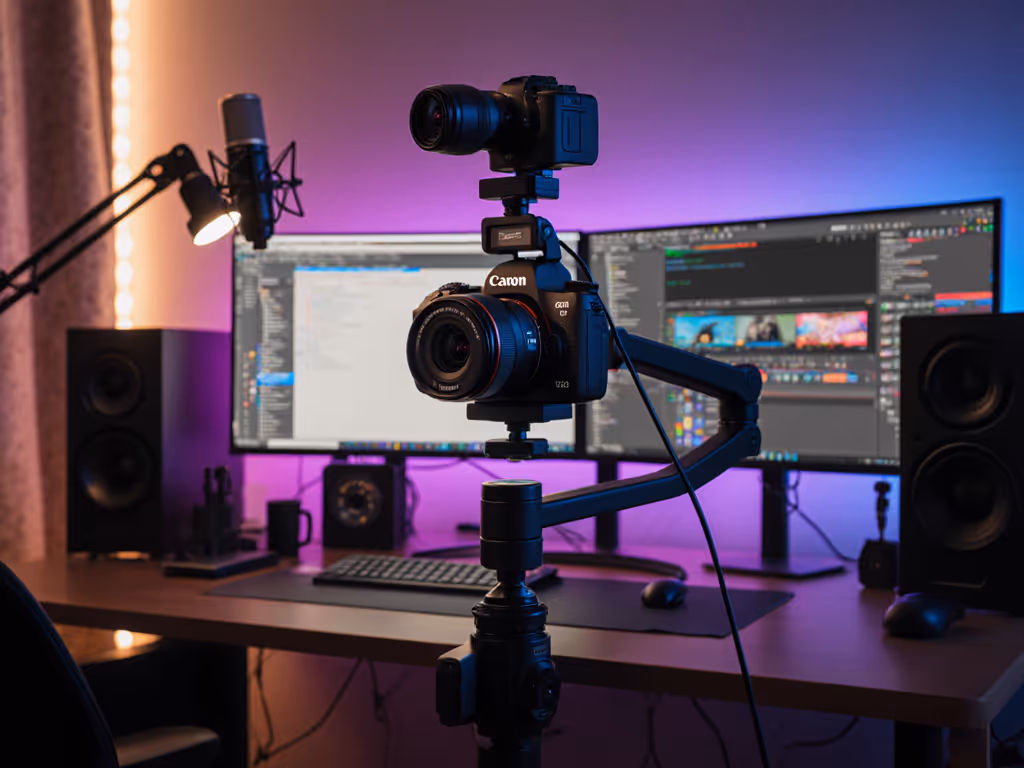
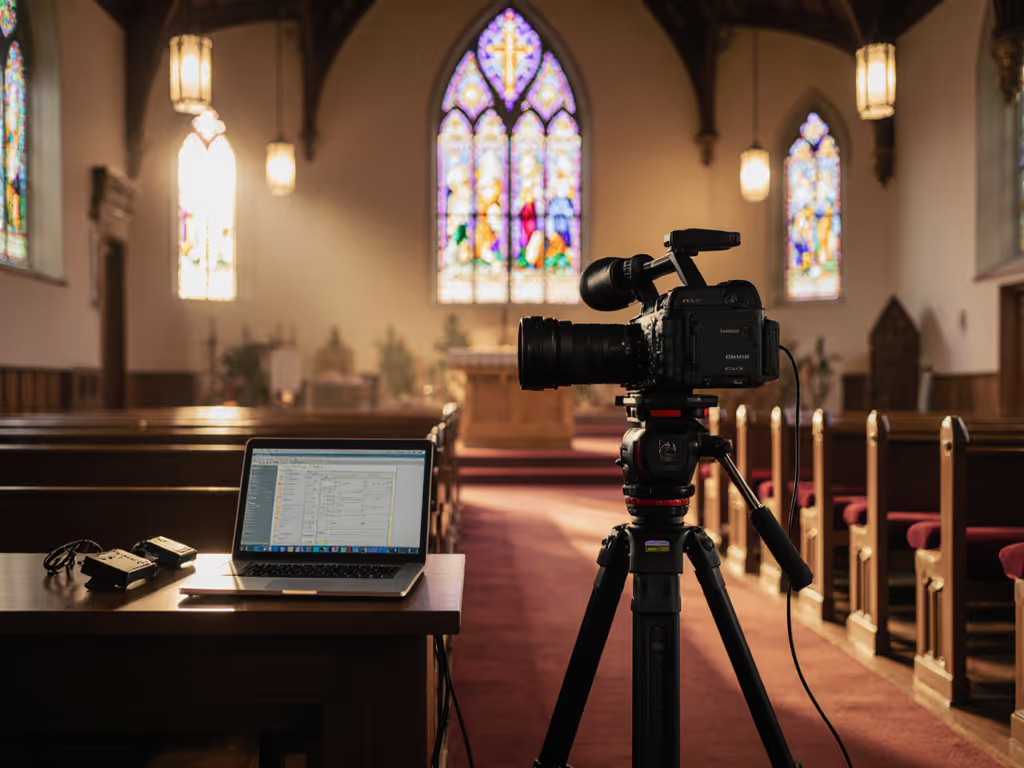
The Blackmagic Studio Camera 4K has emerged as the workhorse for church live streaming in the $1,000 price bracket. It delivers professional image quality with dynamic range and sharpness that handles typical sanctuary lighting without breaking the bank. What matters: it supports both HDMI and 12G SDI outputs, full-rate ATEM integration, and XLR audio input built in. This last point is critical because it means your audio and video travel on the same cable, eliminating sync drift.
Blackmagic's flexibility is the real asset. You can output 1080p60 directly from the camera for simple one-camera setups, or feed it into an ATEM switcher for multi-camera mixing. The 10 gig Ethernet option even lets you power the camera from one Cat 6A cable, reducing clutter and single points of failure in your cabling.
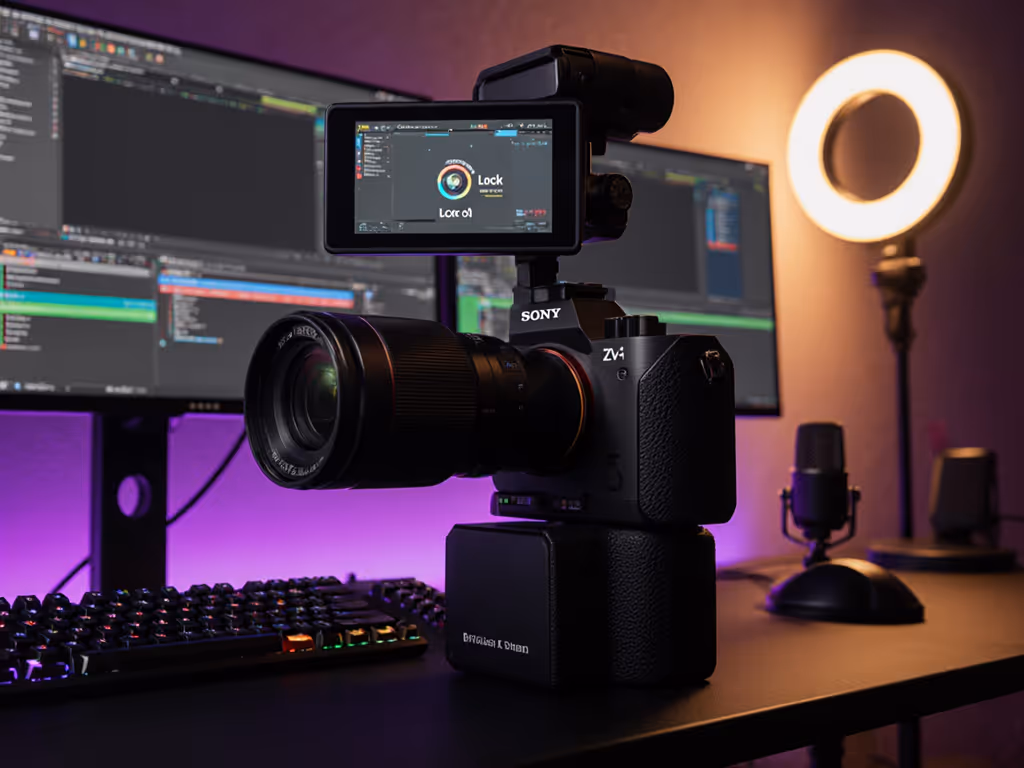
For churches considering a second camera or a wider production, the Sony FX30 (roughly $1,800) offers APS-C sensor advantages: excellent low-light performance, in-body stabilization, and rich color science. The trade-off is complexity; it's a mirrorless camera first, live-streaming camera second. It requires capture card integration and more configuration. Only choose this if you're also doing recorded services or event videography where the extra tools justify the learning curve.
Procedure for studio camera setup: Before first service, calibrate white balance under your actual sanctuary lighting. Use a gray card reference if possible. Set gain to a fixed value (not automatic) to prevent exposure surges during camera movements. Enable recording to the camera's internal storage as a redundant backup; if your streaming encoder crashes mid-service, you still have the raw feed to recover. Test end-to-end latency from camera output to your streaming platform's ingest. Expect 2-4 seconds of platform-side buffering on YouTube and Twitch; plan your director's monitor refresh accordingly.
This is where most church setups fall apart. Your streaming camera captures video, but audio comes from a mixing console, wireless lavalier mics, or both. The gap between these sources (even a few frames) becomes obvious and distracting on stream.
Single-Source Audio: If your camera has built-in audio input (like the Blackmagic Studio Camera), route your sanctuary's main mix out directly to the camera's XLR port. This ties video and audio at capture, eliminating post-production sync headaches. Set your camera's audio levels at a fixed value, not automatic gain. Typical setting: -18 dB average on the camera's meters during a speaking passage.
Multi-Source Audio: If your audio comes from a separate mixer (common in larger churches), send a stereo output from your mixer into your streaming encoder, usually via USB audio or a dedicated audio interface. Before the first service, use a synchronized clap or tone to verify video and audio are aligned. In OBS, check the audio delay settings: if your audio lags video, increase the audio delay by 1-2 frames at a time until sync locks. Document this offset in a checklist so it carries across to next week's service.
Redundancy Failover: Keep a second USB audio source connected to your streaming PC, such as a backup wireless receiver or a direct feed from a secondary mixer output. If your primary audio source drops, you can switch inputs without restarting the stream. This is why I keep a macro in OBS bound to a keyboard shortcut that switches audio sources on one key press: F12 swaps primary to backup. Hands-free once live.
Your streaming software setup directly affects how smooth each service runs. If you need a step-by-step on dialing in webcam settings in OBS, use our OBS webcam configuration guide. Build scenes that carry across weeks with minimal adjustment.
Scene 1 - Sanctuary Wide: Your full-stage camera at its native resolution and frame rate. Label this "LIVE" in your scene list so it's impossible to miss. Add a text overlay showing service time or passage reference if your church provides that information.
Scene 2 - Pulpit/Speaker: If using a PTZ camera, call up Preset 2 and frame a tight pulpit shot. If you're using a fixed camera, crop the wide shot to focus on the speaker's face and podium. This scene runs during messages and announcements.
Scene 3 - Hymn/Lyrics: Many churches display lyrics or hymns on LED screens. Capture this screen cleanly with your camera positioned to avoid glare, or source the graphics directly from your lyrics software (for example, Planning Center or Pro Presenter) and composite them into your stream. This eliminates camera angle issues and gives viewers readable text.
Scene 4 - Failover/Still: A static graphic or still image of your church logo. If your camera feed drops unexpectedly, switching to this scene keeps the stream alive rather than showing a black screen. Label the cause in your title overlay: "Technical Difficulty - Audio Continues."
Build this structure once, save it as a template, and duplicate it for each week. Update only the date and passage in text overlays. This approach cuts setup time from 20 minutes to 2 minutes and eliminates the chance you'll accidentally use an old scene with wrong settings.
This is the procedure that prevents failures. Run it before every service, every time; treat it like a flight checklist, not a suggestion.
30 Minutes Before Service:
10 Minutes Before Service:
Go Live Moment:
This checklist prevents 95% of mid-stream surprises. Print it, laminate it, and post it beside your production station. Use the same checklist every week so your muscle memory handles it without thinking.
Scenario A: Small Church, Single Service, Basic Setup
Budget: $150-$300
Use a Lumina 4K Webcam or Logitech Brio 4K positioned 12-15 feet from the pulpit, centered to capture both speaker and immediate background. Mount it on a sturdy tripod or wall bracket; no movement during service. For framing that consistently looks professional, follow our webcam positioning guide. Route the camera's USB output directly to a dedicated streaming PC (not a laptop shared with other tasks). Add a basic audio interface feeding your mixer's main output into the PC's audio input. Run your readiness checklist before the first service. This setup requires minimal training and handles most sanctuaries up to 200 attendees.
Scenario B: Medium Church, One or Two Services, Multi-Camera Aspiration
Budget: $1,000-$2,000
Start with one Blackmagic Studio Camera 4K as your primary camera (wide sanctuary shot), positioned center-rear or on a side rail. Add a second fixed webcam (Brio or Lumina) on the pulpit for a tight secondary shot if budget allows, or plan to upgrade to a second Blackmagic later. Connect your studio camera's audio XLR directly to your mixer's output; sync audio from the Blackmagic's embedded audio inputs. In OBS, set up Scene 1 for Blackmagic wide, Scene 2 for Blackmagic zoomed (if supported by your encoder), Scene 3 for backup wide/still. Document your ATEM settings (if using a switcher) so any volunteer operator can reproduce the same mix.
Scenario C: Large Church, Multiple Services, Full Production
Budget: $3,000-$5,000+
Deploy two Blackmagic Studio Cameras 4K (one wide, one pulpit) feeding into an ATEM Mini Extreme switcher. Add a PTZ camera on the choir/musician area if live music is prominent. Integrate your sanctuary's existing mixing console directly into the ATEM's audio inputs so all audio-video timing is locked at the hardware layer. Use a dedicated streaming PC with redundant internet (primary on wired Ethernet, backup on cellular hotspot via USB modem). Build your checklist to include ATEM preset verification, camera IP address validation, and failover encoder testing. This setup handles simultaneous YouTube and Facebook streaming without quality compromise.
If Your Primary Camera Fails Mid-Stream:
If Audio Desynchronizes During Service:
If Internet Connection Drops:
Document every failover event in a service log so you see patterns. If internet drops every third service, you have a network problem to solve. If a camera fails once a month on average, redundancy becomes budget priority.
Week 1: Assessment
Walk your sanctuary with your audio-visual lead and answer these three questions:
Your answers determine whether you start with a single-camera budget build or invest in a studio setup from day one.
Week 2: Pilot Setup
Procure one camera from the recommended tier that matches your assessment (USB webcam for small, Blackmagic for medium/large). Set it up in a test run, not a live service. Stream a 15-minute practice segment to your platform with your entire audio chain active. Run the pre-service checklist. Identify and document any sync issues, driver conflicts, or framing problems.
Week 3: Deploy and Iterate
Go live with your chosen camera at a service. Have a designated observer (not the streaming operator) watch the platform's feed from a different device and note any glitches, audio drift, or exposure issues. After service, log findings and adjust settings. Repeat this for three consecutive services to establish stability.
Week 4: Scale Redundancy
Once your primary setup runs reliably for a month, add a backup camera and test your failover protocol. This shouldn't wait until you need it.
Start small, measure, and scale. Every church's setup is unique, but the principle is universal: a reliable streaming camera for church transforms your reach, but only if the operator never touches it mid-service. Build your workflow so hands stay free, heads stay on the service, and the stream runs invisibly. That's the goal: not perfect gear, but gear that serves the mission without friction.