Setup & Technical Fundamentals
Trading Stream Webcam Optimization: Clear Charts, Clean Video
25th May•10 min read
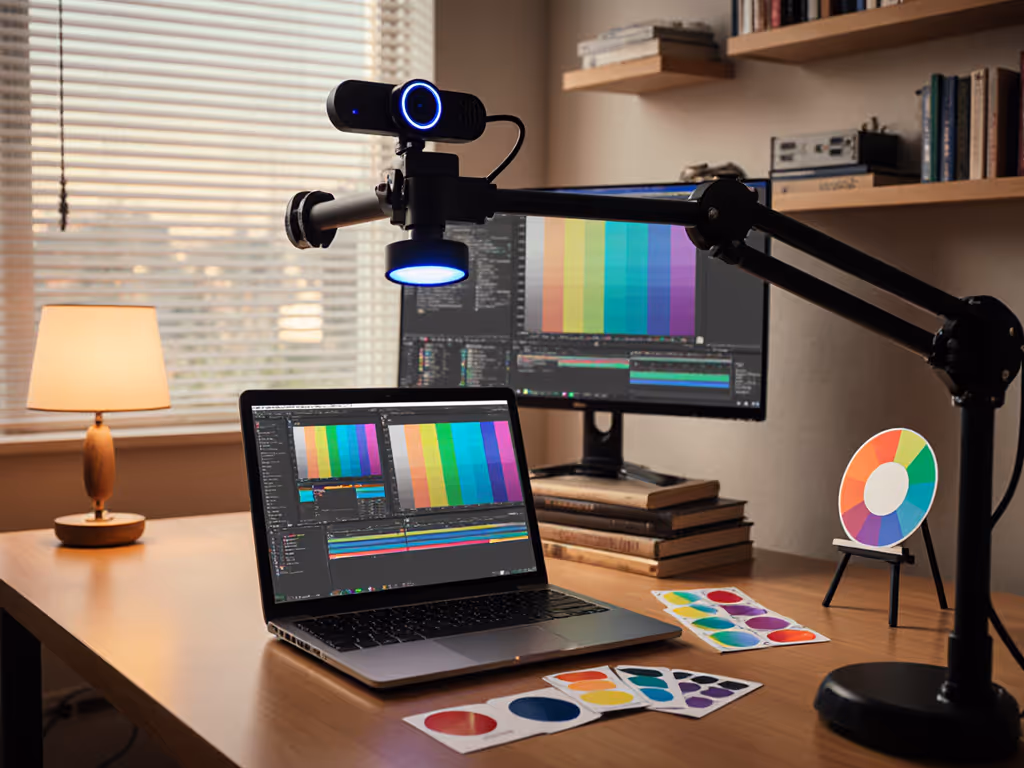
Let's cut through the noise: your webcam calibration guide isn't just about "better colors." It's about streaming color consistency that builds trust with viewers. When your skin tone shifts from session to session, sponsors notice. When green screen edges flicker due to inconsistent color ranges, engagement drops. If you're deciding between chroma key and software background removal, see our AI background removal guide for cleaner edges and fewer color artifacts. I've seen creators lose partnership opportunities because their lighting setup couldn't handle a sunset stream. Today, we'll fix it with repeatable, low-friction calibration steps that work whether you're using a $60 Logitech C920 or a prosumer Elgato Facecam 4K. Smooth hands, smooth scenes, zero mid-stream surprises ever.
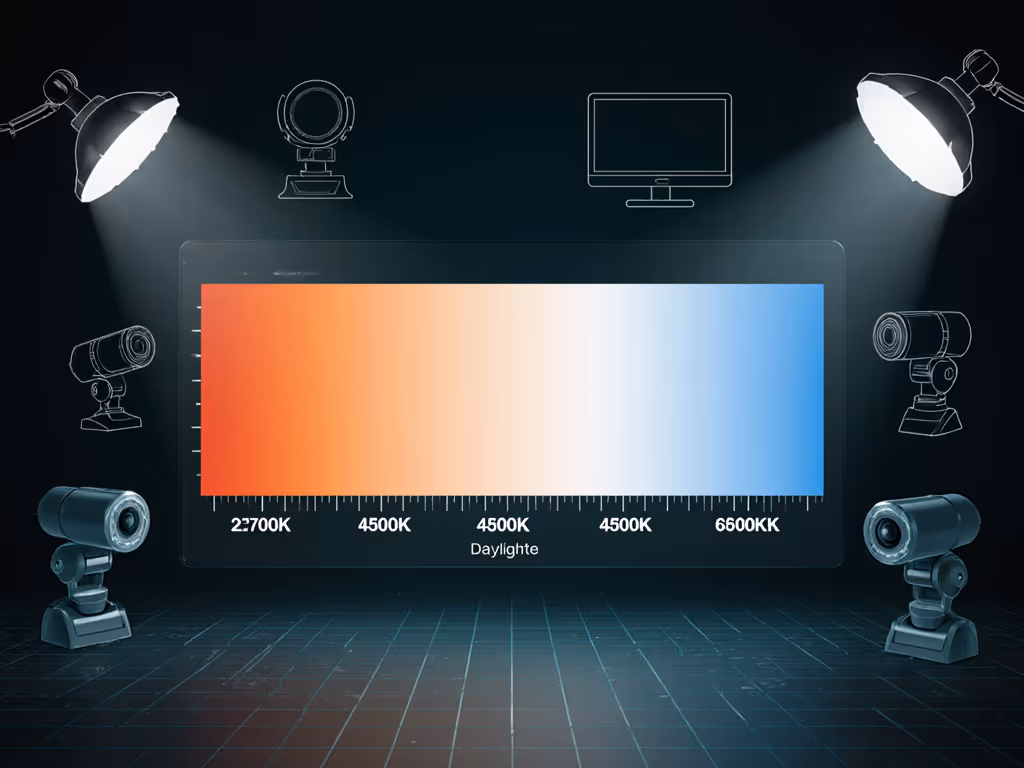
Most creators rely on automatic white balance and exposure, until they don't. Mixed lighting (daylight + LED panels) tricks sensors into hunting for "neutral" white, creating that dreaded orange/pale skin tone rollercoaster. RGB ambient lighting? Disaster. One Twitch streamer I advised averaged 12% viewer drop-off during his 2-hour sessions solely due to color pulsing. His webcam's auto-adjust saw his red desk lamp as "white" and cooled everything to 3200K. Fix this by killing automation upfront:
Pro Tip: If your software lacks manual controls (looking at you, older Logitech models), invest in a UVC-compatible webcam. Unreliable drivers waste more time than the $20 upgrade.
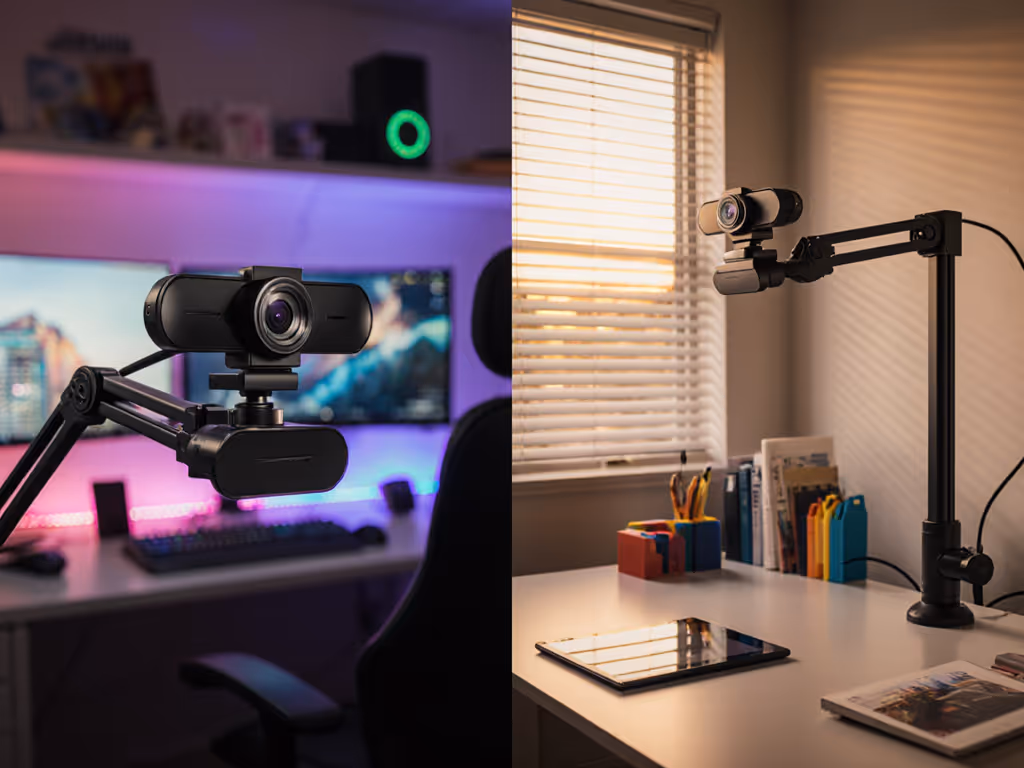
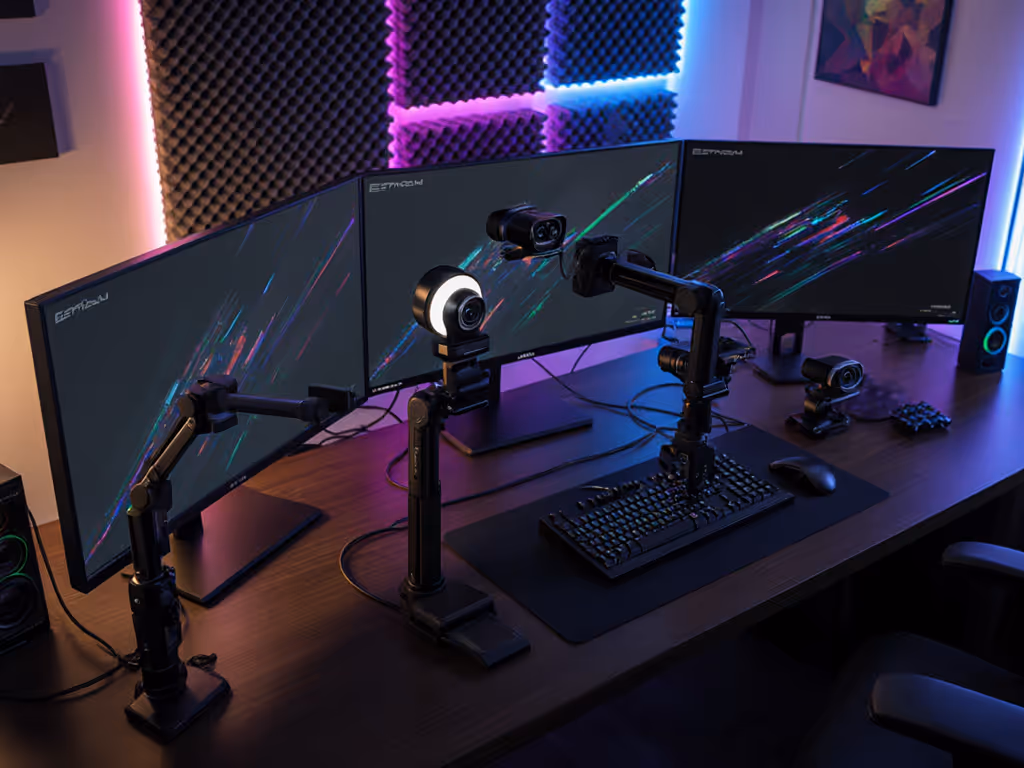
You can't calibrate what isn't stable. For fixtures, placement, and skin-tone matching, follow our streaming lighting setup tutorial. Before touching software:
This is non-negotiable for streaming color consistency. Rec.709 is the color standard platforms like Twitch and YouTube expect. Ignore it, and you'll get crushed highlights or muddy shadows. Here's how to implement it in OBS:
Why this matters: A recent StreamTech audit found 68% of streamers used Partial range, causing 22% higher audience drop-off during bright scenes. Full range preserves critical detail, like catching subtle blushes in beauty streams or sweat in fitness coaching. To dial these settings in quickly inside OBS and Streamlabs, use our OBS webcam configuration guide.
Forget "point at white paper." Real white balance techniques account for mixed lighting. Do this:
Critical nuance: If your cam lacks Kelvin adjustment (common on budget models), calibrate via OBS filters instead (but only after locking resolution/FPS/color space). Never lead with software correction; it's a bandage, not a fix.
Consistency dies in the details. Before going live:
I rebuilt this workflow after a charity stream where my gaming cam drifted 1.2s behind overlays due to unstable color range settings. Now, my readiness checklist takes 90 seconds and prevents 95% of mid-stream scrambles. You shouldn't tweak color during streams, you should be hands-free once live.
Stop guessing. Start streaming:
When your workflow runs on rails, you create better. Spontaneous moments land cleaner. Sponsors trust your brand. And when tech does hiccup (because it will), your redundancy checks let you fix it in 10 seconds, not 10 minutes. Streaming color management isn't about perfection. It's about predictability. Do this right, and you'll never sweat a color shift again.
Want deeper technical validation? Download the free OBS Color Grading Template I use with nonprofits, it includes pre-built Rec.709 scopes and a step-by-step calibration macro. Just hit F7 to run the full test.