Razer Kiyo Pro Ultra Educational Setup: Document Streaming Bundle
By Aisha Suleiman • 21st May
A Razer Kiyo Pro Ultra educational setup can be far more than a sharp facecam. With the right layout and settings, you can turn it into a document-focused streaming bundle that cleanly shows worksheets, handwriting, textbooks, and small objects while keeping your own face clear and color-accurate.
I'll walk you through a step-by-step, data-driven build that treats your Kiyo Pro Ultra as the core of an educator streaming kit, whether you're teaching from a bedroom, a home office, or a small classroom.
Skin tones first. Then documents and everything else fall into place.
Step 1: Decide What Your Document Bundle Actually Needs to Do
Before we touch any settings, define the jobs your setup needs to handle. That's how we avoid over-buying gear and under-using features.
1.1 List your primary teaching scenarios
Check all that apply:
- Live annotation & handwriting
- Solving math problems
- Diagramming sentences
- Sketching quick diagrams/graphs
- Static document display
- Showing a worksheet or answer key
- Displaying textbook pages
- Sharing printed handouts
- Small object demonstrations
- Science experiments with small components
- Tech hardware teardown
- Art/craft details, calligraphy tips
- Mixed use
- Facecam + occasional overhead doc view
- Switching between talking head and close-up demo
Now prioritize:
- If you're mostly facecam, sometimes documents, we'll bias settings toward flattering skin and quick switching.
- If you're mostly documents, occasionally facecam, we'll bias toward maximum detail and stable brightness.
Keep that priority in mind; we'll reference it when choosing resolutions and angles.
Step 2: Understand Why the Kiyo Pro Ultra Is Good for Documents
To design a smart educator streaming kit, you need to know what the Kiyo Pro Ultra actually brings to the table, and what it doesn't.
2.1 Key specs that matter for education
Plain-language breakdown:
- Sensor: 1/1.2" Sony Starvis 2, ~8.3 MP
- Much larger than typical webcam sensors
- Bigger pixels → cleaner image and better low light performance
- Aperture: f/1.7
- Lets in a lot of light
- Enables shallow depth of field for facecam
- For documents, we'll tame that depth of field so the whole page stays sharp
- Resolutions & frame rates
- 4K up to 30 fps
- 1440p up to 30 fps
- 1080p up to 60 fps
- 720p up to 60 fps
- Adjustable FOV: 72-82°
- Wider FOV for capturing an A4/Letter sheet at arm's length
- Narrower FOV for a tighter close-up of writing
- HDR & auto exposure/white balance
- Good auto behavior overall, but for education we'll often lock things manually to stop pulsing and color shifts.
For document streaming, the two most important wins are:
- Low noise at lower light levels → You can keep your desk lights moderate without getting mushy text.
- Stable color and exposure once manually set → Your white paper stays white instead of drifting yellow/blue between sessions.
2.2 Best resolutions for document streaming
Realistically, most platforms do not deliver full 4K clarity to students, even if you send it. For a deeper breakdown of when 1080p vs 4K actually matters, read our webcam resolution guide.
- For Zoom/Meet/Teams: 1080p is often the practical ceiling.
- For OBS to YouTube/Twitch:
- 1080p60 is ideal for handwriting and fast drawing.
- 4K30 can be useful for local recording or platforms that actually preserve the resolution.
Recommended defaults:
- Live classes: 1080p30 or 1080p60 (if your computer and bandwidth are solid)
- Pre-recorded lessons: 4K30 for maximum detail, then export to 1080p if needed
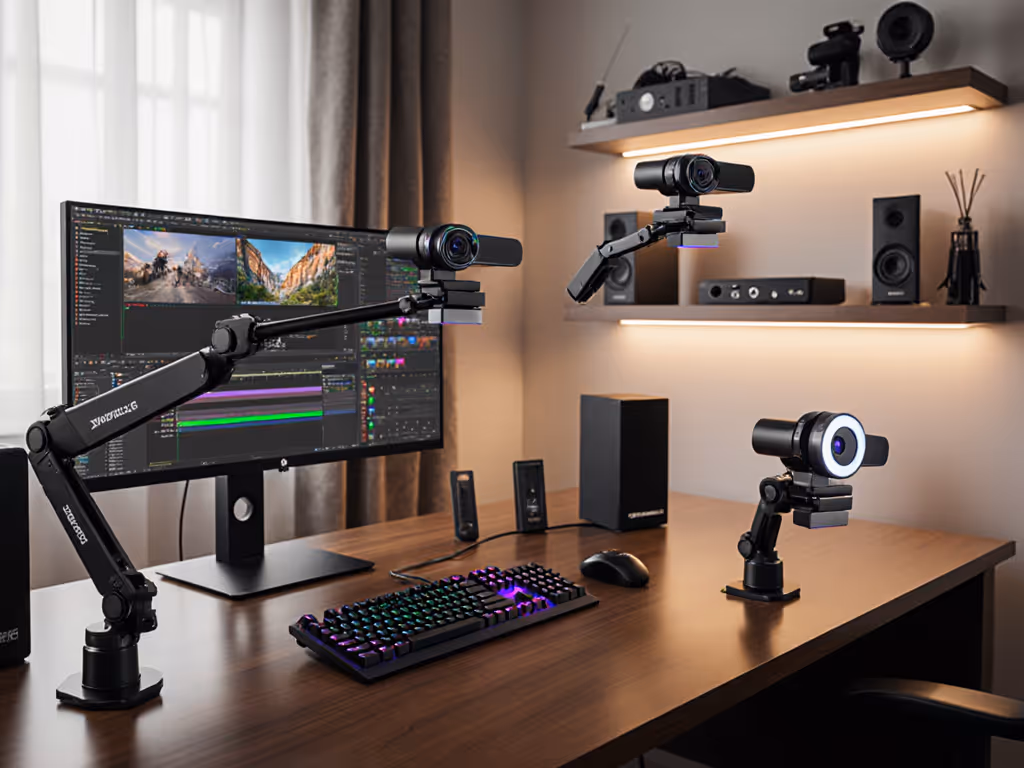
Step 3: Build the Physical “Document Streaming Bundle” Around the Kiyo Pro Ultra
Even without a long list of extra gear, you can treat your setup as a bundle of components that work together:
- Camera – Razer Kiyo Pro Ultra
- Mounting – Where the camera lives (monitor, tripod, or overhead arm)
- Lighting – How evenly documents and your face are lit
- Surface – The background under your documents
- Cabling & USB – Stable, low-latency connection
We'll quickly review each as if we were comparing multiple products so you can choose what fits your space.
3.1 Camera mounting: monitor vs tripod vs overhead arm
Option A - Monitor mount only
- Pros:
- Fast to set up
- Great for facecam
- No extra hardware
- Cons:
- Awkward angle for documents, you'd have to hold them up
- Poor for steady handwriting or small objects
Best for: primarily lecture-style teaching with minimal document work.
Option B - Small desk tripod
- Pros:
- Can angle down toward the desk
- Stable and portable
- Works as both a low facecam and a document cam
- Cons:
- Limited height and reach
- May block your keyboard or notes
Best for: hybrid use on a tight budget.
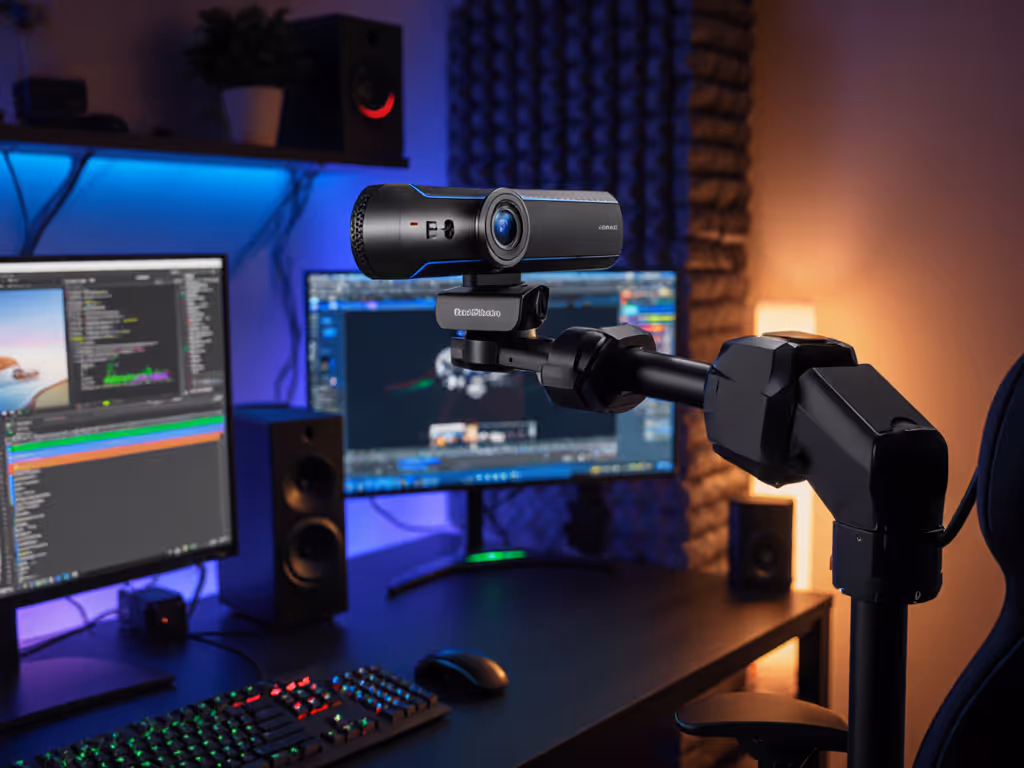
Option C - Overhead boom arm (recommended)
- Pros:
- Clean, top-down view of documents
- Keeps desk surface clear
- Easy to reposition between face and document views
- Cons:
- Needs a sturdy desk and clamp
- Slightly more complex to set up
Best for: serious document-focused teaching and demonstrations. If you’re tight on space, these advanced webcam mounting ideas make overhead angles easy.
For most document-heavy educators, an overhead boom arm turns the Kiyo Pro Ultra into a true classroom demonstration camera.
3.2 Lighting: ring vs panels for document clarity
We don't need studio gear, but we do need predictable, flicker-free light.
Ring light
- Pros:
- Easy, popular form factor
- Good for face lighting
- Cons:
- Can cause circular reflections on glossy textbook pages
- Uneven across a flat document
LED panel(s)
- Pros:
- More even coverage over a document surface
- Can be placed at angles to avoid glare
- Cons:
- Slightly more setup effort
For a teaching presentation setup focused on documents: To dial in soft, even illumination, follow our streaming lighting setup.
- Use one or two small LED panels placed at ~45° angles to the desk.
- Keep brightness moderate and avoid pointing them directly at the camera.
- If you're in a 50/60 Hz region, try to avoid very low dimmer settings on cheaper panels; that's where flicker and banding often appear.
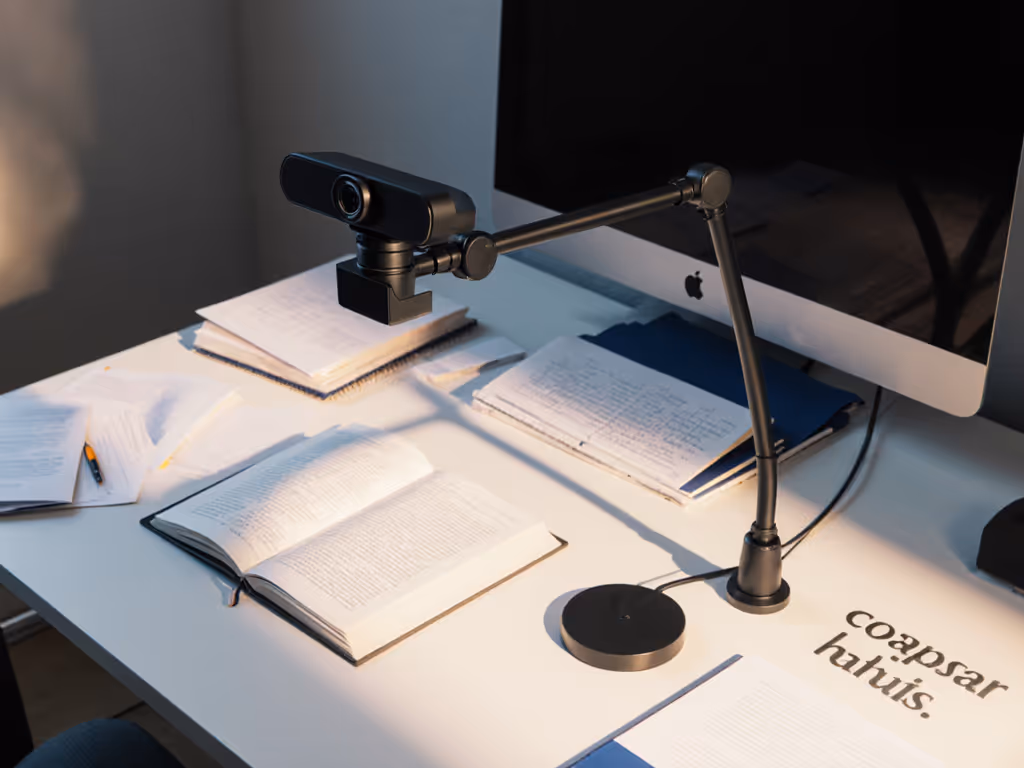
3.3 Document surface: the silent hero
Choose a matte, neutral surface:
- Color: Light gray or off-white is ideal.
- Avoid: Strong colors (they reflect onto your hands and papers) and glossy finishes.
This helps you maintain consistent skin tones and paper whites, reduces glare, and makes white balance easier to lock.
3.4 USB connection and hubs
The Kiyo Pro Ultra pushes a lot of data at 4K/30 and 1080p/60. Avoid random dropouts by choosing the right cable—see why USB cables matter. To avoid dropped frames and lag:
- Prefer direct connection to your laptop/PC over a hub when possible.
- If you must use a hub:
- Use a powered USB 3.0 hub from a reputable brand.
- Avoid plugging multiple high-bandwidth devices (like capture cards + high-res webcams) into the same hub.
This keeps your end-to-end latency predictable and reduces random disconnects mid-class.
Step 4: Positioning the Camera for Document and Face Use
Now that the bundle pieces are clear, let's put them together.
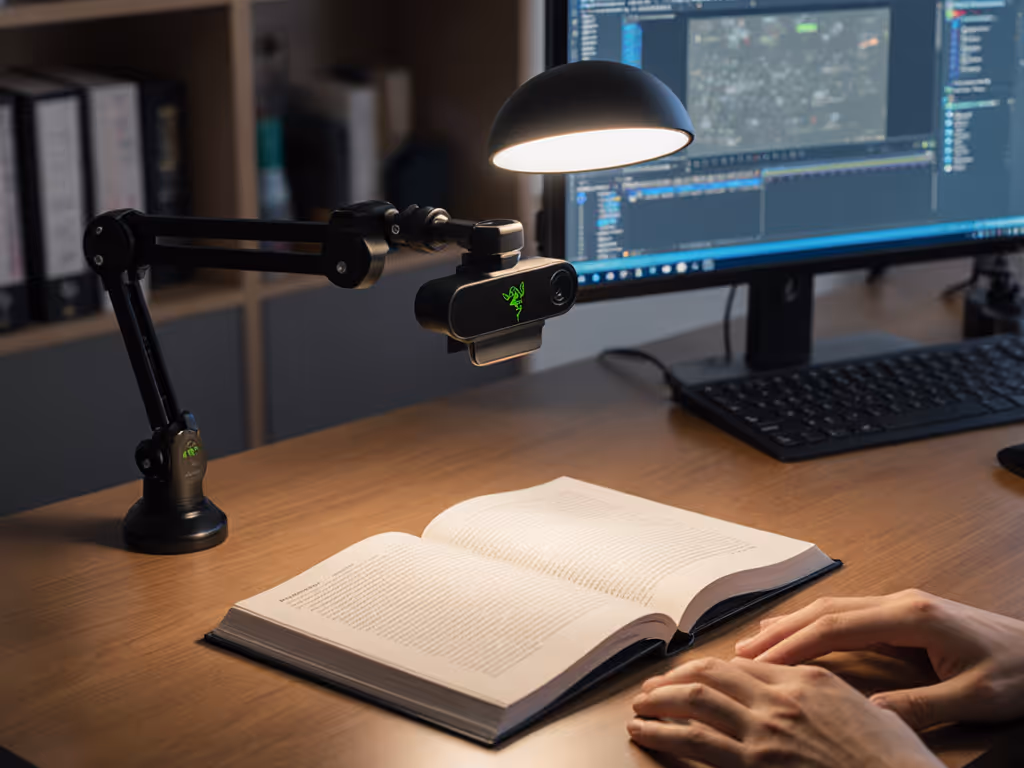
4.1 Overhead document setup
If you're using a boom arm:
- Clamp the arm to the back or side of the desk.
- Extend the arm so the Kiyo Pro Ultra is ~40-60 cm (16-24") above the desk.
- Aim the lens straight down at your working area.
- Put an A4/Letter sheet in the center and open your camera preview.
- Adjust height & FOV until the page nearly fills the frame, with a little margin for your hands.
Technical goal:
- Use a narrower FOV (around 72°) to minimize distortion at the edges.
- Keep the camera close enough that text lines are crisp at 1080p.
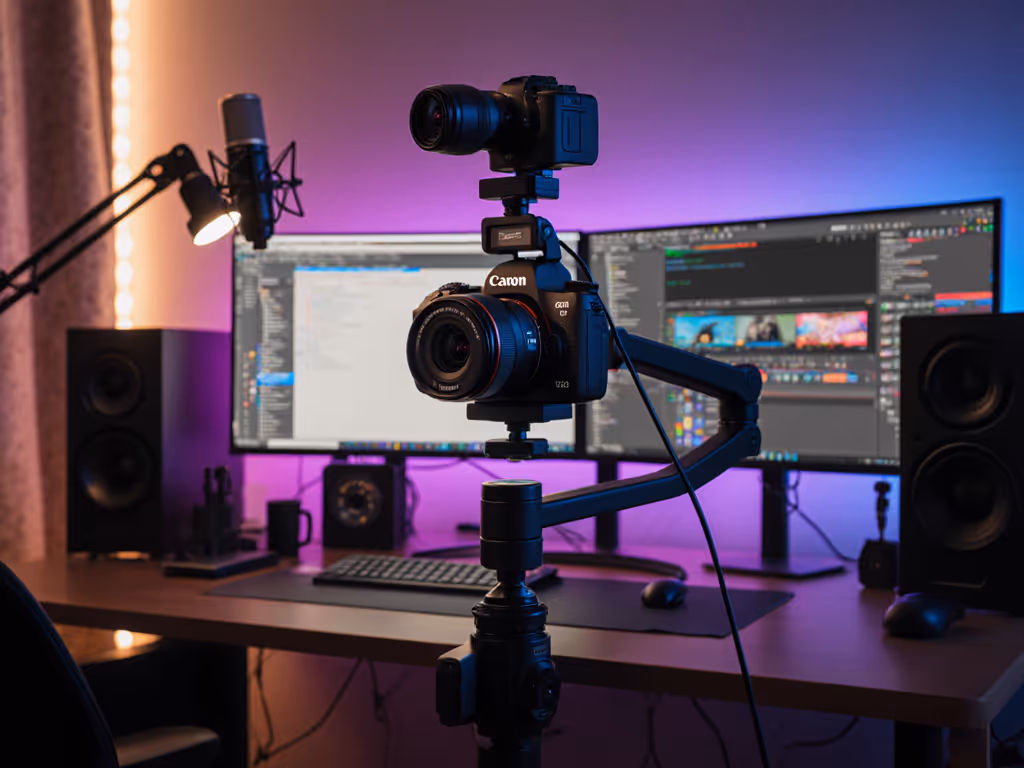
4.2 Hybrid face + document workflow
You have two main strategies:
Strategy A - Move the camera between positions
- Overhead for documents
- Then swivel down in front of you for facecam
Pros: One camera only. Cons: Takes time and risks messing up framing.
Strategy B - Lock the camera overhead, add a secondary facecam
- Kiyo Pro Ultra: permanent classroom demonstration camera
- Laptop's built-in cam (or a cheap second webcam): your face view
Pros:
- You never disturb the document framing.
- Switching between face and doc is as simple as changing scenes in OBS or layouts in Zoom.
Cons:
- Requires an additional camera.
If documents are central to your teaching, I recommend Strategy B. Treat the Kiyo Pro Ultra as dedicated educational content creation equipment for your desk.
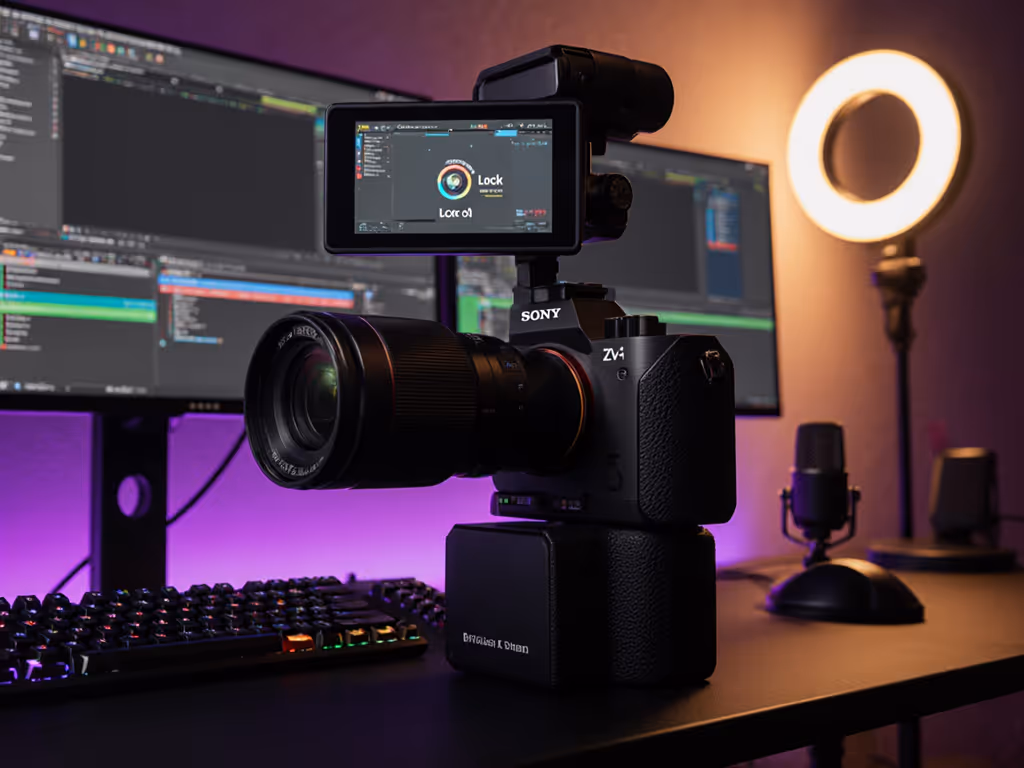
Step 5: Configure Camera Software for Stable, Repeatable Quality
This is where we lock in that "Color you can trust, even when the lights disagree."
5.1 Base settings in Razer Synapse (Windows) or UVC controls (macOS)
Open the Razer Kiyo Pro Ultra controls (Synapse 3 on Windows, or your platform's camera controls/OBS filters on macOS).
Start with these base settings:
- Resolution
- Live teaching: 1920×1080
- Pre-recorded: up to 3840×2160
- Frame rate
- Handwriting / fast annotations: 60 fps
- Static documents and slides: 30 fps
- HDR
- If your lighting is even and controlled: turn HDR off for more predictable tone.
- If you have strong contrast (bright window + dark desk): test HDR on, but watch for color shifts.
5.2 Exposure: stop the pulsing
Auto exposure can cause brightness "breathing" when your hands move over white paper.
Try this workflow:
- Turn auto exposure ON temporarily.
- Lay down a typical worksheet or notebook.
- Place your hand in frame as you would while writing.
- Let the camera settle.
- Switch to manual exposure at those values (Synapse lets you lock the gain and exposure time).
Targets in plain language:
- Shutter (exposure time) ideally 1/60 for 60 fps, 1/60-1/125 for 30 fps.
- Gain as low as possible while maintaining a bright but not blown-out page.
If the page looks too bright, pull exposure down until you still see paper texture and printed text clearly.
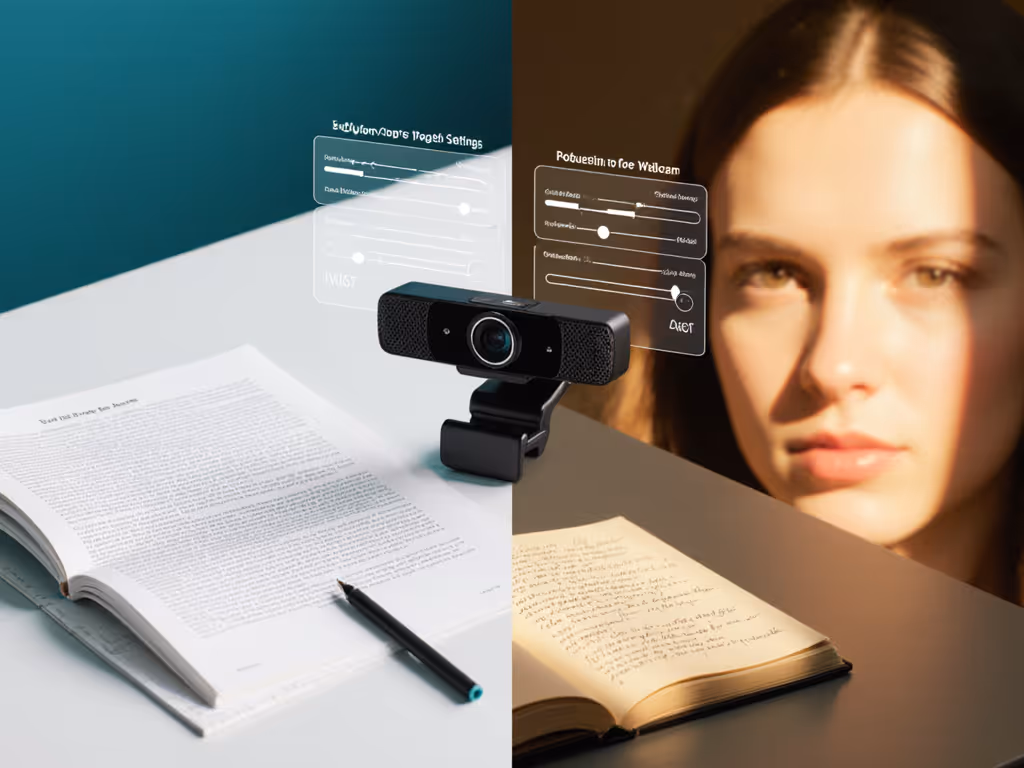
5.3 White balance: keep whites white and skin human
Auto white balance can swing between:
- Warm (yellow/orange) when your hands are in frame
- Cool (blue) when only paper is visible
To fix it:
- Place a clean white sheet of paper in the center of your document area.
- Turn auto white balance ON and let it stabilize.
- Note the color appearance.
- Turn auto white balance OFF and fine-tune manually until:
- The paper looks neutral (no obvious blue/yellow/green).
- Your hand looks natural in tone.
If you use OBS, you can roughly cross-check:
- In the preview, your paper should look neutral next to the white borders of the interface.
Once it's set, don't touch it unless your lighting changes.
Locking white balance for your document rig is the single biggest step toward "same look every class" reliability.
5.4 Sharpening and noise reduction: avoid the "crunchy" webcam look
Many webcams over-sharpen text, making it look edged and fatiguing to read.
In Synapse or your camera control app:
- Reduce sharpness slightly from default.
- If there's a noise reduction slider, keep it moderate.
Why:
- Slightly softer edges + clean capture → more natural handwriting, less haloing around letters.
- Over-aggressive noise reduction → smudged fine print and a plastic texture on your hands.
Step 6: Create Profiles/Scenes for Different Teaching Modes
To make this a true document-focused streaming bundle, we'll build repeatable presets.
6.1 Camera profiles (inside Razer Synapse)
Set up separate profiles such as:
- Profile: Face Lecture
- FOV: Narrower, framing shoulders and head
- Exposure: Slightly brighter overall
- White balance: Same as document profile (for consistent skin tone)
- Frame rate: 30 fps is fine
- Profile: Document Overhead
- FOV: Adjusted to fit a page with comfortable margins
- Exposure: Biased toward clean white page without clipping
- Frame rate: 60 fps if you write/draw live
- Profile: Hybrid Demonstration
- FOV: Wider to include both a small portion of your torso and desktop items
- Exposure: Midway between the two above, test carefully
Switch profiles depending on your lesson type. This keeps your teaching presentation setup consistent without recreating settings every time.
6.2 OBS / streaming software scenes
If you use OBS, Streamlabs, or similar, create matching scenes: For step-by-step camera tuning and profiles, use our OBS webcam configuration guide.
-
Scene: Facecam Full
- Source: Face camera (built-in or second webcam)
- Purpose: Introductions, discussions, Q&A
-
Scene: Document Full
- Source: Razer Kiyo Pro Ultra overhead
- Purpose: Step-by-step problem solving, detailed demos
-
Scene: Picture-in-Picture
- Background: Document view
- Overlay: Small window of your facecam in a corner
Hotkey these scene switches so you can seamlessly move between modes while teaching.
Step 7: Test, Measure, and Fix the Most Common Issues
Here's a quick, analytical checklist to make sure your educational content creation equipment behaves reliably.
7.1 Readability test
Print a page with:
- 12 pt text
- 10 pt text
- A small graph or diagram
In your document scene:
- Check at full-screen and scaled-down sizes.
- Ask a friend or colleague to view through the same platform (Zoom, Teams, etc.) and confirm:
- Text is readable.
- No major blur when you move your hand quickly.
If text looks soft:
- Confirm you're actually sending 1080p (check your software settings).
- Raise the camera slightly and narrow the FOV so the page occupies more resolution.
7.2 Motion clarity
If your handwriting looks smeared or ghosted:
- Ensure 60 fps is enabled in the camera and recognized by your app.
- Keep shutter speed around 1/120 if possible (in bright enough light), or at least 1/60.
- Increase light levels rather than cranking up gain.
7.3 Flicker and banding
If you see rolling light bands:
- Confirm your camera is set for your mains frequency region:
- 50 Hz regions: try 1/50, 1/100 shutter
- 60 Hz regions: try 1/60, 1/120 shutter
- Avoid very low brightness on cheap LED lights.
7.4 Color consistency between face and document views
If your skin tone looks great in facecam but weird in the document scene, or vice versa:
- Use similar lighting color temperature for both:
- Example: 5000K panels for desk + 5000K key light for face
- Duplicate white balance settings between profiles as closely as possible.
Skin tones first. If your students can read your expressions and your documents clearly in the same session, you're halfway to a professional look.
7.5 Latency and lip-sync
If you use the Kiyo Pro Ultra as both facecam and document cam (swapping positions):
- Latency is typically low enough to ignore.
If you use separate audio devices (USB mic, audio interface), then:
- Record a short test in OBS with you clapping once.
- Measure if the clap sound aligns with your hand movement.
- If there's a delay, add an audio sync offset in OBS until they match.
Step 8: Document Your Settings So You Can Recover Fast
One of my clients once lost their "perfect look" after a software update, and it took a frustrating week of "why do I look green now?" comments before they called me. We rebuilt their look by documenting every control, so any reset could be fixed in minutes.
Do the same with your document bundle:
- Take screenshots of your camera settings (exposure, white balance, etc.).
- Write down your OBS/Zoom resolution and frame rate.
- Sketch your lighting positions relative to your desk.
- Note the height of the camera above the desk.
Store this in a simple text doc or note-taking app. If an update wipes your profiles, you'll restore your entire Razer Kiyo Pro Ultra educational setup without guessing.
Step 9: Where to Explore Next
Once your document-focused streaming bundle is stable and repeatable, consider these next steps:
- Add a second camera dedicated to your face and keep the Kiyo Pro Ultra permanently overhead for documents.
- Experiment with color grading in OBS (mild contrast/brightness tweaks) while keeping skin tones grounded and paper whites neutral.
- Test different background surfaces (light gray vs off-white) to see which gives you the cleanest, least distracting document view.
- Create "template scenes" in OBS that you can duplicate for new courses, each course gets its own layout but inherits your rock-solid camera settings.
The goal isn't to chase the fanciest specs; it's to build color you can trust, even when the lights disagree, and a document camera workflow that behaves the same every single time you go live.
From there, you can iterate: small improvements to lighting, mounting, and profile tuning will compound into a professional, consistent teaching presence that students (and future sponsors) recognize across platforms.
If you'd like to go further, explore:
- Matching a second webcam's color to the Kiyo Pro Ultra for dual angles
- Platform-specific tuning (Zoom vs OBS vs YouTube Live) for bandwidth and clarity
- Adding simple graphics overlays (labels, section titles) on top of your document feed
But you now have the core: a disciplined, repeatable, document-first configuration built around the Kiyo Pro Ultra that keeps your hands, your notes, and your face working together instead of fighting the camera.
Related Articles
Gear Reviews & Bundles
Specialized Mounting Webcams: Multi-Angle Setup Without Rigging
24th Apr•13 min read
Gear Reviews & Bundles
Canon G7X Mark III: Vertical Streaming That Actually Works
19th Feb•10 min read