Gear Reviews & Bundles
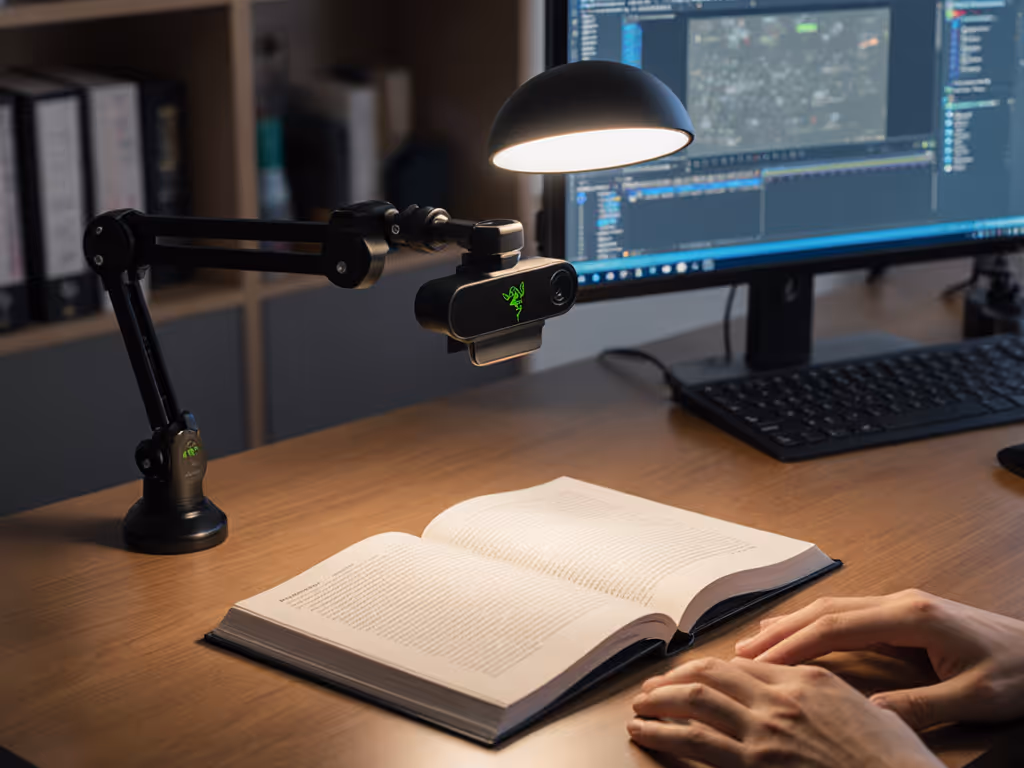
Razer Kiyo Pro Ultra Educational Setup: Document Streaming Bundle
21st May•15 min read
Multi-angle streaming feels like a hallmark of professional production, until you realize that most rig-based setups demand carpenter skills, ceiling permits, and a small fortune in infrastructure. Specialized mounting webcams, paired with the right support systems, let you capture multiple perspectives without drilling holes or creating a tangled mess of cables on every stream. For specific product picks and mounting workflows, see our advanced mounting guide.
The difference between a one-camera static feed and a credible two- or three-angle setup is often the difference between a casual channel and one that looks like you have your act together. But here's the catch: complexity kills consistency. I learned that lesson the hard way when a sponsor stream died because a driver conflict broke my virtual camera setup minutes before go-live. I rebuilt around systems that either just work or fail loud and early (no silent failures mid-show). That's when I started tracking not just the cost of each mount, but the cost per stream: initial investment plus maintenance time, divided by how many sessions you'll actually do before gear fails or becomes unreliable.
This guide walks you through choosing and deploying multi-angle streaming setup solutions that are set-and-forget friendly, avoiding both the complexity trap and the false economy of cheap, unstable gear.
Audience retention data consistently shows that movement between angles holds attention. A single static camera loses viewers fastest; two angles that cut at logical moments (product reveal, face reaction, hands-on detail) feel intentional. Three or more angles become cinematic, but also exponentially more fragile if your mounts shift, focus fails, or sync drifts.
The math matters: if you stream three hours weekly and your multi-angle rig collapses 10% of the time (one failed stream per ten sessions), you've instantly nuked audience trust and sponsor confidence. Reliability is the multiplier, not just the camera.
Most creators think they need to choose between:
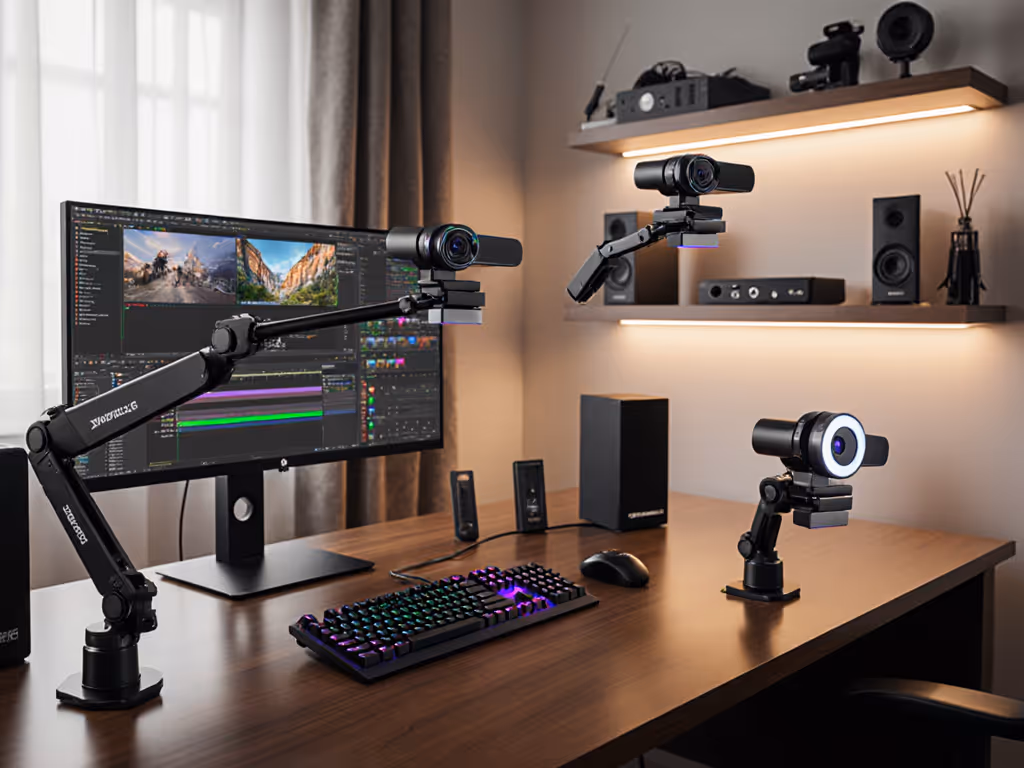
There's a third path: modular, stable mounts that pair with ordinary webcams. The webcam isn't what makes multi-angle work; the mounting system is. And that's where budget clarity matters most. If you're planning a simple two-camera layout, start with our dual webcam setup guide.
Every multi-angle setup lives somewhere on this grid:
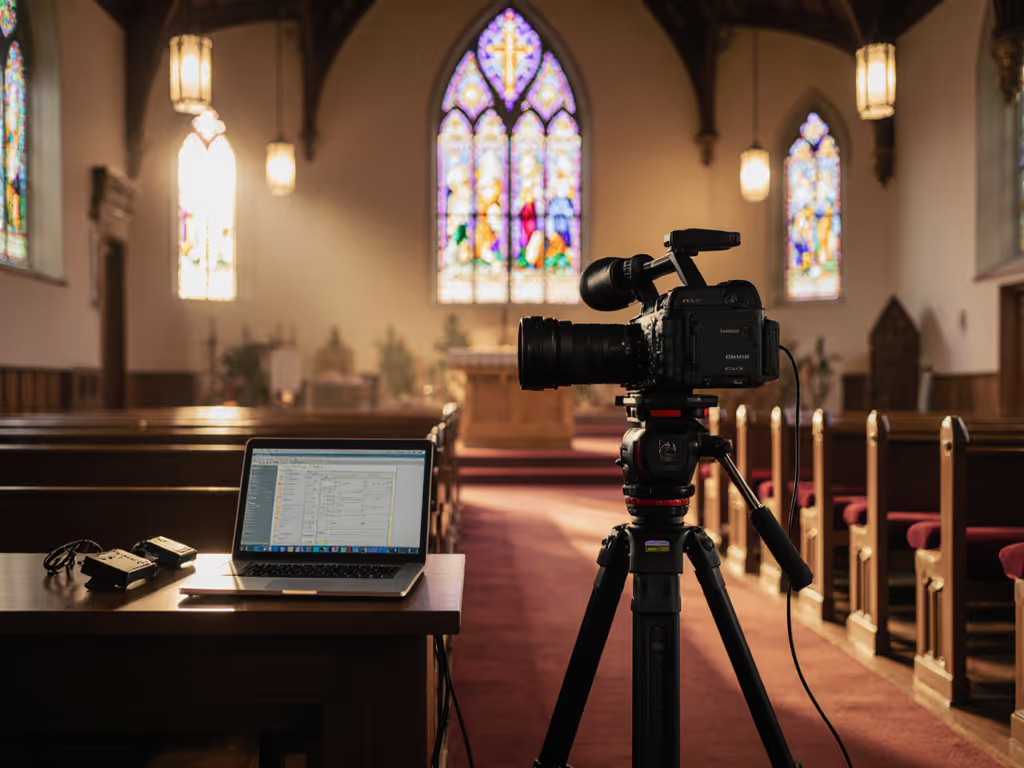
Best for: Repositioning between scenes, small footprint, zero permanent installation.
Stability: Excellent once locked, but feet can slide on certain floors; weight-imbalance (heavy on one side) causes creep.
Setup time: 60-120 seconds per position change.
Cost range: $40-$180 per tripod; $80-$300 for a set of two reliable units.
Maintenance: Regular inspection of leg locks and pan-head friction. Stakes or weight pads mandatory if positioning near walkways or on smooth surfaces.
Cost-per-stream: Low, assuming you use the same tripods across multiple streams. Divide tripod cost by expected stream count over a 2-3 year lifespan.
Verdict: Ideal for creators with flexible camera placement or multiple content types. Risk factor: theft or accidental displacement in shared spaces.
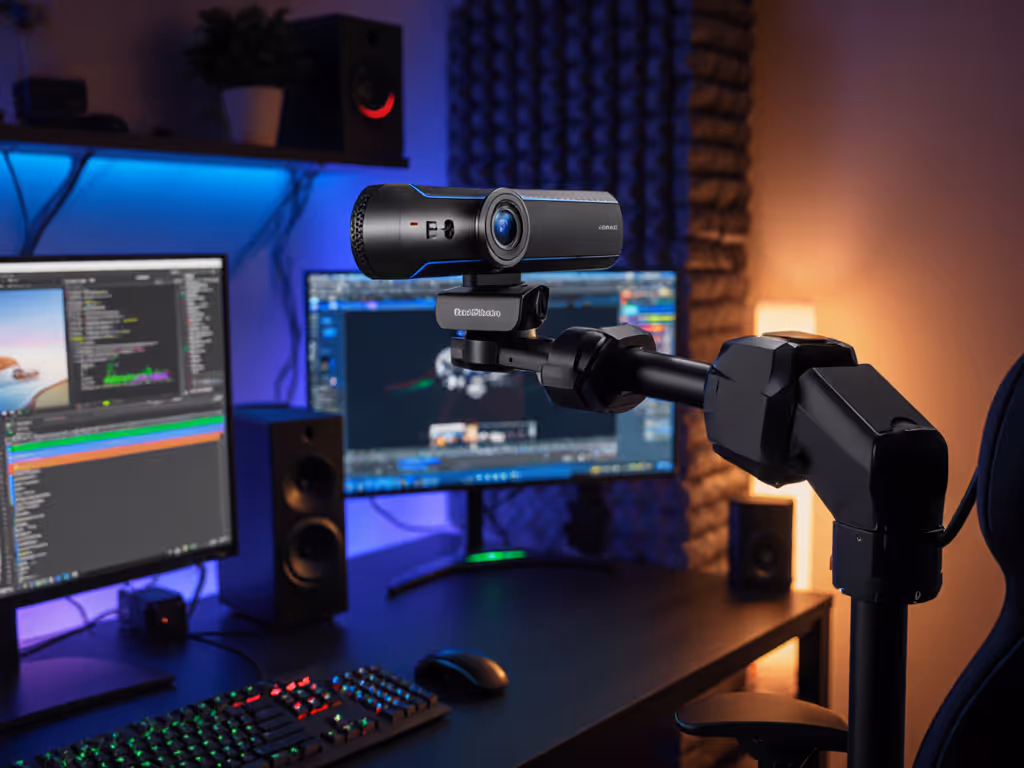
Best for: Stationary desk setups, close-up detail angles, secondary or tertiary positioning.
Stability: Dependent on clamp integrity and arm balance. Poorly balanced arms will drift downward over a 2-4 hour stream.
Setup time: 30-90 seconds to position; no repositioning mid-stream if you lock it right.
Cost range: $25-$120 per arm; quality articulating mounts with reliable pan/tilt locks, $60-$150.
Maintenance: Check clamp threads monthly; verify arm friction hasn't loosened; balance test before each stream if weight load changes.
Cost-per-stream: Very low, provided clamp stays functional. Common failure: clamp threads strip or friction ring loosens, causing mid-stream drift.
Verdict: Set-and-forget friendly if you invest $80+ in a quality unit. Budget mounts ($20-$40) tend to drift within 5-10 streams.
Best for: Overhead product angles, full-body fitness/dance, desk overhead detail shot.
Stability: Excellent, but installation is the barrier.
Setup time: 1-2 hours for initial installation; 30 seconds to position camera once mount is secured.
Cost range: $40-$200 for the mount itself; $100-$500 if you hire an installer or buy adhesive-based (non-damage) options.
Maintenance: Verify every 2-3 weeks that fasteners haven't loosened. Vibration from nearby movement can cause creep.
Cost-per-stream: Moderate to low if you're certain you'll keep the stream layout stable for 12+ months. If you're rotating content types frequently, this is inefficient.
Verdict: Commit only if your set layout is permanent. Spend once on what works every stressful Tuesday night.
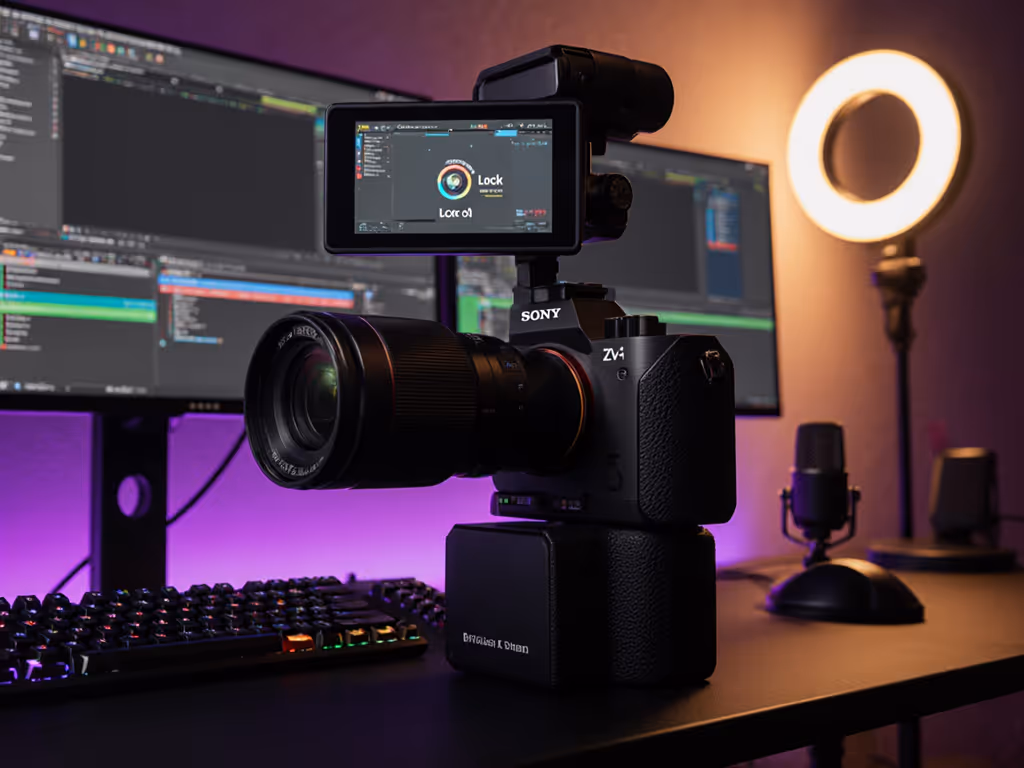
Best for: Mixing static and repositionable angles; creators alternating between home and co-work spaces.
Stability: Moderate; mobility trades off some rigidity.
Setup time: 2-5 minutes if you're moving setups between locations; 30 seconds if you're using a pre-configured base.
Cost range: $80-$250 per unit for quality hybrid mounts.
Maintenance: Regular inspection of quick-release mechanisms and cable retention.
Cost-per-stream: Moderate, justified if you genuinely move setups week to week.
Verdict: Overcomplicated for stationary streamers; underutilized by creators who claim flexibility but stream from the same desk 90% of the time.
Before buying a single mount, answer:
Create a small matrix:
| Angle Position | Camera Type | Expected Load | Mount Category | Stability Risk | Backup Plan |
|---|---|---|---|---|---|
| Main face-cam | Webcam (200g) | Light | Tripod or desk arm | Low if locked | Spare arm |
| Product detail | Webcam (200g) | Light | Articulating arm | Moderate (drift) | Desk clamp arm |
| Overhead | Webcam (200g) | Light | Ceiling or boom arm | Low if installed right | Clamp-based alternative |
For each mount, verify:
This is where most multi-angle setups fail silently: Cable quality and length directly affect stability and latency—use our USB cable guide to avoid hidden bottlenecks.
This is the lesson that saved my setup reliability.
Every stream day, 10 minutes before go-live:
This takes 10 minutes. It saves you 90 minutes of viewer attrition and embarrassment.
A $200 tripod and a $80 articulating arm = $280 total investment. If you stream twice weekly for 50 weeks, that's 100 streams. Cost per stream: $2.80, assuming the mounts don't fail. At year two (assuming they hold), cost-per-stream drops to $1.40.
Contrast with cheap tripods ($30) and low-friction arms ($20): $50 initial cost. But if they drift mid-stream or fail after 20 sessions, your real cost-per-stream includes:
Real cost per stream: $5+ when failures are factored in.
That $280 setup paying for itself in less than 70 streams (roughly 7 months of twice-weekly streams) by not failing.
Primary angle: Face-cam, upper-left or upper-right corner (standard). Secondary angle: Overhead hand-cam or knee-cam for controller visibility. Tertiary angle: Optional gameplay B-roll or reaction split-screen.
Mount recommendation: Tripod for face-cam (positioned above monitor), articulating arm clamped to desk for overhead angle. Fixed ceiling mount if your knee-cam never moves.
Cost ballpark: $150-$280 for three solid mounts.
Primary angle: Main face angle, 3/4 view, 2-3 feet from camera. Secondary angle: Detail close-up of makeup or product application. Tertiary angle: Full body or environment shot for outfit or lighting context.
Mount recommendation: Tripod for main (repositionable), articulating arm for detail (clamped at desk level), secondary tripod or wall mount for environment.
Lighting critical: Color shift between angles kills multi-angle value. Use the same color temperature light (5500K LED panels recommended) for all three angles. For lighting placement that flatters skin tones and avoids shadows, see our streaming lighting setup. Test white balance at each angle before streaming.
Cost ballpark: $200-$350, plus $200-$500 in consistent lighting (non-negotiable for this vertical).
Primary angle: Full body, centered, minimal background distraction. Secondary angle: Upper-body close-up or instrument detail. Tertiary angle: Optional back-angle for form feedback (especially fitness).
Mount recommendation: Tripod main and secondary (repositionable as needed), overhead boom or ceiling mount for back-angle.
Motion handling critical: Each camera must hold true 60 fps if your content involves fast movement (dance, fitness, DJ hand-mixing). Verify frame rate per webcam before committing.
Cost ballpark: $180-$320 for mounts; upgrade to a 60 fps webcam ($100-$200) if entry-level models stutter.
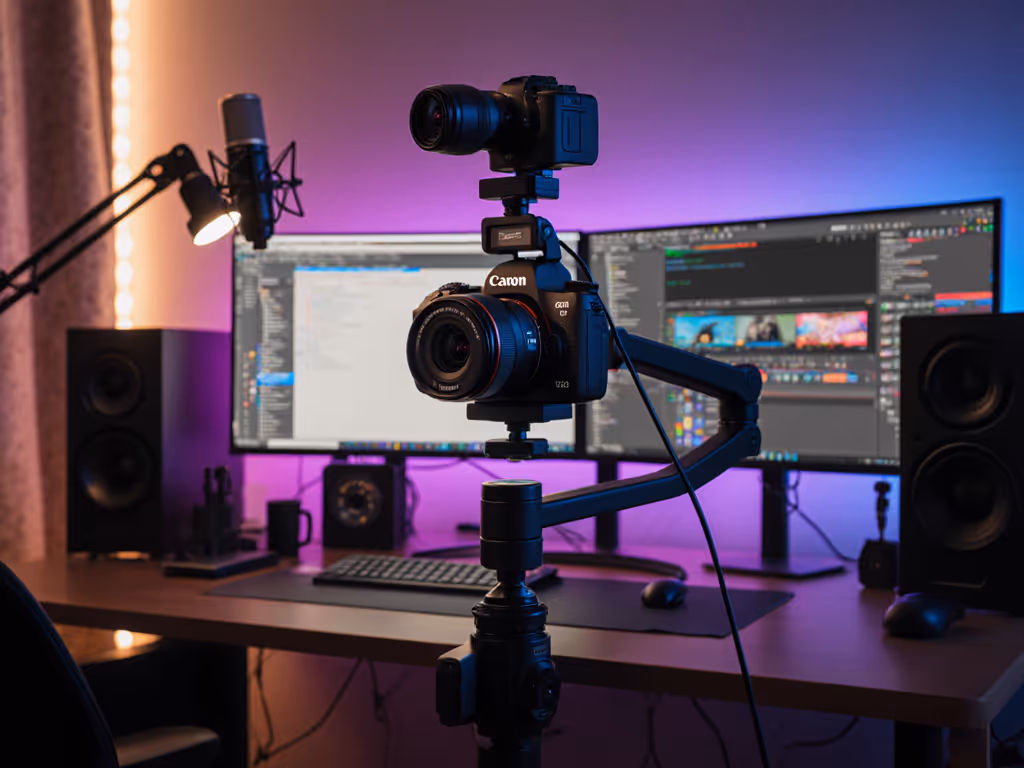
Primary angle: Your face, slightly off-center, with product visible to one side. Secondary angle: Close-up of product detail, hands manipulating. Tertiary angle: Optional wide environment shot to show workspace scale.
Mount recommendation: Tripod main, articulating arm for detail (clamped low for overhead product shots), fixed tripod or clamp-arm for environment.
Autofocus critical: If your detail camera is hunting focus during close-ups, viewers will perceive it as unprofessional. Test autofocus speed per camera at your typical working distance (6-12 inches for product detail). If hunting takes >1 second, consider a manual-focus backup or a camera with continuous AF.
Cost ballpark: $160-$300 for mounts, contingent on autofocus reliability of secondary camera.
Professional rigs (studio boom arms, C-stands, monitor arms) often tempt creators because they look professional. But they require:
Unless you're running a permanent studio or managing a multi-camera live broadcast daily, modular mounts deliver 90% of the visual polish at 30% of the cost and complexity. The constraint is honest (you're not reducing quality, you're optimizing for creator schedules, not production timelines).
Before you buy any mount, confirm:
Multi-angle streaming isn't about rigging complexity, it's about reliable repeatability. Every session should feel identical in framing, focus, and stability. That consistency is what lets viewers focus on your content instead of your technical setup.
Spend once on what works every stressful Tuesday night. A $250 set of quality mounts, locked properly and tested rigorously, will outlast and outperform a $600 rig that requires constant adjustment and troubleshooting.
Your audience doesn't care how you achieved multiple angles. They care that the angles look polished, the focus doesn't hunt, and the stream doesn't die mid-session. That's where mounting systems live or fail.
Start with two angles (main and detail or main and overhead). Master that setup for 20 streams. Then consider a third angle if your content warrants it. This phased approach keeps complexity low and reliability high, the foundation every creator needs before chasing visual polish.