Hardware Comparisons: Webcams & Mics
Agricultural Streaming Webcam Comparison: Best Cameras for Farms
29th May•14 min read
As a color consultant who specializes in streaming setups, I've lost count of how many creators came to me with skin tones that shifted from warm sunset to cool winter with every lighting change. The core question always comes down to this: when choosing between a dedicated streaming camera and a smartphone-connected webcam for your content, which delivers truer, more consistent skin tones across platforms? This isn't just about looking good. It's about building trust through visual consistency. Let's put both options through the same rigorous skin tone testing protocol I use with professional streamers.
Your audience connects with your face before your content. When I helped a beauty creator whose sponsor screenshots kept showing an unnatural green cast in her complexion, we traced it to inconsistent white balance between her living room LED strips and daylight lamps. For a quick win, follow our streaming lighting setup to match color temperatures and avoid mixed-light surprises. After implementing a dual-illuminant reference chart process and platform-specific LUTs, her skin tones stabilized across Instagram Reels, YouTube Shorts, and Twitch, all without heavy post-processing. One comment said it best: "Color you can trust, even when the lights disagree."
For VTubers, educators, beauty creators, and anyone building a recognizable brand, inconsistent skin tones undermine credibility. Your viewers' brains register subtle color shifts as "something feels off" (even if they can't articulate why). This is why I always preach: Neutral before stylized. Lock your natural skin tone foundation first, then apply creative color grading.
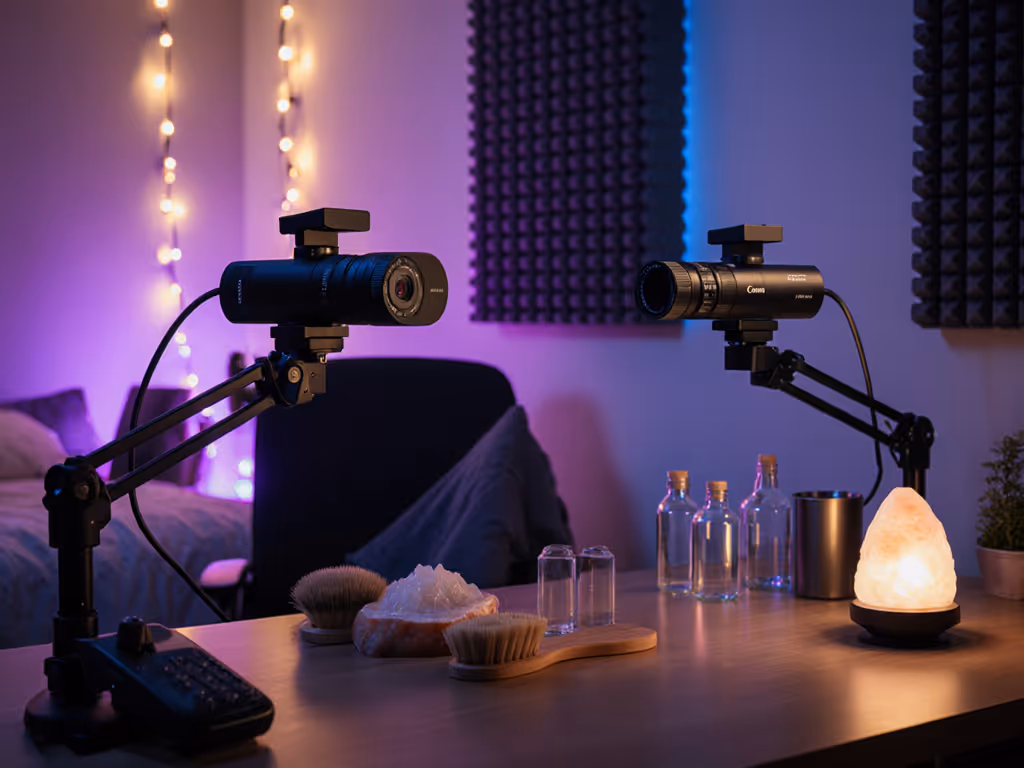
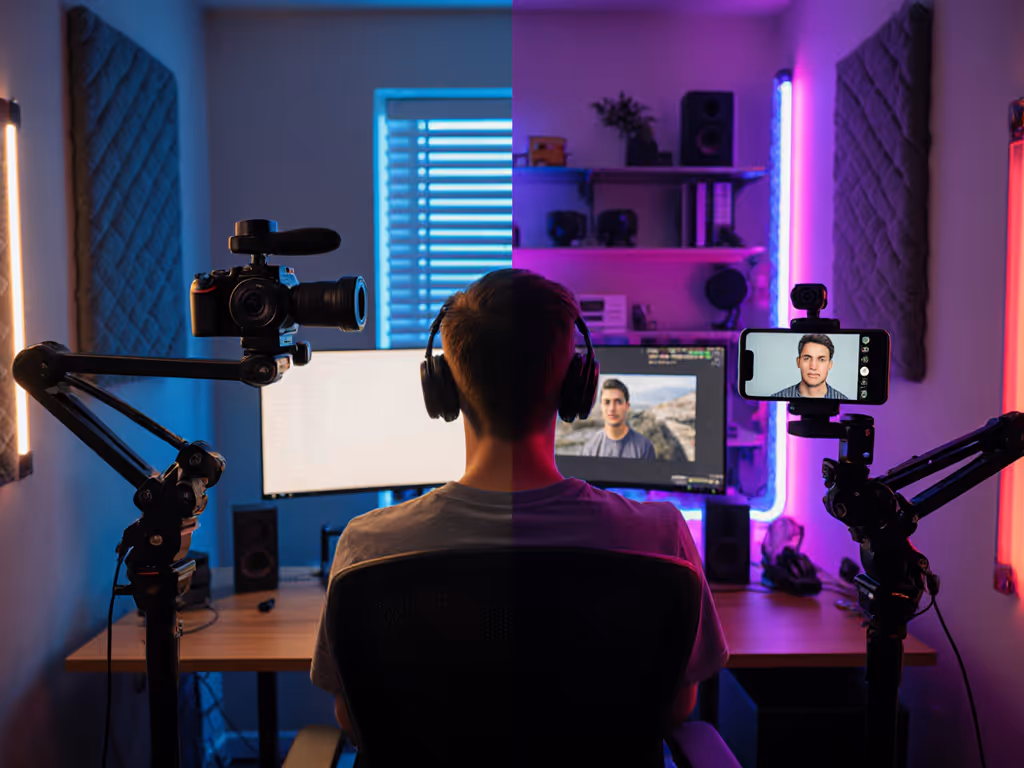
I tested three configurations:
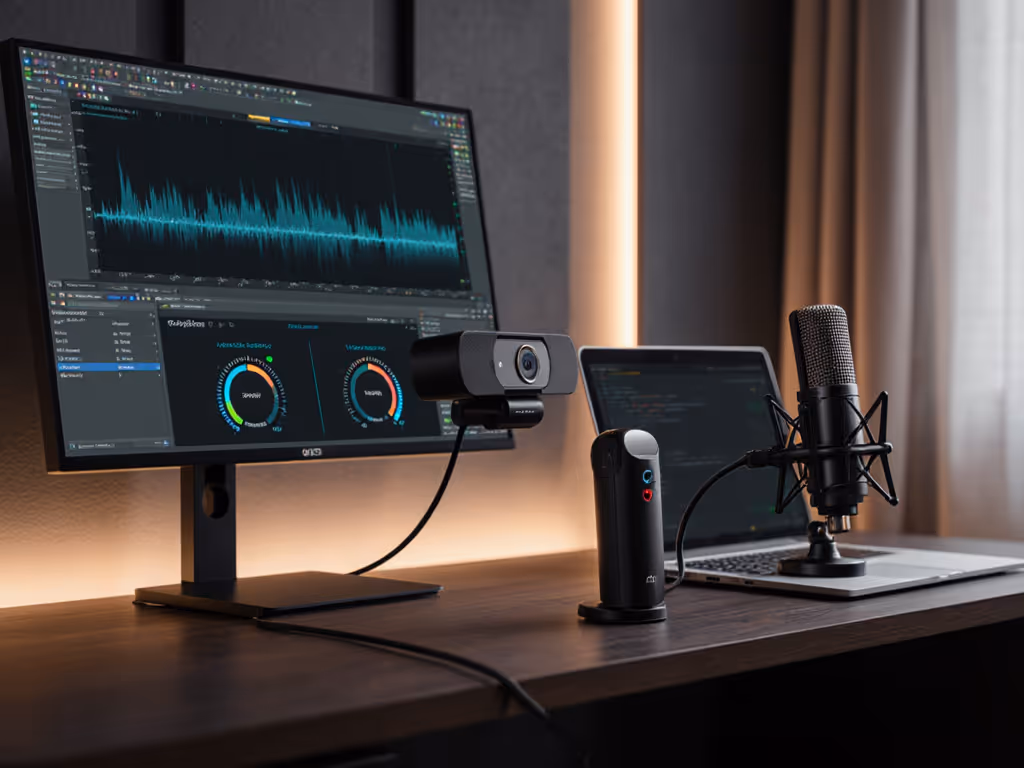
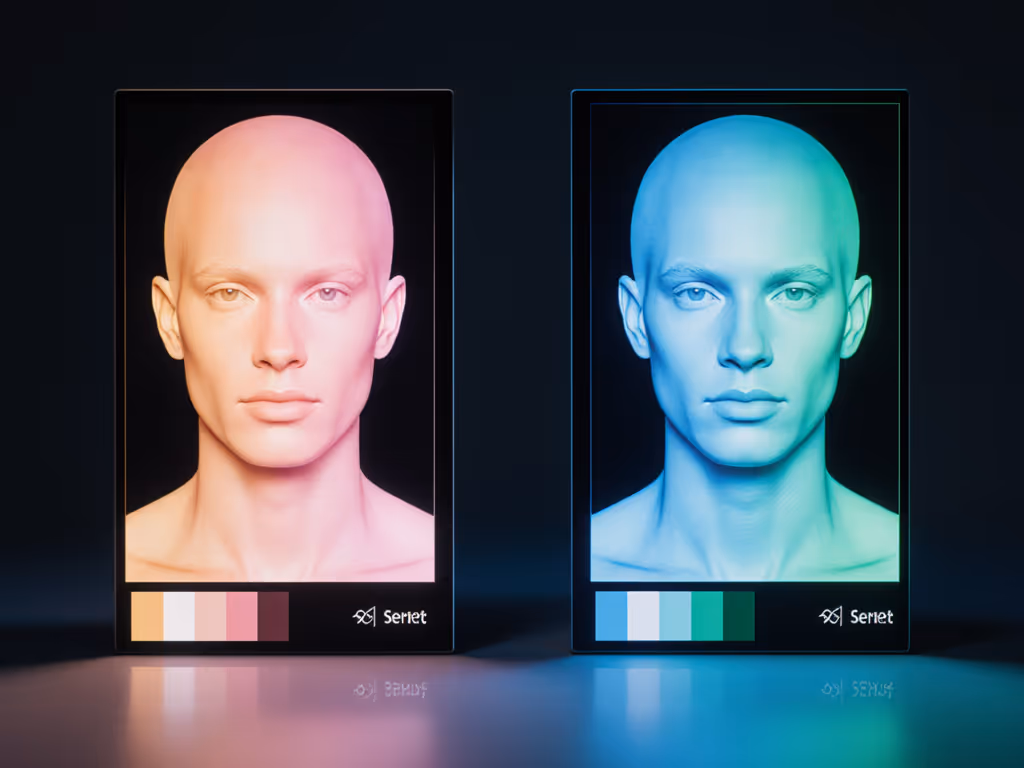
I mapped each device's RGB values against X-Rite ColorChecker Classic under four lighting scenarios: 5600K daylight, 3200K tungsten, mixed 5600K + 3200K, and RGB gaming LEDs. For skin tones specifically, I measured deltaE values against the ColorChecker's Caucasian, Middle Eastern, and South Asian skin tone patches.
This reference-chart driven approach isolates how each device handles the complex interplay between lighting, sensors, and processing, which is critical for diverse creators. To lock in consistent color across platforms, use our webcam calibration guide to dial in white balance and skin tone targets.
| Lighting Condition | Streaming Camera (deltaE) | Smartphone-Connected Webcam (deltaE) | Key Observation |
|---|---|---|---|
| 5600K Daylight | 2.1 | 1.8 | Phone's computational processing slightly oversmoothed texture |
| 3200K Tungsten | 6.7 | 3.4 | Dedicated camera struggled with warm tones without manual WB |
| Mixed (5600K + 3200K) | 9.3 | 4.1 | Phone's dual-camera system created inconsistent color splits |
| RGB Gaming LEDs | 12.8 | 7.2 | Critical failure point (camera pulsed white balance constantly) |
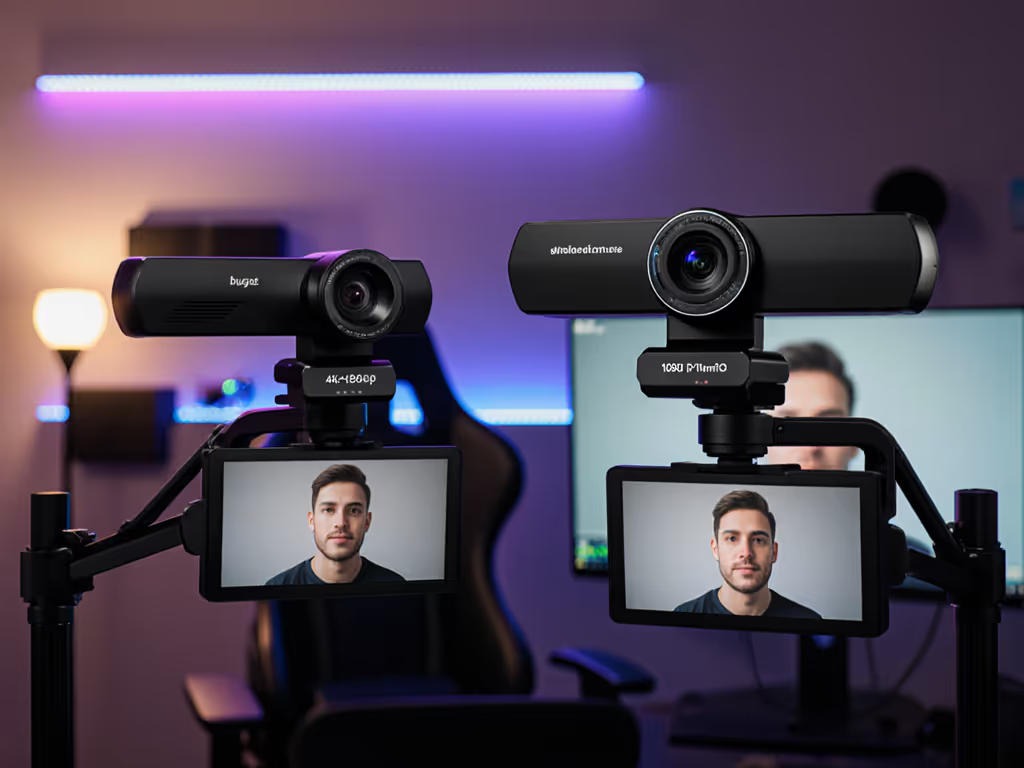
Both device types showed acceptable skin tones in controlled lighting (deltaE < 5). But the streaming camera hit a processing cliff in mixed lighting, where it couldn't reconcile extreme color temperatures. Its manual white balance held steady until the lighting changed, then took 8-12 seconds to rebalance, creating that distracting pulsing effect many streamers complain about. If AWB drift is ruining your look, compare auto white balance webcams that stay neutral during live lighting changes.
The smartphone-connected webcam performed better in dynamic lighting thanks to its computational photography, but introduced two new issues:
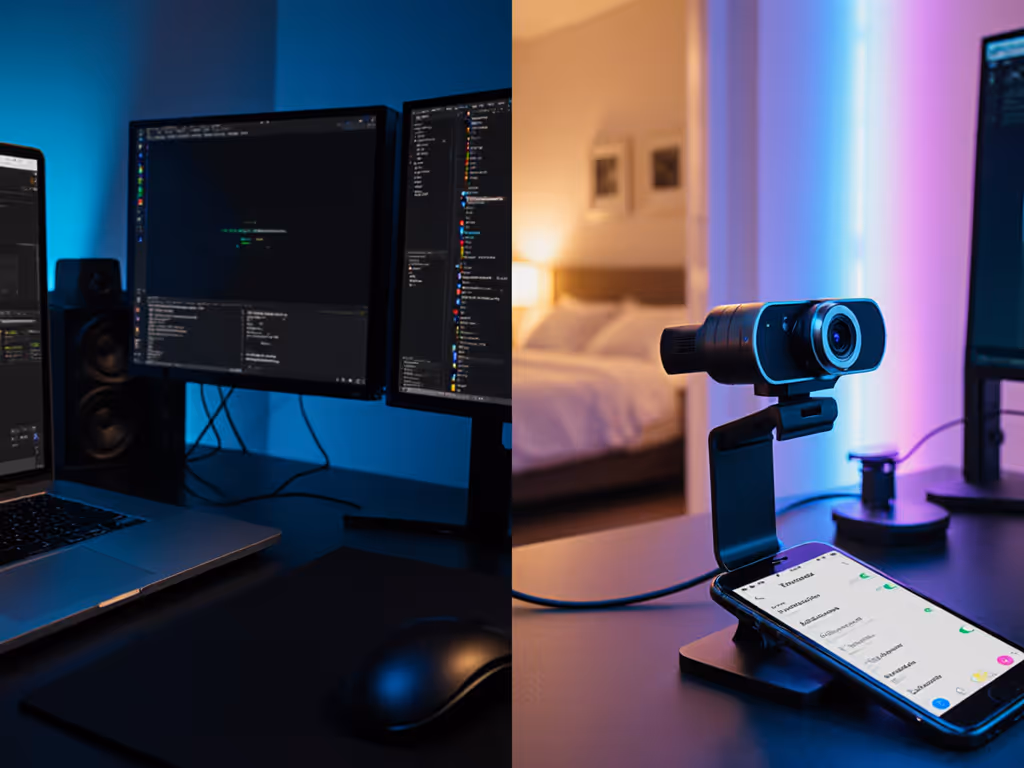
During real-time testing, I discovered something most reviews miss: latency affects perceived skin tone. With the smartphone-connected webcam using wireless transmission, the 300-500ms delay caused streamers to adjust their lighting while the previous lighting was still visible to viewers. This is a common cause of "why does my skin keep changing?" complaints. Wired streaming cameras eliminated this feedback loop, providing a more stable reference during live adjustments. See our wired vs wireless streaming comparison for real-world latency and stability differences.
Your device choice should align with your specific streaming challenges, not generic "which is better" claims. Here's my lighting-aware decision framework:
Whichever device you choose, these lighting-aware adjustments will stabilize skin tones:
Remember: Your goal isn't perfect skin. It's consistent skin. With either setup, document your white balance settings and lighting position so you can rebuild your look after resets. This documentation process is what finally solved the green cast issue for my beauty creator client, turning inconsistent streams into a reliable brand asset.
Both streaming cameras and smartphone-connected webcams can deliver professional skin tones, but they excel in different scenarios. For controlled environments where you prioritize minimal latency and manual control, dedicated streaming camera systems provide reliable, consistent results. When dealing with mixed lighting and multi-platform demands, the computational strengths of a smartphone-connected webcam often win out (if you manage its processing artifacts).
Your next step? Conduct your own deltaE test:
The creators who build trust aren't those with the most expensive gear. They're the ones who understand their gear's skin tone behavior and work with it intentionally. When your audience sees the same authentic you across every platform, they'll know exactly who they're connecting with. That's the foundation no filter can replace.
Further Exploration: Try tracking skin tone deltaE under your specific lighting for one week. Notice how viewer comments about your "appearance" change when you stabilize within deltaE < 5. Share your findings with #ConsistentSkinTones. I'll respond to the most insightful analyses with personalized workflow tips.