Setup & Technical Fundamentals
Trading Stream Webcam Optimization: Clear Charts, Clean Video
25th May•10 min read
Optimal webcam positioning and webcam angle guide aren't one-size-fits-all, they depend on your setup, space, and content type. Getting this right is what separates a stream that looks polished from one that feels amateurish, even if your gear is identical. The good news: positioning costs nothing, requires no software, and once you nail it, it stays locked. That reliability matters more than you'd think when you're live on a schedule.
Stable beats shiny, and nothing undermines stability like fighting bad angles on go-live nights.
I learned this the hard way. Years ago, a sponsor stream died because a driver update broke my virtual camera minutes before air. After rebuilding around class-compliant gear and simple setups, I started tracking what actually held predictable quality across sessions. Positioning turned out to be foundational. When your camera angle is right, your equipment doesn't have to work as hard; autofocus locks faster, lighting reads true, and you can focus on content instead of tweaking settings mid-broadcast. This guide walks through the most common scenarios and gives you a replicable checklist for each.
If you're streaming with one monitor and one webcam, your goal is simple: place the webcam at eye level, frame yourself clearly, and stop second-guessing.
Why eye level? A camera positioned below your chin flatters no one, you've experienced this in selfies. A camera too high often puts viewers looking down at the top of your head. Eye level creates a direct, personal connection. For a deeper walkthrough, see our eye-level positioning guide. Studies confirm that webcam positioning matters; lower angles may signal power, but for most creators, the flattery and audience engagement come from direct eye contact.
Find your eye level – Sit in your streaming chair and note where your eyes are relative to your desk surface.
Mount or prop your camera – Use a stack of books, a laptop riser, or a small desktop stand to position the webcam lens at or just slightly above eye level. If your camera is in a laptop, elevate the laptop itself on a stand or books.
Test before streaming – Open your streaming software and preview your feed. The top of your head should have a small amount of space above it; if there's a large gap, lower the camera.
Frame your face and upper body – Zoom or move back so viewers see your face clearly and a bit of your shoulders. Avoid extreme close-ups unless you're doing a makeup or product-focus segment.
Check your background – Clear clutter, or add a backdrop. A messy background pulls attention away from you and signals rushed prep. Lighting behind you matters too (avoid sitting with a bright window directly behind your head).
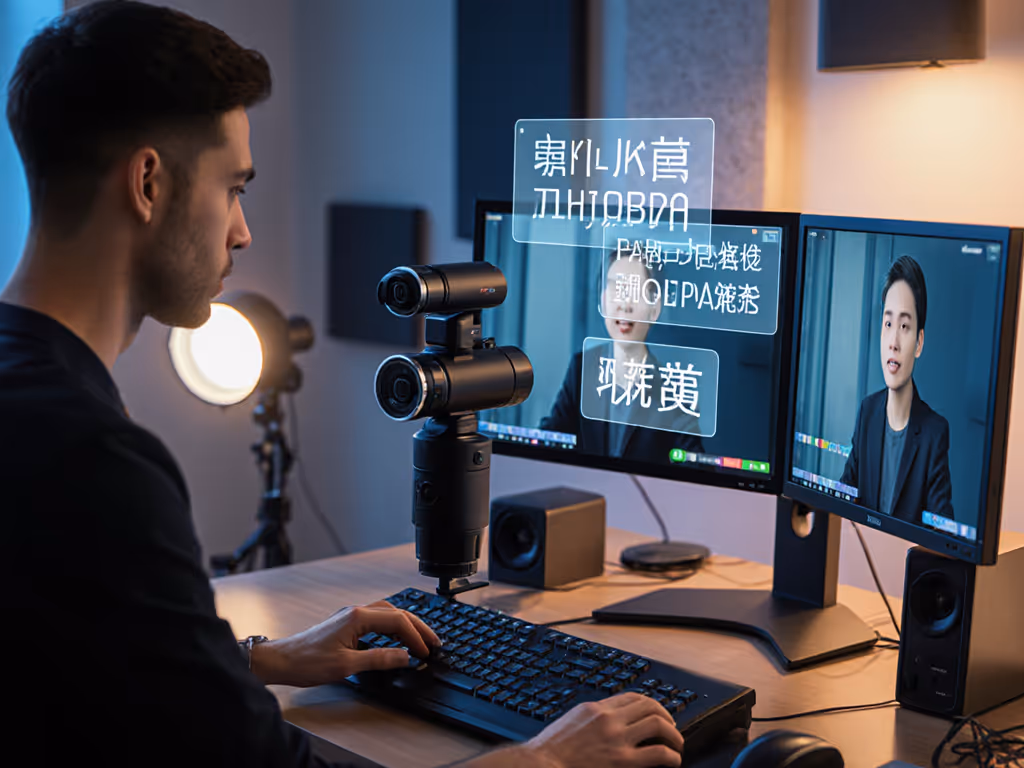
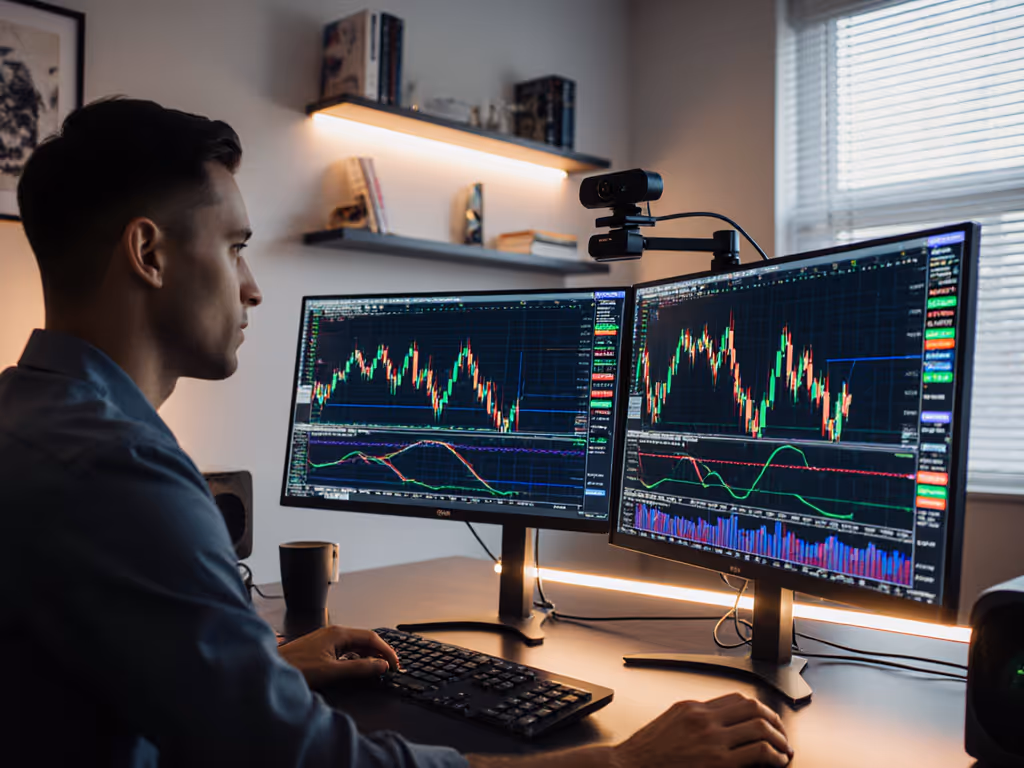
Many streamers work with two monitors (one for content, one for notes or streaming software). Positioning your webcam between the two monitors keeps your gaze from straying far, and viewers perceive better eye contact.
Place monitors side by side – Leave 4-6 inches between them for your camera.
Mount the webcam in the center gap – Use a small tripod, books, or a gooseneck mount to position the camera at eye level between the screens.
Set up content on one monitor, controls on the other – Your slide deck or game capture goes on the left (or right); OBS, chat, or notes on the other side.
Practice your gaze – Glance between monitors without moving your face far from center. Viewers should see you making "eye contact" with them, not darting your eyes side to side.
Frame and test – Ensure your face and shoulders are visible; you'll appear less cramped than in a single-monitor setup.
This layout reduces the distance you look away from camera. For multi-monitor framing specifics, use our multiple monitors positioning guide. Your audience stays engaged because you're not swiveling your head, you're glancing. Budget clarity: no new hardware needed. If you already have two monitors, a cheap tripod and camera do the job.
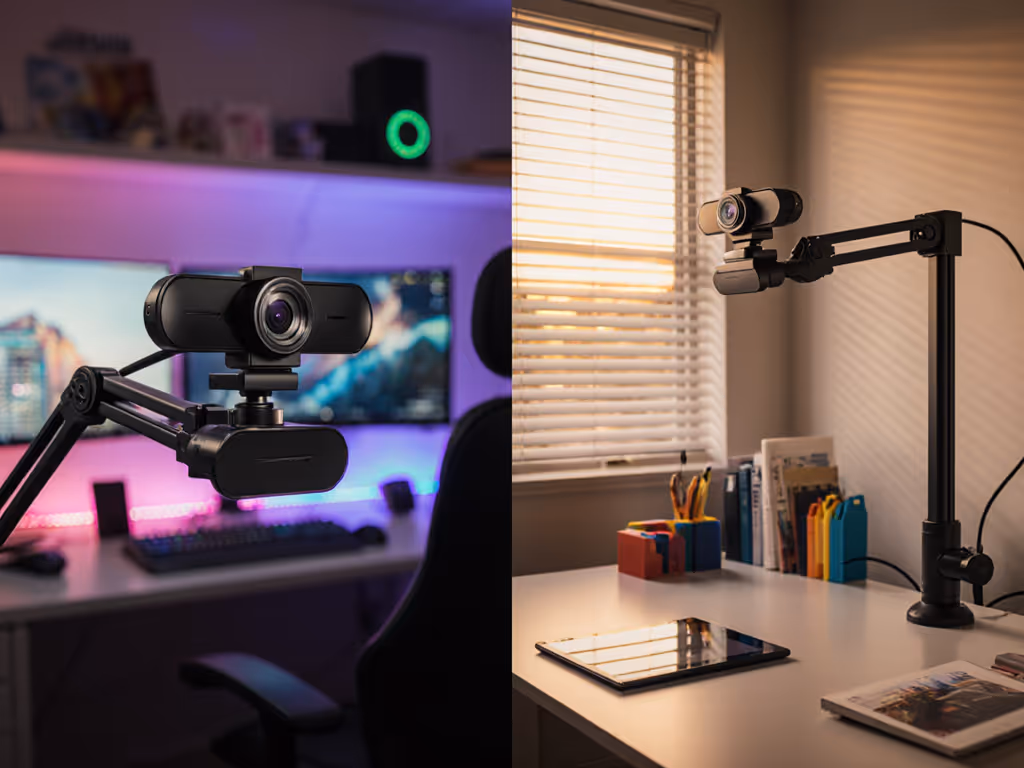
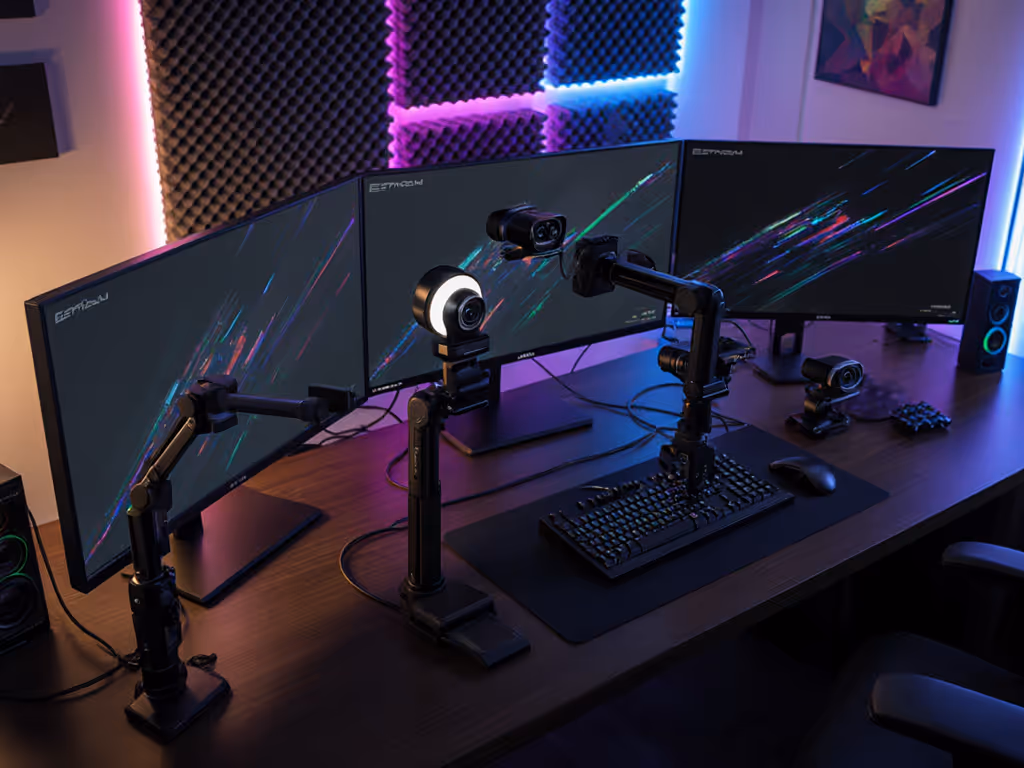
If you want to vary camera angles (say, a primary angle straight-on and a secondary angle to the side), you can hold viewer attention better than with a single static shot.
Position camera 1 at eye level, directly in front – This is your primary, looking-at-viewer shot.
Position camera 2 off to the side – Offset left or right, slightly lower or higher for visual variety. A 30-45 degree angle works well.
Switch feeds intentionally – Don't jump between cameras randomly. Switch when you turn to reference a second monitor, point at a product, or mark a topic shift.
Maintain eye contact feeling – Even with two cameras, avoid the temptation to look directly at one camera, then the other in quick succession. This jerks viewer perception. Pause, turn slightly, then look at the new camera.
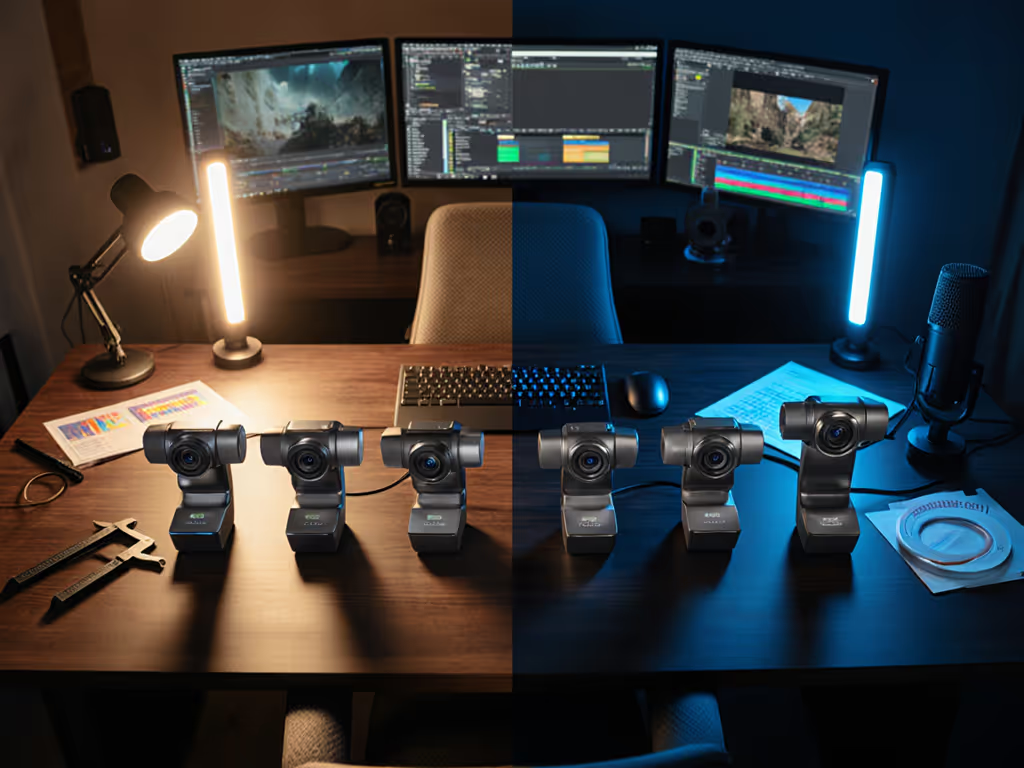
Test color and exposure parity – Multi-camera setups can expose mismatches in white balance or brightness. Adjust lighting or camera settings so both feeds feel cohesive. Mismatched colors distract viewers and cheapen the production. Dial in consistent exposure and skin tones with our streaming lighting setup guide.
Multi-camera setup works best if you have a guest or co-host. If you're ready to wire it up, our dual webcam setup guide walks through budget-friendly options. Solo creators benefit from it only if you're demonstrating something (hands, a product, your full body) that requires perspective shifts. Otherwise, one stable, well-positioned camera is less to manage and more reliable.
When you're hosting a guest or co-host, camera positioning shifts because you're balancing two people on screen.
Assess seating – If your guest sits beside you, one camera at eye level may frame both of you adequately. Test this first.
For formal interviews (facing each other) – Use two cameras, one on each person, or follow the 180-degree rule to avoid disorienting perspective. Place cameras so the eye lines feel natural to viewers, not like you're looking off-screen at an invisible third person.
Establish camera height for both – Both cameras should be at eye level for their respective person. If heights differ, adjust so the lower person doesn't appear subordinate.
Leave headroom equally – Framing consistency matters; both people should have similar amounts of space above their heads.
Test audio-visual sync – Multi-camera setups can introduce latency drift. Record a short test segment and check that lips sync with dialogue. If lag is visible, your streaming software may buffer one feed slower than the other.
Before every stream, run this checklist. Spend once on what works every stressful Tuesday night.
Positioning is checklist-driven and repeatable. Start with whichever scenario matches your setup today (single monitor, two monitors, or guest-based). Use your phone or streaming software to preview your feed at the positions suggested above, then lock your camera in place. Don't overthink it; slight variations in angle rarely break engagement if the core principle (eye level, clear frame, stable setup) is there.
Once you're live, avoid the urge to micro-adjust mid-stream. The best camera position is the one you test thoroughly beforehand, then trust. In my experience, creators who nail their positioning first spend less time troubleshooting and more time building an audience. That consistency (knowing your setup won't betray you) is what separates one-off streams from a repeatable brand.
Set your camera, run your checklist, and go live with confidence. When you're ready to lock it in permanently, explore advanced webcam mounting ideas for space-saving, repeatable angles.