Stream-Ready CamsStream-Ready Cams

Specialized Camera Angles: POV vs. Overhead by Use Case

By Diego Alvarez20th Apr
Specialized Camera Angles: POV vs. Overhead by Use Case

Specialized camera angles aren't just compositional flourishes, they're strategic framing choices that reshape how your audience interprets your content, your credibility, and the action unfolding on screen. Within live production, two angles dominate creator workflows: POV streaming techniques and overhead perspectives. Each serves radically different storytelling functions, and choosing the wrong one for your content type can dilute impact, confuse viewers, or worse, tank retention mid-stream.

The choice isn't aesthetic, it's functional. I've backed into this lesson the hard way: backstage at a charity stream, a gaming cam started drifting a full second behind overlays and graphics. The scramble to reroute to a backup camera and match exposure taught me that reliable angle selection isn't just about what looks good in theory. It's about what holds up under pressure, across multiple takes, and under lighting conditions you didn't anticipate. Smooth hands, smooth scenes, zero mid-stream surprises ever.

This guide breaks down when and how to deploy each angle, paired with the technical redundancy that keeps you live without scrambling.

What Are POV and Overhead Angles?

POV (Point-of-View) Angles in Live Streaming

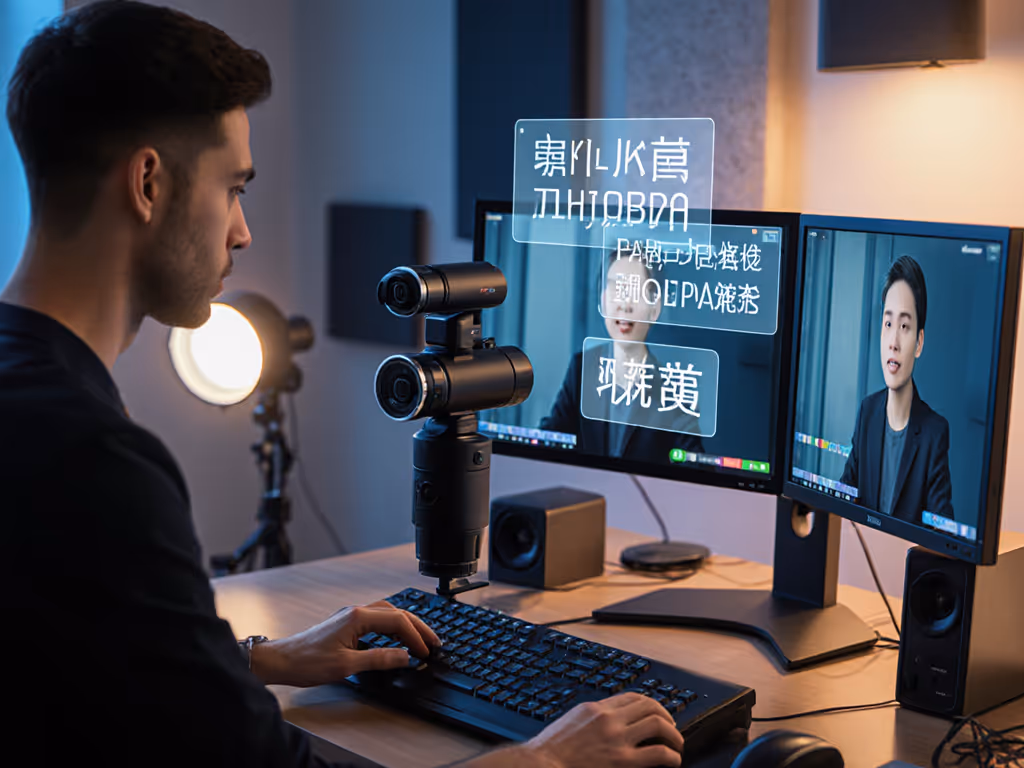
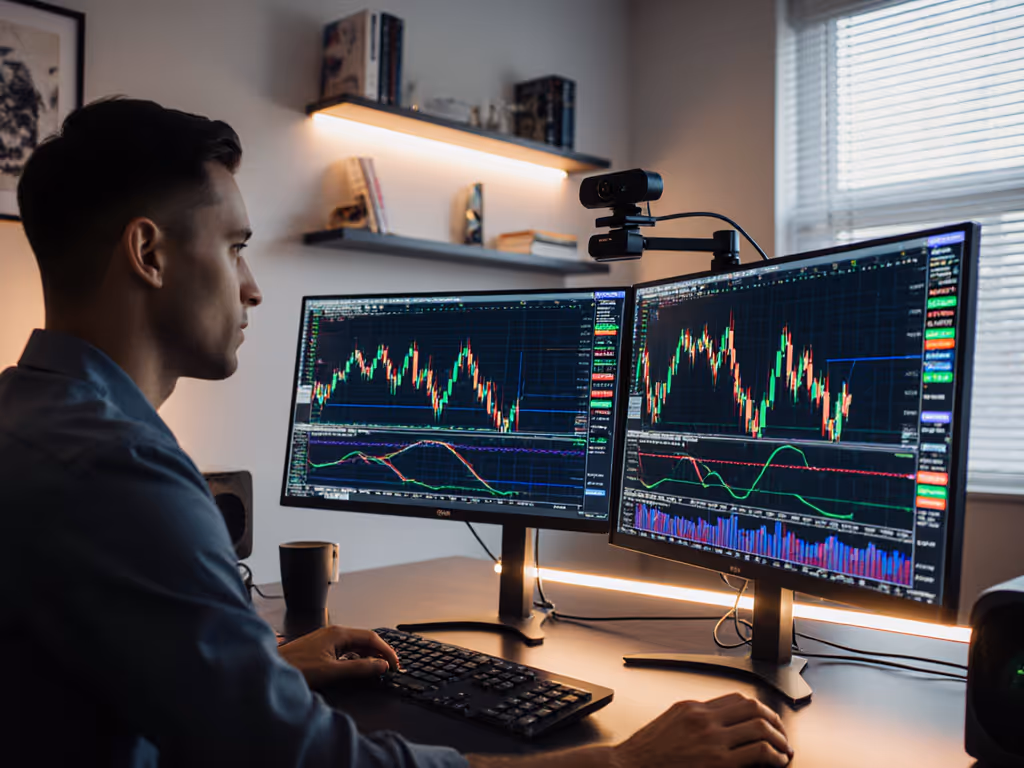
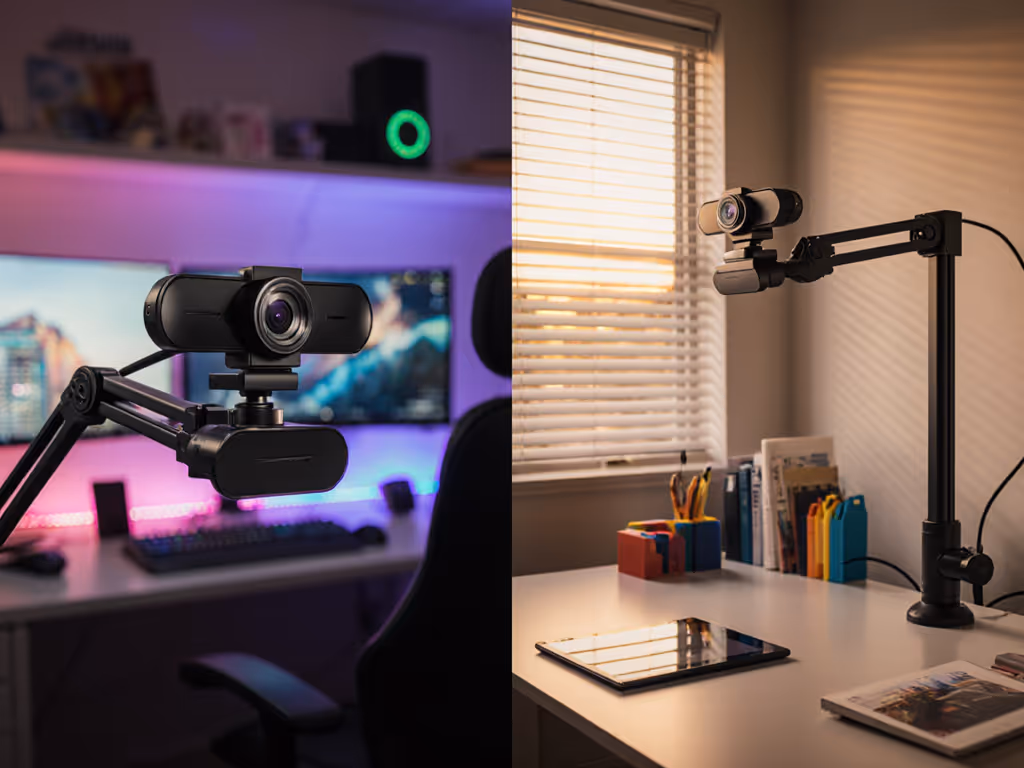
A POV shot places the camera at or near the perspective of your subject, usually capturing hands, a product, or a workspace from an intimate, first-person view[1]. In streaming, POV angles frequently mount on a desk arm, a boom, or inside a bag to show viewers exactly what you see.[2] For stable framing and mount choices, see our webcam positioning guide.

The technical reality: POV angles create direct engagement and immediacy. Viewers aren't watching you work; they're working with you. This immersive framing drives higher parasocial connection and task comprehension, which is why makeup artists, engineers, chefs, and product reviewers lean on it.

Overhead Angles (Bird's Eye View)

An overhead shot, sometimes called bird's eye view streaming, points the camera downward from above, capturing a wide plane: your entire desk, both hands, tools, product spread, and context[1][3]. This angle is cinematic and organizational, showing spatial relationships and workflow sequences that a POV angle can't capture simultaneously.

The perceptual effect: overhead angles feel authoritative and educational. They create scale and scale awareness. Your audience sees the whole system, not just the close work, which reinforces credibility and clarity.

Core Differences: Impact on Viewer Perception

Camera angle choice encodes power, intimacy, and information hierarchy. Here's what the research shows:

DimensionPOV AngleOverhead Angle
Emotional DistanceIntimate, collaborativeObservational, instructional
Information LoadFocused detail; high intensity on targetContextual; shows workflow sequence and scale
Autofocus StabilityHigher lock frequency; benefits from manual focus backupEasier static lock; less subject drift
Lighting SensitivityShadow detail critical; backlit hands distractDiffuse overhead lighting preferred
Multi-Cam MatchingDifficult; focal lengths/distances vary widelySimpler; can use matched focal lengths
Motion Blur RiskHigh if hands/tools move fast at 30 fpsMedium; subject plane is stable
Best ForClose-ups, product detail, live makeup, fast-hand work, DJ/musician hand positionDesk walkthroughs, ingredient layout, circuit board assembly, board game rules teaching, fitness form checks

Use-Case Mapping: When to Deploy Each Angle

POV Angles Shine In:

  • Beauty & Makeup Streaming: Application close-ups demand POV. The palette, brush, face plane are all in intimate focus. Overhead loses the micro-textures and blend work that drive engagement.
  • Product Review & Unboxing: Hands handling a device, opening layers, showing detail, POV fills the frame with tactile intent.
  • Music/DJ Performance: Hand position on turntables, mixer faders, keyboard finger work. Overhead flattens hand dynamics; POV captures the precision.
  • Fitness & Movement Coaching: Form cues (hand placement, arm angle, foot position) are clearer from a POV that mimics how a trainer watches a client in the room.
  • Bag POV Setup: Mounting a compact camera in a bag, backpack, or over-the-shoulder rig to show travel, unboxing on-location, or behind-the-scenes workflow.

Overhead Angles Dominate:

  • Cooking & Food Prep: Ingredient layout, knife technique, pan management. Overhead shows all elements at once and is the standard in culinary content.
  • Desk Assembly & Tech Building: Soldering, circuit layout, component placement, overhead avoids shadow occlusion and shows spatial relationships.
  • Board Game / Tabletop Content: Rules explanations, piece placement, player turns. Overhead is non-negotiable.
  • Fitness Form Checks (Alternate): If you're demonstrating a floor-based move or yoga pose, overhead shows full-body alignment that POV cannot.
  • Educational Demonstrations: Drawing, writing, whiteboard notes, diagram work. Overhead keeps the entire lesson plane visible.

Technical Setup: Routing & Redundancy

Now the operational layer: choosing an angle is one decision. Holding that angle reliably under mixed lighting, USB bandwidth constraints, and unexpected setup shifts is another.

POV Setup Checklist

Before going live, execute this sequence:

  1. Mount your POV camera (desk arm, boom, or bag) and position it 8-12 inches from your primary work plane. Test autofocus lock at this distance; if drift occurs, switch to manual focus and dial in the depth manually.
  2. Set white balance to manual (not auto) if using mixed RGB or warm desk lamps. Auto white balance will pulse under dynamic lighting and break color continuity between cuts.
  3. Enable USB 3.0 or better if available (avoids bandwidth throttling at 1080p60). If USB 2.0 is your only option, lock the POV camera to 1080p30 or 720p60 and test frame drop rate in OBS before your first session.
  4. Route the POV feed into OBS/Streamlabs as a secondary source. Set up a hot-key macro (e.g., 
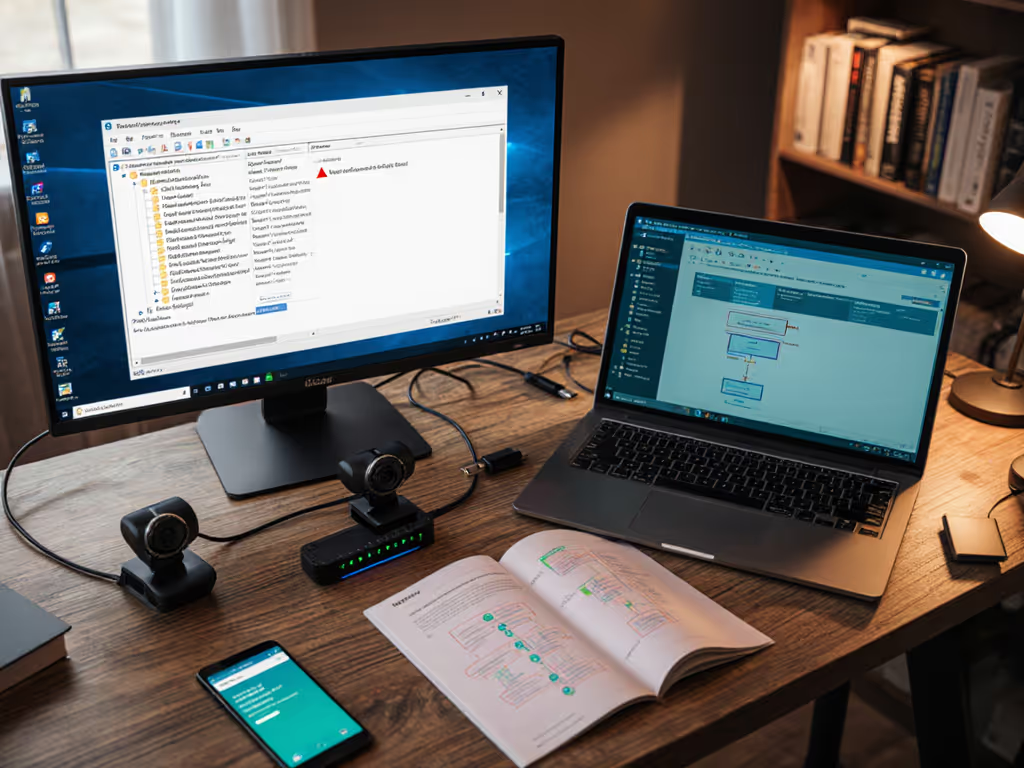
Ctrl+Alt+P) to toggle between your main and POV scene instantly. Dial in profiles and sources with our OBS webcam configuration guide. This is your failover if the primary camera drifts or loses lock.
  5. Record a 2-minute test clip at full streaming resolution and bitrate. Playback and check for:
  • Exposure pulsing (indicates auto exposure in use; disable it)
  • Autofocus hunting or lag
  • Motion blur on fast hand movement (increase shutter speed or move to 60 fps if motion is critical)

Overhead Setup Checklist

Before going live:

  1. Mount the overhead camera directly above your work plane, 18-24 inches up. Use a boom arm or tripod positioned behind the plane so your hands don't occlude the mount.
  2. Use diffuse overhead lighting (softbox or bounce) to avoid harsh shadows cast by your hands. Test with a hand moving through the plane; shadows should be soft and non-distracting. For a complete walkthrough on diffusion and key/fill balance, read our streaming lighting setup.
  3. Focus on the midpoint of your work plane. Use a depth-of-field preview (if your camera supports it) to ensure the entire active zone is sharp.
  4. Set frame rate to match your POV/primary camera (if running multi-cam). Mismatched frame rates cause sync drift in the edit or live output.
  5. Route the overhead feed to a separate OBS scene layer or dedicated source, with a hot-key macro for instant cutover or picture-in-picture compositing.
  6. Record the same 2-minute test. Check for:
  • Glare or blown-out areas (adjust diffusion or reduce camera gain)
  • Edge softness (adjust focus or aperture)
  • Frame rate consistency (confirm 60 fps is actually held, not dropped)

Multi-Angle Redundancy Pattern

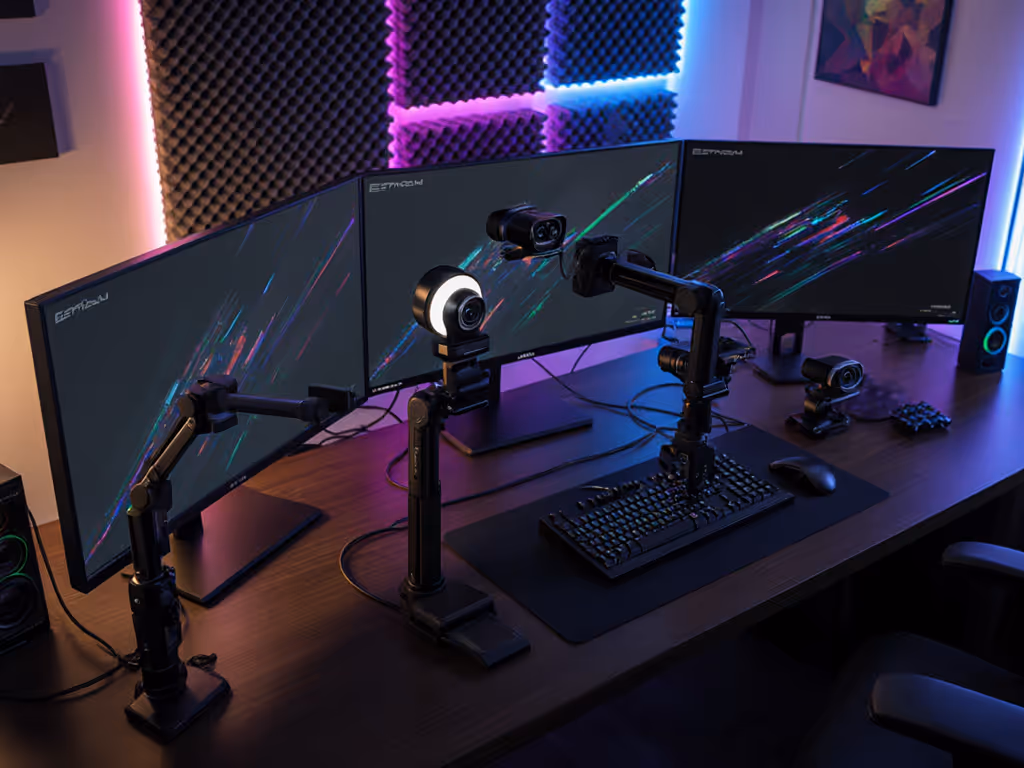
Here's the workflow I've learned works: set up both POV and overhead cameras in a single OBS project, routed to separate scene slots. Use your primary camera (POV or overhead, depending on your content type) as the default output. If you want structured switching and budget gear picks, follow our dual webcam streaming guide. The secondary camera is your active failover, not a transition effect.

If your primary POV camera autofocus drifts or exposure pulses unexpectedly, you press your hot-key and cut to the overhead angle. Viewers see a perspective shift, but they don't see a dropped frame or a blurry stream. This is redundancy done right, invisible to the audience, invisible in your hands.

Dynamic Camera Perspectives: Blending Angles Mid-Stream

Advanced creators blend dynamic camera perspectives by cutting between POV and overhead on a schedule. Example rhythm for a makeup tutorial:

  • Seconds 0-15: Overhead wide shot (palette, brushes, face model layout)
  • Seconds 15-45: POV close-up (brush load, application, blend technique)
  • Seconds 45-60: Overhead step-back (full-face effect, next step setup)

This cadence keeps the viewer spatially oriented while maintaining detail focus. The key: content-specific framing means you're not cutting randomly. You're cutting on information beats: when the audience needs to see the big picture, you zoom out; when detail matters, you zoom in.

To execute this in OBS:

  1. Create scene transitions with 1-2 frame crossfade (instantaneous to viewers, but smooth on encoding).
  2. Use time-based triggers (macros or manual hot-keys) to cue cuts.
  3. Record each angle separately during your test session to confirm no frame drop on the transition.

Exposure, White Balance, and Latency Across Angles

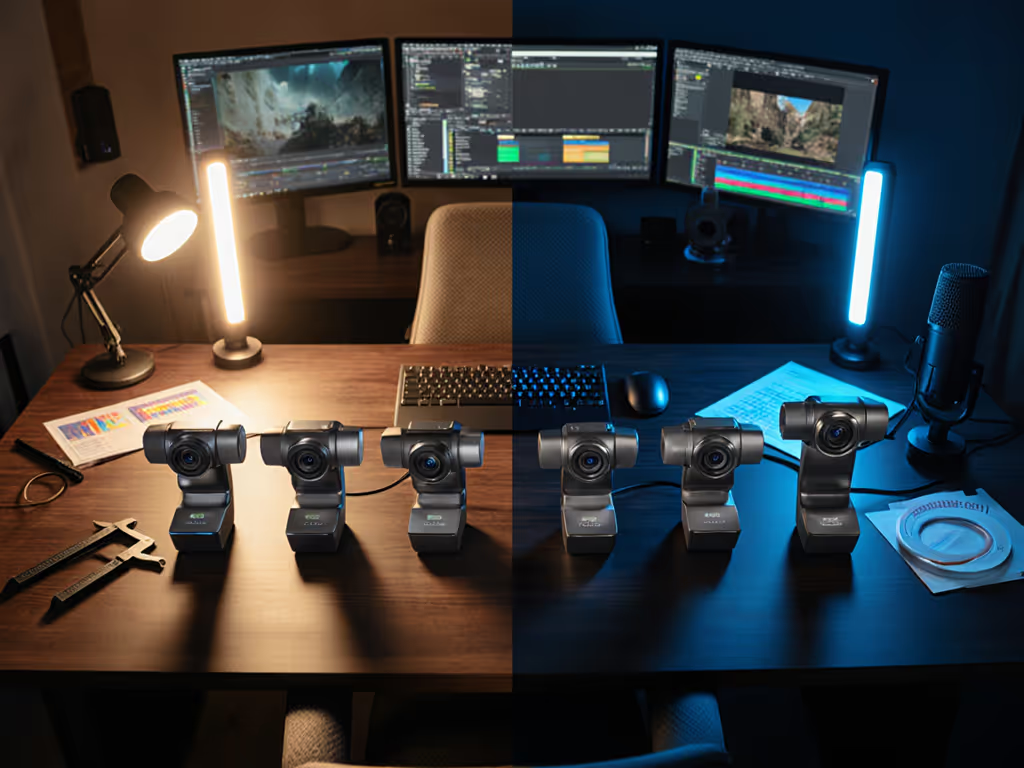
One subtle gotcha: POV and overhead angles often see different lighting. A POV camera pointed at your hands-on-desk sees mostly desk light and shadows. An overhead camera sees room ambient + whatever's above (ceiling, skylight, rig lights). If both cameras have auto white balance enabled, they'll drift relative to each other and multi-angle edits will look jarring.

Do this before going live:

  1. Set both cameras to manual white balance (usually a Kelvin input, e.g., 4500K for mixed LED/daylight).
  2. Use the same Kelvin value for both. Shoot a 10-second overlap clip with both cameras running simultaneously and check color matching in your editor or OBS preview. For end-to-end consistency across platforms, use our webcam calibration guide to lock color and contrast.
  3. If white balance still drifts, check for:
  • Autofocus motors causing micro-vibrations (lock focus manually or disable autofocus)
  • USB power delivery brownout (switch to powered USB hub)
  • Platform-induced delay (Zoom caps USB camera framerate; YouTube has different latency curves than Twitch)

Latency per angle is platform-dependent. Twitch RTMP typically adds 3-8 seconds of end-to-end delay; YouTube Live can reach 15-30 seconds. The angle itself doesn't change this, but high-motion POV footage (fast hands, spins) will show more latency perceptually because motion is more noticeable. Overhead, slower-paced angles mask latency better.

Testing Before Your First Live Session

Your pre-stream ritual:

  1. Run both camera feeds simultaneously for 5 minutes at full bitrate and resolution. Log frame drops, exposure drift, or autofocus stalls.
  2. Check USB bandwidth via your OS's device manager or system_profiler (Mac) / Device Manager (Windows). If either camera reports >80% bandwidth use, you're at risk of dropped frames under thermal load. Reduce resolution or frame rate.
  3. Verify hot-key bindings work under load. Test your failover macro (e.g., toggle from POV to overhead) while streaming a test content loop. Ensure it's instant and reproducible.
  4. Export a 30-second clip from your streaming software and inspect it in a video player. Look for banding (color posterization, sign of bitrate starvation or auto exposure fighting), flickering (50/60 Hz LED mismatch), or motion stutter (frame rate inconsistency).
  5. Record audio separately. Sync your camera audio to a backup recorder or mixer output to confirm no drift between angle cuts.

Conclusion: Angle as Operational Decision

Specialized camera angles aren't just creative, they're operational commitments. Choosing POV streaming techniques commits you to precision framing, tight autofocus discipline, and stable backlighting. Choosing bird's eye view streaming commits you to diffuse overhead light, depth-of-field consistency, and spatial clarity.

The angle you pick shapes your pre-stream checklist, your lighting rig, your camera placement, and your failover strategy. Get it wrong, and your hands are full troubleshooting instead of creating. Get it right (with redundancy and a tested workflow) and your setup becomes a muscle memory you execute the same way every session.

Smooth hands, smooth scenes. That's the goal.

Further Exploration

Now that you understand when and why to use POV and overhead angles, the next step is validating these choices against your exact content type and lighting conditions. Here's what to explore further:

  • Map your specific content to the use-case matrix above. If you're between categories (e.g., fitness coaching that sometimes involves close hand detail and sometimes full-body form), test both angles over 3-5 live sessions and measure viewer retention at the cut points. This data is gold.
  • Test your multi-camera sync and color matching in a non-live environment. Set up both angles, record simultaneously, and inspect the output for white balance drift, frame rate mismatches, and latency variation. Fix these before going live.
  • Document your hot-key bindings and failover procedures in a plain-text checklist you can paste into OBS as a source monitor note or print and tape to your desk. Consistency beats improvisation.
  • Consider a third angle (e.g., a wide establishing shot of your full room or streaming setup) as a tertiary failover. Redundancy is the enemy of on-stream surprises.

Your next live session is the real test. Go in with a procedural checklist, not intuition, and your setup will hold.

Related Articles