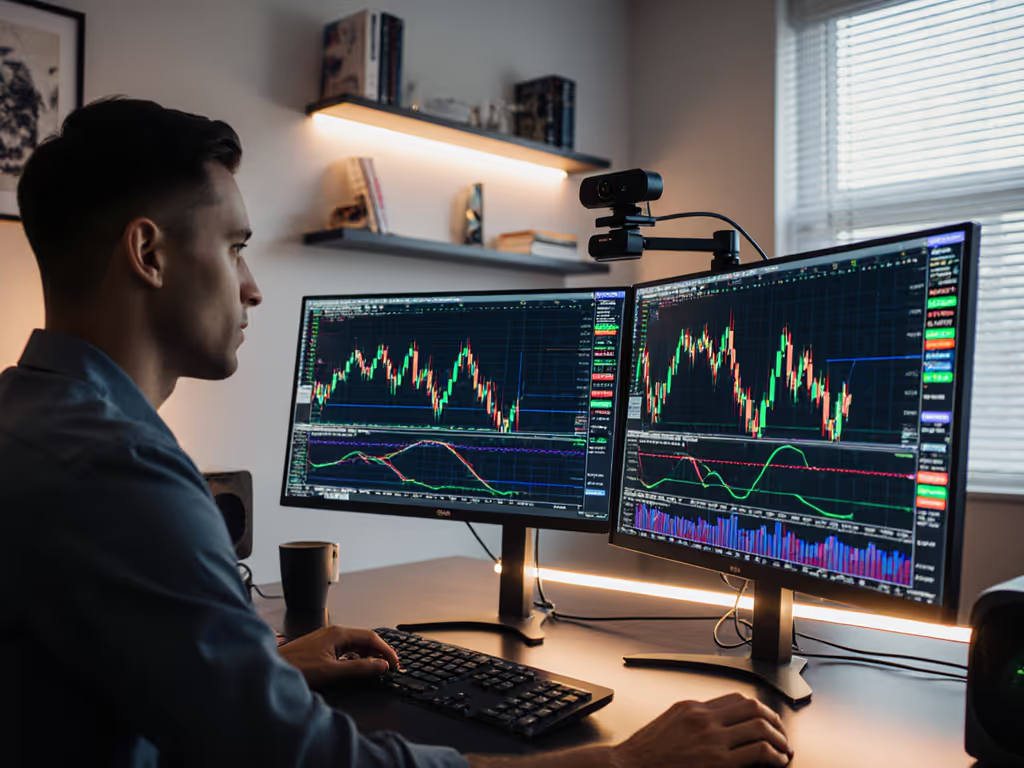
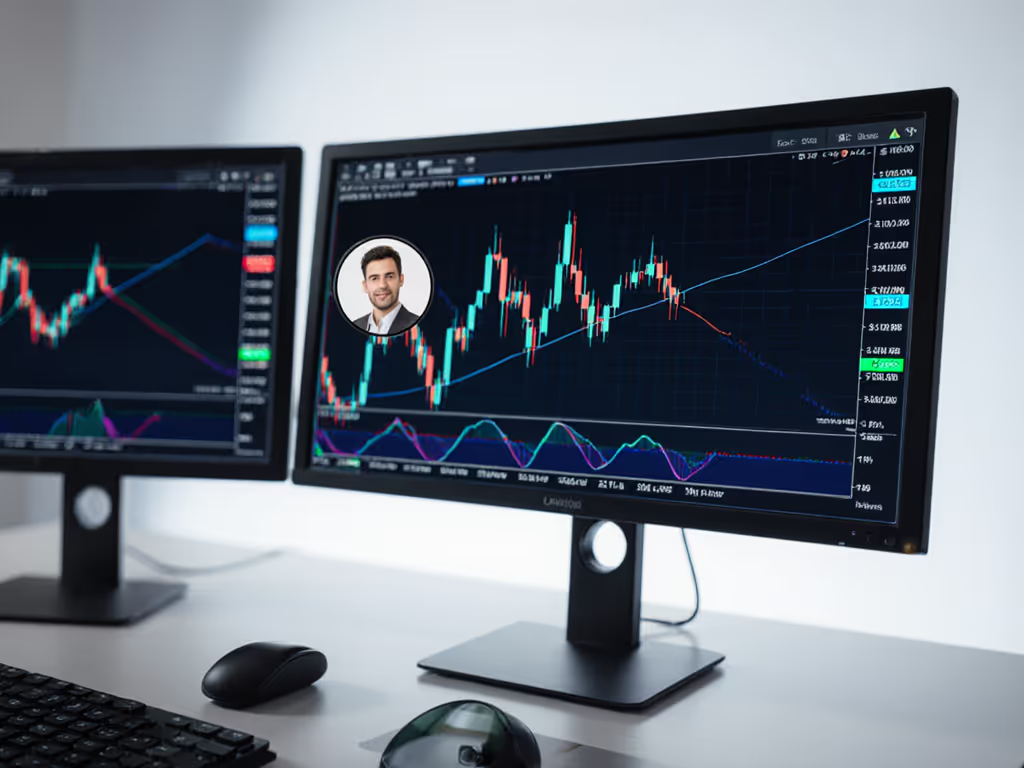
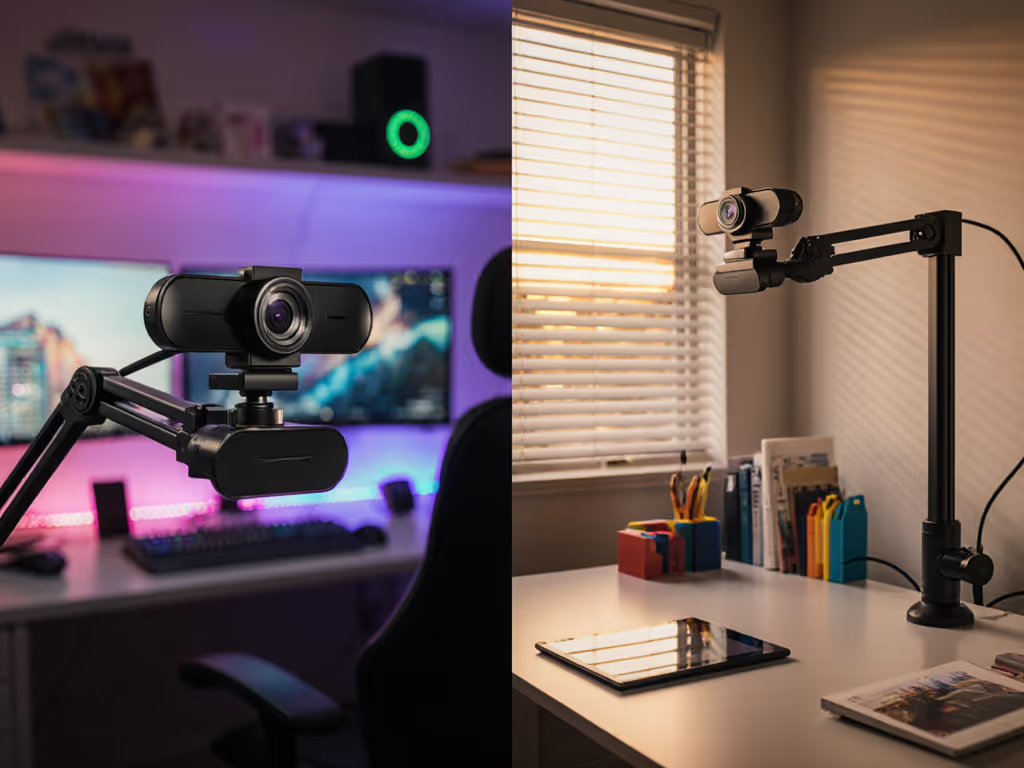
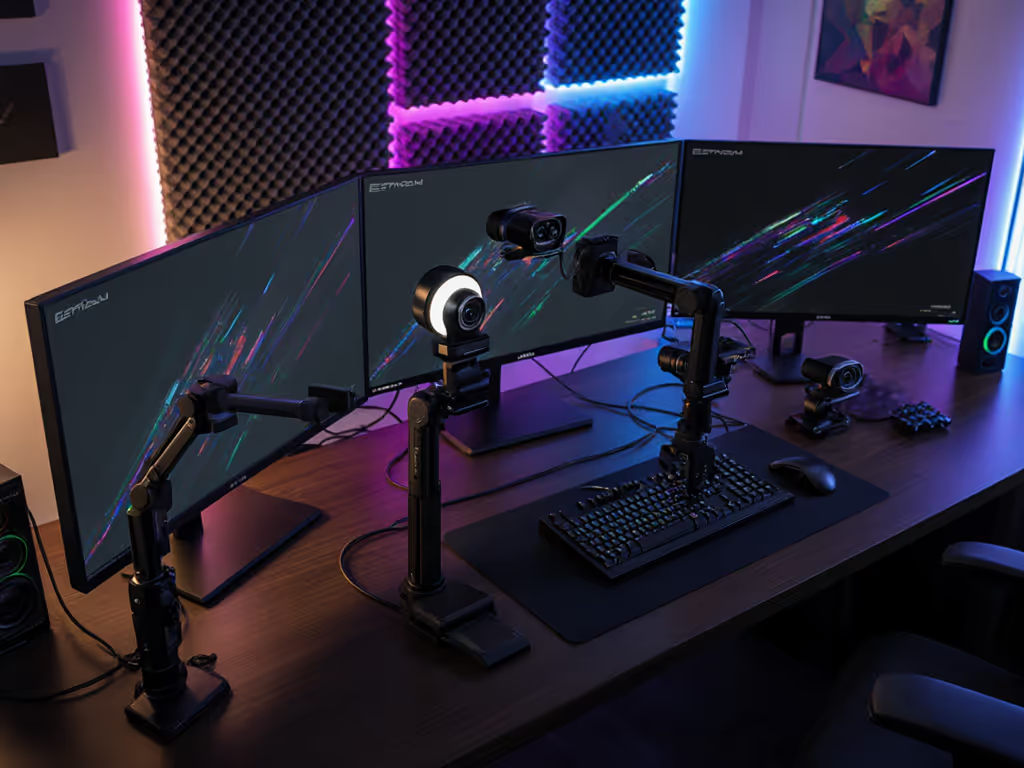
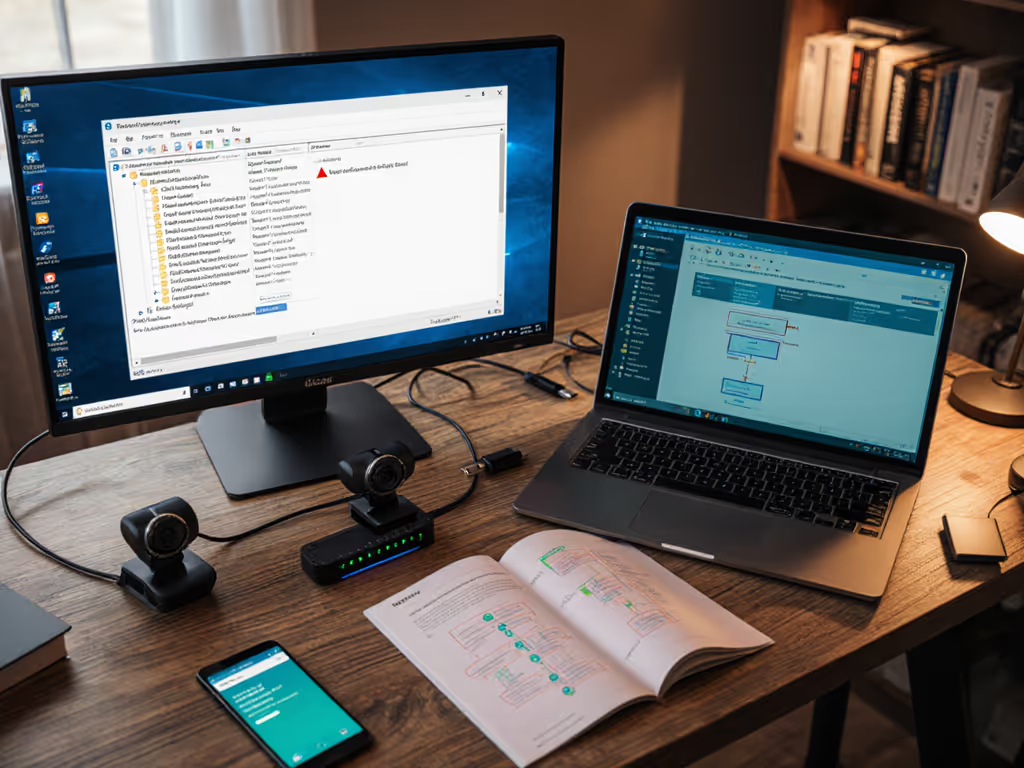
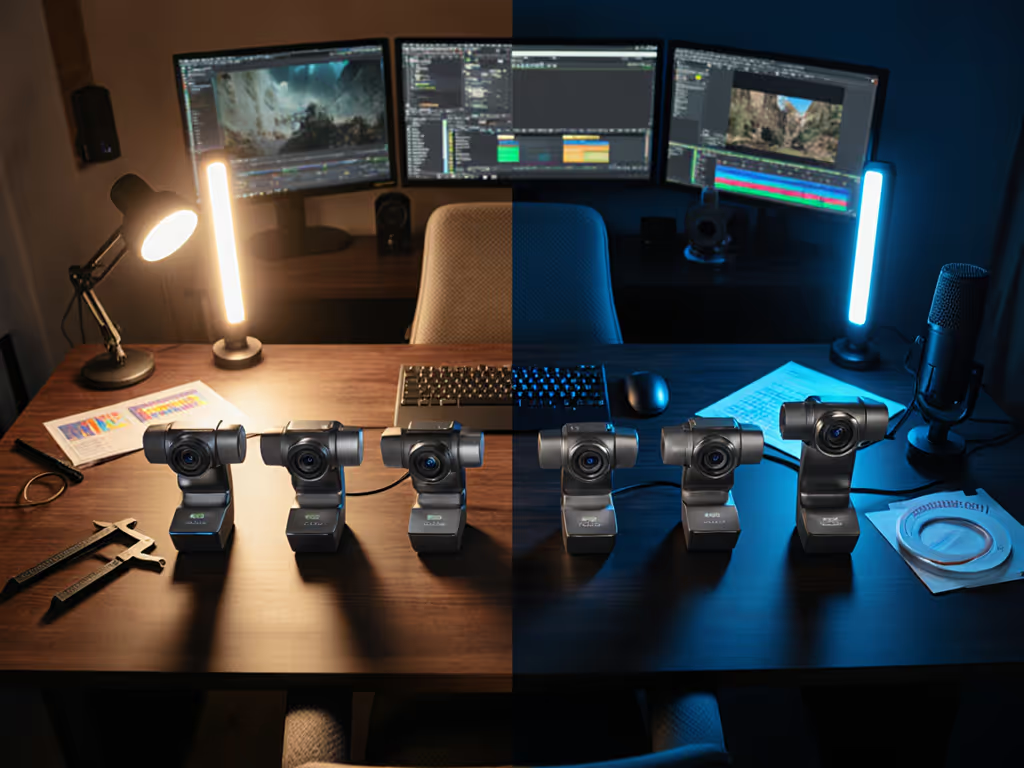
If you care about trading stream webcam optimization, you are really optimizing trust: viewers need to read your charts and read your face without strain. The right financial content camera settings turn your stream from "blurry chart screen-share" into a clear, professional market briefing.
This tutorial walks you step by step from messy default settings to a repeatable, low-friction setup you can fire up every session.
Step 0 - Define your goal and latency budget
Before touching sliders, define what your trading stream needs to do:
- Primary goal: Are you teaching strategy, calling live levels, journaling your own trades, or selling education?
- Chart vs face priority: Is your facecam secondary to charts, or do you often go full-screen to talk through psychology and risk?
- Platform constraints: Twitch/YouTube at 1080p vs Zoom/Teams with lower bitrates and aggressive compression.
From there, set a simple latency budget:
- For live entries and exits, aim for sub-1-second delay between your voice, your webcam, and what viewers see on charts.
- For education/VOD-style breakdowns, you can live with slightly higher delay if it means cleaner video.
This budget becomes your guardrail when deciding frame rate, filters, and capture chains. If your speeds are borderline, use our streaming internet requirements guide to eliminate webcam lag before tuning anything else.
Step 1 - Lock in stable camera settings
Autopilot camera modes are designed for Zoom, not for markets. They hunt, pulse, and shift color right when you drag a bright chart on screen.
Your goal: lock in consistency so your face looks the same whether you are on a white DOM ladder or a dark TradingView layout.
1.1 Resolution and frame rate
- Set the webcam to 1080p (1920×1080) if your PC and bandwidth can handle it.
- Use 30 fps for most trading streams; it is friendly to bitrates and plenty for head-and-shoulders framing.
- Only go 60 fps if you do a lot of hand-waving drawing tools or you mix in fast motion content.
According to most webcam optimization guides, keeping resolution and frame rate fixed across apps avoids surprise quality drops.
1.2 Exposure and shutter
To keep your face sharp and avoid motion blur when you move quickly:
- Set shutter speed to about 1/60 s for 30 fps, or 1/120 s for 60 fps.
- Raise gain/ISO only as much as needed; higher gain means more noise, which chart compression will exaggerate.
- Turn auto-exposure off once you like the brightness.
If your platform does not expose shutter directly, use the camera vendor app to lock exposure, then feed that into OBS/Streamlabs.
1.3 White balance and color
Market hours can run across sunrise, midday, and sunset. If your camera keeps chasing color temperature, your skin will swing from warm to blue, killing perceived professionalism.
- Lock white balance rather than leaving it on auto.
- Set it while you have your typical lighting and chart layout open (white background if you use it).
- Avoid aggressive "vivid" or "HDR" profiles; they often crush subtle tones in your face and over-saturate chart colors.
Guides on webcam tuning consistently recommend manual white balance to keep skin tones stable across sessions.
1.4 Sharpening and noise reduction
- Turn sharpening down to a moderate level; over-sharpening makes your skin look crunchy and can produce halos around chart text.
- Disable heavy noise reduction if you can; it smears detail and makes compression artifacts worse.
The right financial content camera settings are boring in the best way: stable, predictable, and invisible so you can focus on the market.
Step 2 - Light for both charts and face
Your monitors are both your tool and your worst light source. Raw screen light is harsh, contrasty, and changes every time you flip layouts.
2.1 Control your monitor brightness
- Set your main trading monitor to a consistent brightness you can live with all day.
- Avoid full-brightness white chart backgrounds; they will blow out your face if the camera exposure is tuned for darker scenes.
2.2 Add a small key light
You do not need a studio. For placement diagrams and gear tiers, see our streaming lighting setup guide. A small, dimmable LED panel or desk lamp with a diffuser placed slightly above and to the side of your monitor is enough.
- Aim for the light to be stronger than your screen so your exposure is set by the key light, not the charts.
- Keep the light color near 5000-5600K and match your webcam’s white balance roughly to that.
2.3 Background discipline
- Minimize bright windows or lamps behind you; they force the camera to pick between blown-out backgrounds and underexposed faces.
- For green screen or virtual backgrounds, lower noise and stable lighting are critical; noise in shadows turns into background removal artifacts quickly.
Step 3 - Build a chart-first scene in OBS/Streamlabs
Now we connect your tuned webcam to your financial data presentation. If you want click-and-replicate profiles, follow our OBS webcam configuration guide.
3.1 Capture charts the right way
For screen sharing clarity techniques, use:
- Window Capture for your trading platform whenever possible; it keeps scaling clean and avoids desktop notifications showing up.
- Display Capture only if window capture is unreliable with your platform.
3.2 Canvas and output
- Set your OBS Base (Canvas) Resolution to match your streaming output, typically 1920×1080.
- Avoid scaling your chart window inside OBS if you can; every scale step is a chance for blur.
- Use Lanczos downscale if you must resize sources.
3.3 Webcam placement and size
Your webcam should support charts, not compete with them:
- Place the camera so it does not cover price, time, or key order flow areas.
- For multi-monitor setups, consider a vertical layout where charts are full-height and your facecam is narrow on the side.
- Keep the webcam at least 300-400 px tall in 1080p so facial expressions remain readable.
Step 4 - Screen sharing clarity techniques for stock charts
This is where you win or lose stock chart visibility.
4.1 Configure your trading platform integration
Inside your platform (TradingView, Thinkorswim, Sierra, etc.), adjust visuals with the viewer in mind:
- Use high-contrast themes; whether dark or light, text and candles must stand out clearly.
- Increase font sizes for price axis, time axis, and indicators until they are readable on a phone.
- Thicken lines and candles slightly; very thin lines disappear after compression.
4.2 Simplify what is on screen
Every extra indicator is more visual noise for the encoder:
- Remove non-essential widgets and watchlists when you are zoomed into a teaching moment.
- Hide unused toolbars to keep focus on price and levels.
- When explaining, zoom in on the area you are discussing; do not leave the entire month of price on screen if you are talking about a 5-minute scalp.
4.3 Test on mobile and low bitrate
Record a short local video at your normal settings, then:
- Watch it back on your phone at 1.0x and 1.25x speed.
- Ask: Can I read the last candle’s high/low? Can I see my stop line clearly?
If not, increase font sizes again or simplify the layout.
Step 5 - Align latency between webcam, audio, and charts
A trading stream falls apart when your lips, cursor, and fill sounds do not agree. I have been backstage when a gaming cam drifted a full second behind overlays mid-event; rerouting to a backup and hot-patching scenes in real time worked, but only because the latency budget was clear ahead of time.
You want to avoid that scramble during FOMC.
5.1 Measure your end-to-end delay
Do a simple clap test:
- Start recording in OBS.
- Clap once in view of the camera.
- Scrub the recording frame by frame: does the sound align with your hand contact?
If not, use your streaming software’s audio sync offset (in milliseconds) to align them.
5.2 Minimize processing hops
Each additional hop can add latency:
- Webcam → vendor app → virtual camera → OBS → platform.
- Screen capture → filters → scaling → encoder.
Simplify the chain:
- Feed the camera directly into OBS where possible.
- Use only the filters you truly need (mild color correction, maybe a small amount of noise reduction).
- Avoid stacking virtual audio devices unless your routing really demands it.
5.3 Platform expectations
- Twitch/YouTube: Expect 2–5 seconds of platform delay; focus on sync between your sources rather than absolute real-time.
- Zoom/Teams/Meet: Latency can fluctuate; prioritize stability and clear audio, with your webcam and screen-share aligned at the source.
Smooth hands, smooth scenes, zero mid-stream surprises ever.
Step 6 - Save profiles and a pre-market checklist
The difference between a one-off perfect stream and a reliable channel is repeatability.
6.1 Create profiles
In your camera software and OBS/Streamlabs, create profiles like:
Daylight Trading (more ambient light, slightly lower gain)Pre-market / Night (more gain, lower monitor brightness, same white balance)
Save scene collections for:
Charts + Small CamFull Cam CommentaryChart Breakdown (Zoomed)
6.2 Build a 60-second pre-stream checklist
Right before you go live, run a quick checklist:
- Open trading platform layout for streaming.
- Confirm camera profile and lighting profile.
- Check chart text and lines on a phone preview.
- Run a 5-second recording and confirm A/V sync.
- Confirm streaming bitrate and fps.
Turn that into muscle memory so you can go from chart review to live show without thinking about the plumbing.
Where to experiment next
You now have a stable baseline: clear face, readable charts, and a sensible latency budget. For platform-by-platform presets and bitrates, use our platform-specific webcam settings guide. From here, explore one variable at a time:
- Test different chart themes during off-hours recordings to see which compresses cleanest.
- Try small tweaks to shutter speed and gain to find the best balance of sharpness and noise for your room.
- Experiment with alternate scene layouts for earnings, news events, or education series.
Treat every improvement like an upgrade to your trading plan: document it, save it as a preset, and make it part of your routine. The more your workflow runs on rails, the more energy you have for reading order flow, managing risk, and engaging chat instead of fighting your tools.
Creators do their best work when their hands and heads are free from friction. Apply that mindset to your camera and charts, and your trading stream becomes a place where both you and your viewers can focus on what the market is saying, not what your webcam is doing.