Setup & Technical Fundamentals
Trading Stream Webcam Optimization: Clear Charts, Clean Video
25th May•10 min read
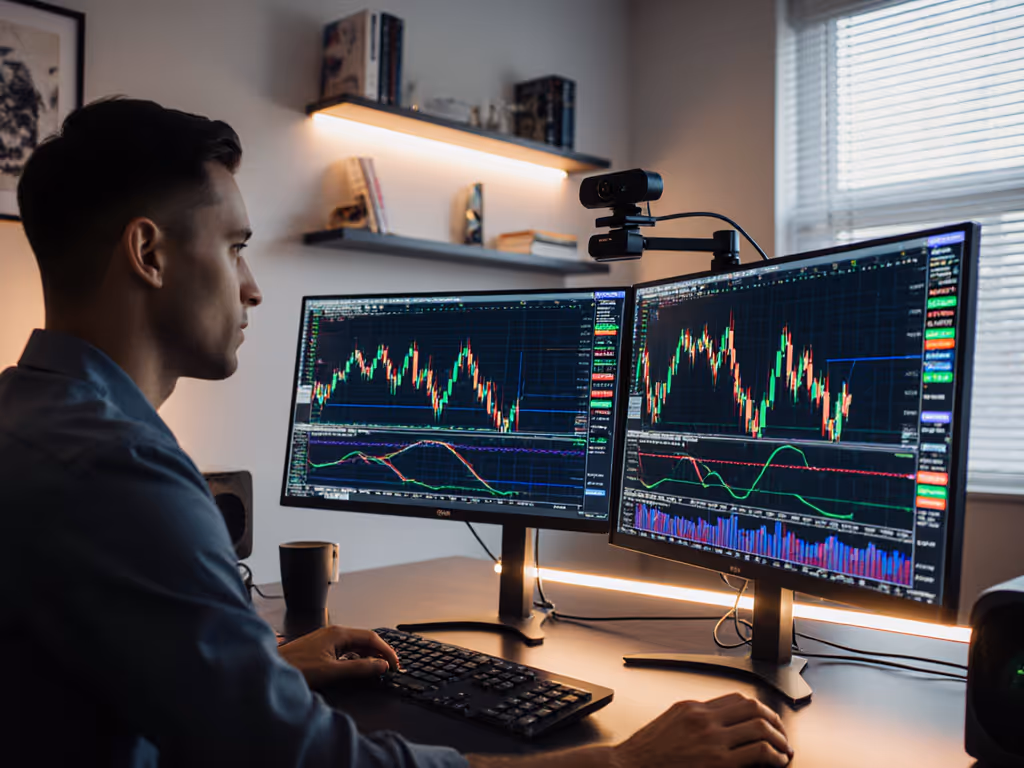
When your stream goes live, your colors need to stay locked. Webcam color calibration tools ensure your face, products, and brand don't shift from one session to the next (or worse, mid-stream). This isn't vanity. Inconsistent colors tank viewer trust, confuse sponsors, and waste hours chasing "fixes" that don't exist. The right calibration workflow lets you dial in consistent streaming color once, save it, and rely on it. That's the foundation every creator needs.
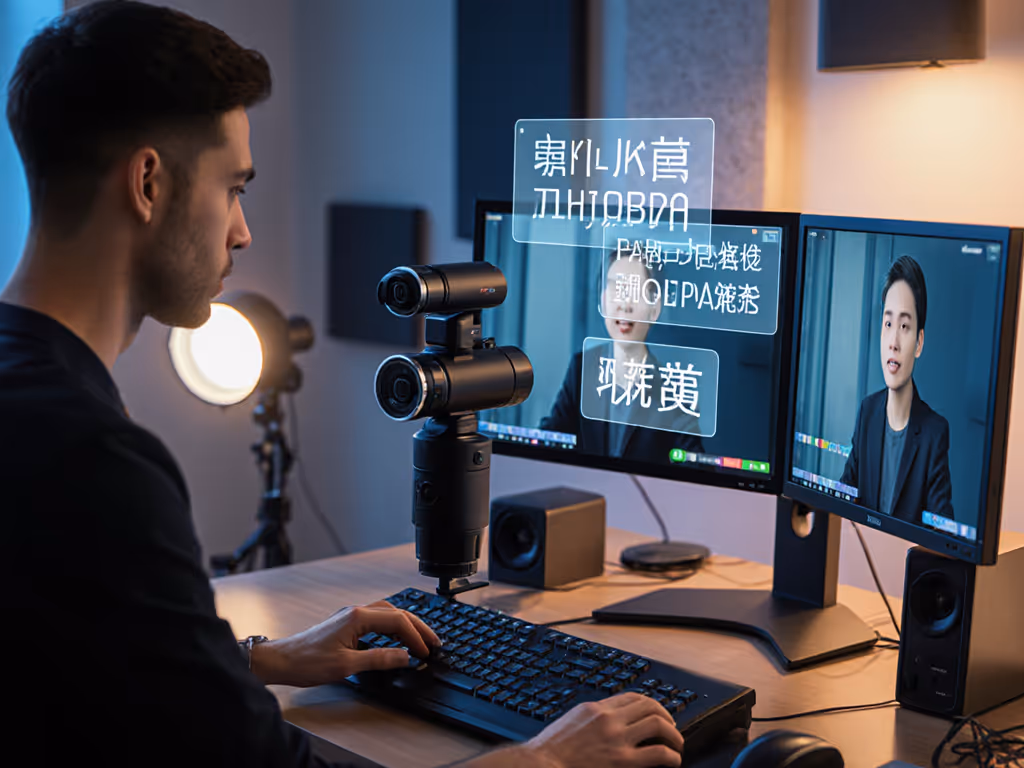
Most streamers skip calibration because they treat color correction as a quick filter adjustment in OBS. That's where the trouble starts. Built-in software color grading is shallow and non-repeatable; what looks right one night looks orange or washed the next because your webcam's autofocus, white balance, and sensor response are drifting invisibly. I learned this the hard way: on a high-profile launch stream, my autofocus started hunting during a sponsored product segment, and color stability went with it. I switched to manual focus, regained control, and debriefed the failure. Since then, I test under live-like stress (timers, chat spikes, scene switches), and I weigh color stability across changing conditions as heavily as sharpness. If it fails live, it fails the brief. Full stop.
Proper calibration starts upstream: white balance, exposure, and color space settings baked into your camera before OBS touches the feed. If your lighting still looks flat or inconsistent, see our streaming lighting setup guide for quick fixes that stabilize skin tones. From there, you layer repeatable color tools (LUTs or software profiles) that hold steady regardless of lighting variance. This is the scenario-first approach.
Autofocus isn't your only enemy; automatic white balance is just as unreliable. Different light sources (tungsten bulbs, LEDs, window daylight, RGB accent lights) emit different color temperatures. Your camera's auto mode guesses, often badly. If it sees an orange poster and decides that's "white," your skin turns blue-green. Manual white balance locks to your actual light environment and stays put across sessions.
Action: Open your webcam driver settings (usually in Device Settings or Camera app on Windows/Mac) and disable automatic white balance. Then manually dial it to match your key light temperature. Most daylight setups run around 4500-5500 Kelvin; tungsten around 3200 K. A basic color temperature chart takes the guesswork out. Write it down. You'll return to this number every session.
Exposure pulsing (your face brightening and darkening as your camera hunts for the "right" level) destroys color stability and looks unprofessional on-camera. Disable auto-exposure in your webcam driver and set a fixed exposure value that suits your lighting. Gain (ISO equivalent) should also be manual and as low as your lighting allows; higher gain introduces noise and color noise that's impossible to color-correct cleanly away.
Action: Test your lighting setup and note the exposure and gain values that keep your face well-lit without clipping. Enter these values into your camera settings before you launch OBS. Check them at the start of each streaming day.
Your software layer must respect your camera's native output. For step-by-step profiles you can import, use our OBS webcam configuration guide. Set color space to 709 (the streaming standard) and color range to full. Frame rate should either match your camera's source (often 30 fps) or be manually set to 30 fps if you're not targeting 60 fps; this reduces lag-induced artifacts that wreck color consistency.
Action: In OBS, right-click your webcam source → Properties. Under video settings, confirm Color Space is set to 709 and Color Range is Full. Set FPS to match or slightly lower than your camera's output. Save and test; you should see no color shift or jitter.
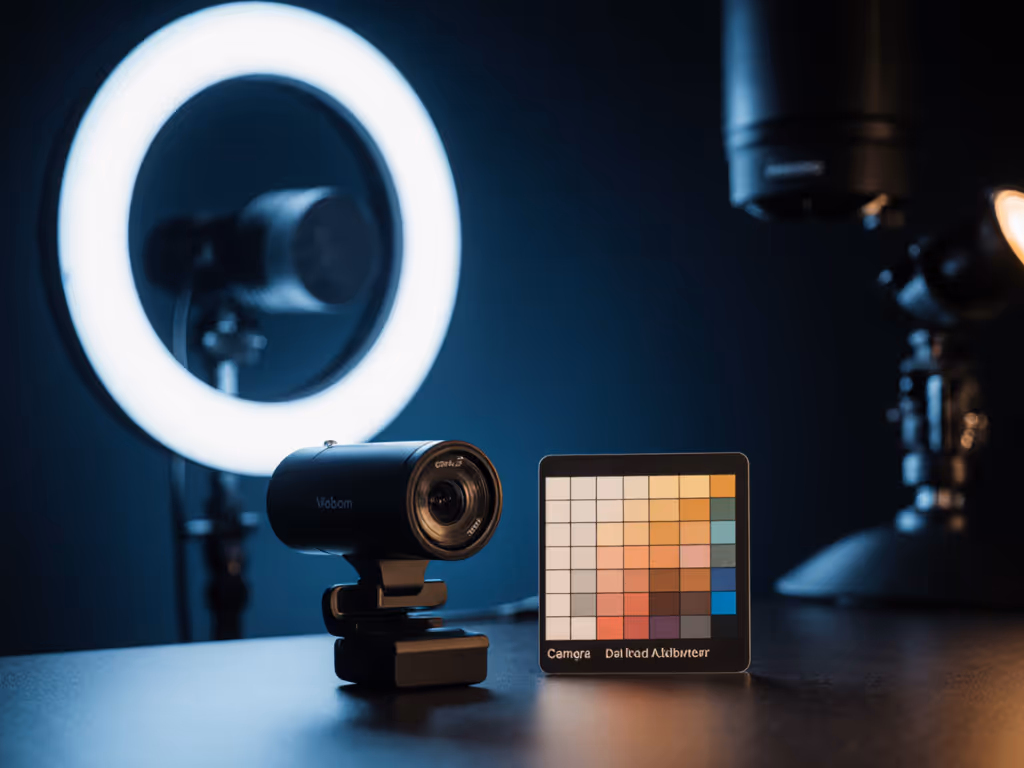
Color checker targets (printed or digital color reference cards) let you compare your on-camera output frame-to-frame and session-to-session. Photograph your checker under your streaming lights and save it as a baseline. When you return tomorrow, shoot the same checker; if the colors drift, you know your setup has shifted before it hits your live feed.
Action: Source a free or low-cost color checker (many are available online). Place it in your frame for the first 10 seconds of your pre-stream tech check. Record a 30-second clip. Compare this clip from session to session; any obvious color shift signals a lighting or camera setting change that needs attention.
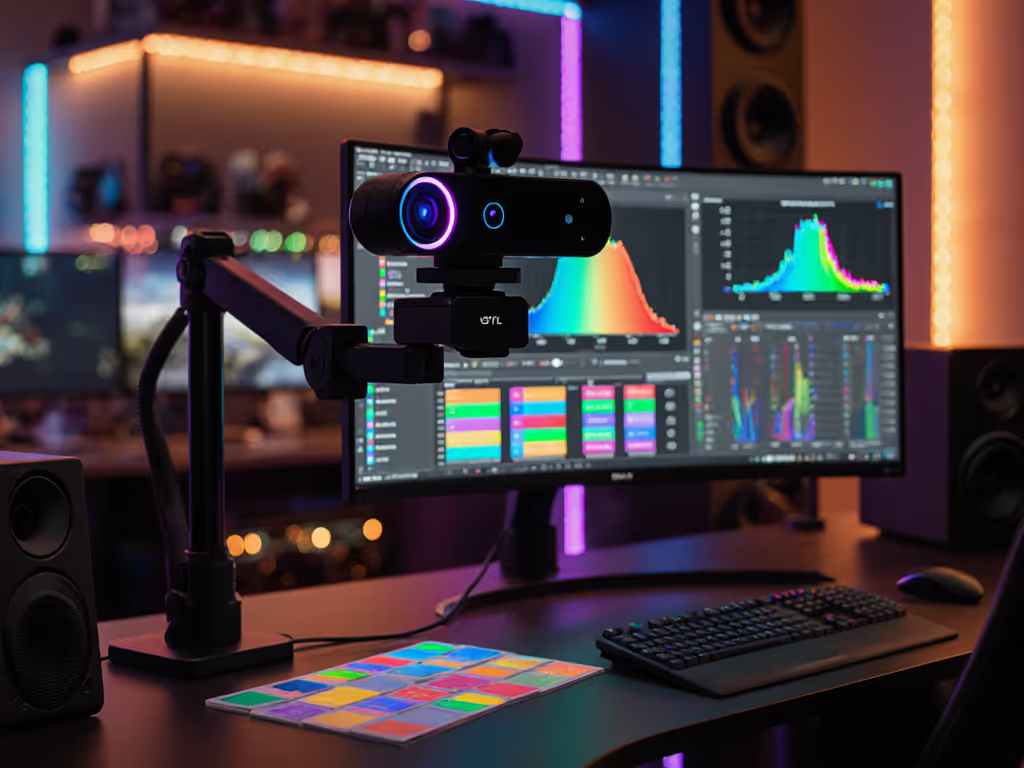
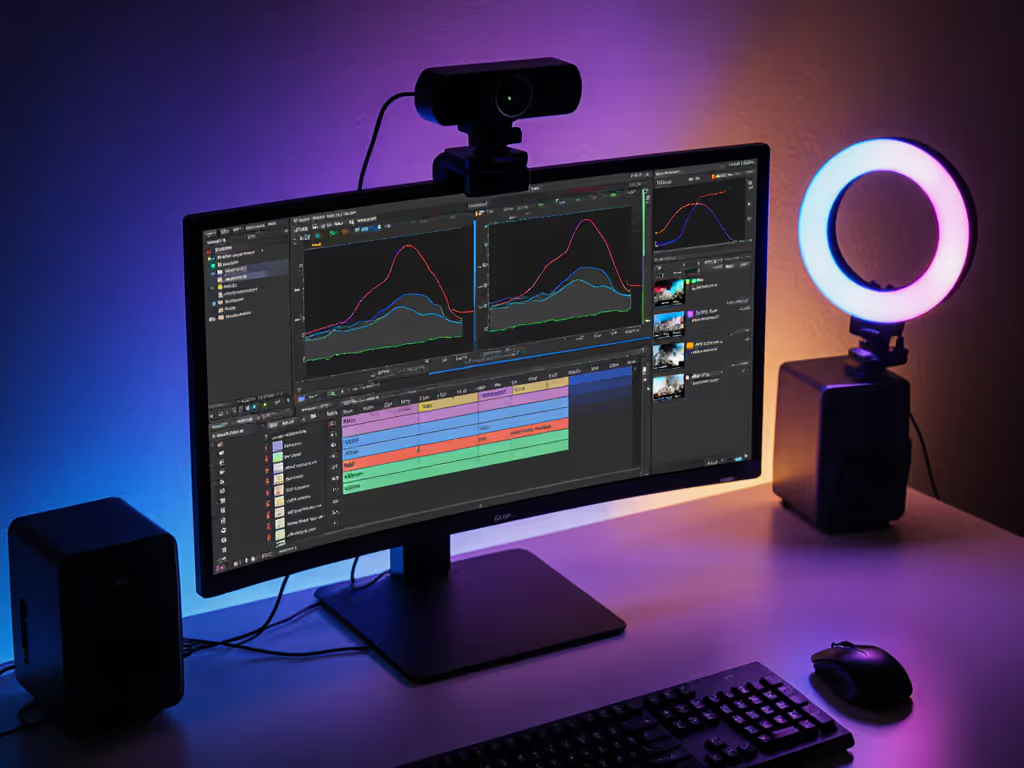
A LUT (Look-Up Table) is a saved color grade that applies a consistent, one-click look to your entire image. Instead of fiddling with individual sliders in OBS every time, you load a LUT and you're done. The best approach is to create a custom LUT tailored to your exact lighting, skin tone, and aesthetic.
Action: Record 10-15 seconds of your face and workspace under your normal streaming lights in your preferred video editing software (Adobe Premiere, DaVinci Resolve, even free tools). Grade it until it looks exactly how you want: natural skin, balanced shadows, consistent hue. Export it as a .cube LUT file. In OBS, add a LUT filter to your camera source, select your custom cube, and save your profile. Test it live and refine if needed.
This is where most setups fail. You've calibrated in silence, but streams involve motion, scene switches, and unexpected lighting changes: RGB desk lights kick on, a chat spike causes scene lag, your face moves closer to camera. These shifts expose calibration weaknesses.
Action: Run a 5-10 minute mock stream: rapid scene switches, hand movements, close-ups if your content uses them, and intentional light changes (e.g., turn on a second monitor). Watch the color stability in your preview. If skin tones shift or colors pulse, revisit your manual white balance and exposure settings. Tighten them until your mock stream looks clean. This pre-test catches failures before they hit your audience.
Once you've nailed your calibration, save it. Export your OBS scene with your LUT applied, write down your camera settings (white balance, exposure, gain values), and store this as your "Baseline" profile. Each streaming day, load this profile instead of starting from scratch. If you ever change lights, upgrade your camera, or move your setup, you'll have a documented reference point to debug from.
Action: Create a simple text file or spreadsheet labeled "Streaming Calibration - [Your Setup Name]" with your white balance (Kelvin), exposure value, gain, LUT filename, and OBS color space settings. Version it monthly or whenever you make a deliberate change. Share it with any co-streamers or team members so your multi-cam color consistency improves immediately.
Twitch, YouTube, Discord, and Zoom all render color slightly differently due to encoding and platform compression. For per-platform settings that preserve your calibrated look, follow our platform-specific optimization guide. A perfectly calibrated local profile might look subtly different on each platform. The gap is usually small, but it's there, especially for beauty, product review, or e-commerce creators for whom color accuracy is do-or-die.
Quick test: After calibration, stream a 5-minute test to your platform (or a private stream) and compare the live output to your local recording. If colors shift noticeably (e.g., skin looks too warm or cool on YouTube but not locally), you may need a lightweight secondary LUT adjusted for that platform. Most creators don't need this level of precision, but if your brand relies on color (cosmetics, design, apparel), it's worth the extra pass.
Your lighting will vary: a window change as seasons shift, an LED panel aging slightly, a monitor repositioned. Real-world inconsistency is inevitable. But deliberate streaming white balance management keeps variance minimal.
Monthly ritual: Shoot your color checker under your normal lights and compare it to your baseline. If white balance has drifted more than you can tolerate, recalibrate your camera settings and re-export your LUT. Seasons change, so quarterly recalibration is reasonable for stable, professional color.
The payoff isn't fancy: it's boring, reliable consistency. No on-stream troubleshooting. No audience noticing your face turn orange mid-segment. No sponsor confusion over what your product actually looks like. When your colors are locked, your mind is free to focus on content, not gear. Your viewers see a polished, intentional look every single time. That builds trust, retention, and the professional edge sponsors notice.
Start with what you have. Check your current OBS color space (is it really 709?), document your camera's white balance, and shoot a color reference frame. If you notice pulsing, drifting, or inconsistency, move through steps 1-3 above this week. Once your camera layer is stable, create or source a simple LUT that matches your preference. For deeper step-by-step calibration techniques and troubleshooting, see our streaming color calibration guide. Test it under mock stress: scene switches, fast motion, lighting changes. If it holds, you're calibrated. If not, drill into the specific failure (usually auto white balance or exposure creeping back on), tighten it, and retest. One hour of deliberate testing now saves hours of on-stream panic later.