You don't need a cinema camera to run a podcast that sounds and looks professional. In fact, voice-only webcam optimization pushes you toward something counterintuitive: strip away video bloat, lock in stable settings, and let your audio do the heavy lifting. That's where audio-focused streaming setup philosophy diverges from the gear-chase trap.
I've watched creators spend months chasing camera upgrades when the real problem was buried three menu layers deep in their webcam settings. A podcast isn't a visual spectacle. It's a conversation. Your video should disappear into the background, letting your voice and ideas command attention. The right configuration gets out of your way, resets predictably, and survives platform changes without drama.
This guide walks you through the technical and practical decisions that matter when your priority is voice clarity, consistency, and reliability over cinematic flair.
FAQ Deep Dive: Voice-Focused Webcam Configuration
What does "voice-only" configuration actually mean for my webcam settings?
Voice-only doesn't mean turning off video. It means prioritizing settings that maximize stability and minimize processing overhead so your audio chain runs clean.
In practice:
- Resolution: Lock 1080p at 30 fps. This is the standard sweet spot across platforms (Spotify Video, Riverside, Zoom). It uses moderate bandwidth, plays well with legacy systems, and keeps your USB bus unstressed so your audio interface stays rock-solid.
- Autofocus: Disable continuous focus hunting if possible. Switch to manual focus or set a single focus point at seated talking distance. Autofocus draws CPU cycles and can cause frame stutters when your audio is peaking.
- Frame rate stability: 30 fps holds true rhythm better than cameras that promise 60 fps but drift. Your voice won't jitter if your video frame timing stays locked.
- Exposure and white balance: Lock both to manual. Auto-adjustment chews CPU, creates flicker that confuses encoders, and introduces sync drift with your audio. A locked exposure means your audio interface isn't fighting for resources while the camera hunts for exposure targets.
The principle: neutral before stylized. Get the image technically correct first, then worry about mood or grading. This applies equally to audio; most creators want to record dry audio at a consistent level, then add compression or EQ in post.
How do low-bandwidth webcam settings help my audio quality?
Bandwidth and CPU load are directly linked. When your webcam gobbles USB bandwidth or processor cycles, your audio interface competes for the same real estate.
Low-bandwidth configuration means:
- No 4K resolution. 4K chews 4x the bandwidth and forces your system to choose: either stream video smoothly or record audio without dropout. At 1080p, you have headroom.
- Hardware encoding over software. If your webcam supports H.264 hardware encoding, enable it. This offloads work from your CPU, freeing cycles for your audio interface's buffering.
- Disable unused features: disable face-tracking, auto-zoom, beauty filters, or any vendor software that runs in the background. Each one is a process competing with your audio recording threads.
- USB 3.0 minimum. USB 2.0 webcams are still common and cheaper, but they've already surrendered half their bandwidth to other devices. USB 3.0 gives your audio interface breathing room.
A practical check: Open your system monitor while streaming. If your CPU is above 40% and your audio interface shows buffer underruns, your webcam config is stealing from your voice. Step down to 1080p30, turn off auto-exposure, and watch the underruns vanish.
What is headless streaming configuration, and why do podcasters need it?
Headless streaming configuration means running your webcam for video output without relying on its built-in audio or vendor software.
Why it matters for podcasting:
- Your audio interface becomes the single source of truth. No competing mic inputs, no webcam audio bleeding through, no two-device sync drift.
- Platform flexibility. Twitch, YouTube, Zoom all handle video-only inputs. You feed audio separately through your mixer or interface. This separation is how professional streamers avoid lip-sync issues.
- Reproducibility. When you can disable the webcam's audio codec, audio stack, and onboard processing, your session becomes repeatable. Reset the camera, reload your audio settings, and you're back to yesterday's sound.
Setup steps:
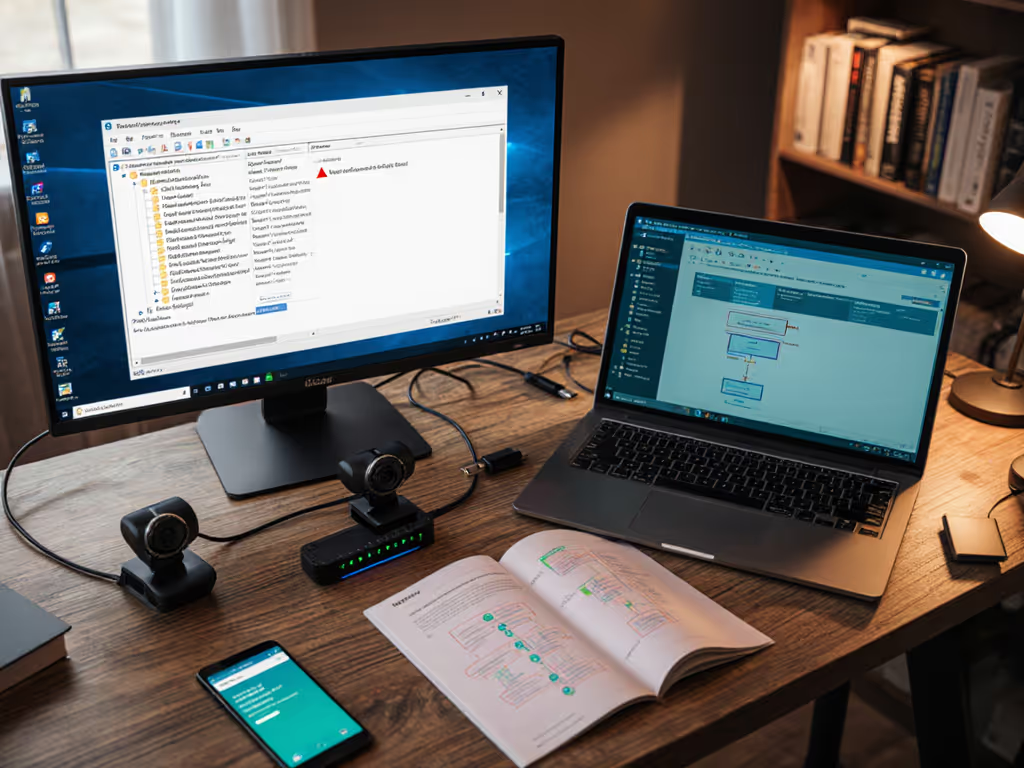
- In OBS or Streamlabs, add your webcam as a Video Device source only. Do not check "Use audio device." Your audio comes from your interface or mixer as a separate input. For step-by-step profiles, see our OBS webcam configuration guide.
- In your platform's audio settings (Zoom, Twitch, YouTube), select your audio interface, not your webcam.
- Test that video plays back silent in a local file, with no webcam audio track embedded.
I worked with a creator who spent months troubleshooting why their co-host's audio kept desynchronizing from the video. After a test under mixed LEDs and layered recording, we rebuilt their setup headless: separated video (USB webcam) from audio (XLR mixer) and routed both independently. Sync held. Every session. Because the video wasn't trying to also be an audio device.
How should I manage webcam resource usage to keep things stable?
Webcam resource management is the operational discipline that prevents your stream from crashing mid-episode.
Key levers:
- Memory footprint. Vendor software (Razer Synapse, Logitech G Hub) can bloat your system by 500+ MB and run continuous background services. Uninstall if possible. Use generic UVC drivers instead. On Mac, this is especially critical, since third-party vendor apps often break on OS updates and can cause audio stutters.
- GPU load balance. If you're using green screen or background removal, that's GPU-intensive. Disable it if your audio is the priority. Or use CPU-based software (Streamlabs green screen) and dial down the complexity. Test: run your setup without background removal and measure CPU. Add it back and see the jump. If it crosses 50% CPU, reconsider.
- Buffer strategy. Most audio interfaces default to a 256-sample or 512-sample buffer for latency. For podcasting (not live gaming), you can bump this to 1024 or 2048 samples, which gives your system more forgiveness when CPU spikes occur and your webcam decides to autofocus.
- Periodic restart discipline. A 30-minute podcast needs a stable setup. Before each session, restart OBS, close your browser, and verify audio levels. This clears memory leaks and resets USB enumeration.
What resolution and frame rate should I lock for voice-focused podcasting?
The industry standard is 1080p at 30 fps, and there's good reason: it's a documented compromise between visual clarity, platform compatibility, and system stability.
Here's the math:
- 1080p60 fps looks smoother for hand gestures or product demos, but doubles your bitrate and USB bandwidth. If your audio is the priority, this is overkill and a stability risk.
- 1080p30 fps holds a professional appearance, stays within legacy platform limits (older versions of Zoom, Teams), and leaves CPU headroom for a reliable audio chain. Your voice carries the episode; video fills the frame steadily. If you’re choosing hardware specifically for roundtable shows, check our podcast webcam comparison.
- 720p60 fps is a trap for podcasters. It looks jittery on close-ups and doesn't offer the resolution clarity of 1080p. Avoid it.
Lock your resolution in OBS or your platform settings. Don't let the webcam auto-downgrade if bandwidth tightens (explicitly set 1080p30). This guarantees predictable encoding and no mid-session resolution drops that throw off your audio sync.
How do I calibrate white balance and exposure once and replicate it every session?
This is where voice-only setups become reliably branded. When your video is stable and reproducible, your audience builds trust in your visual identity, even if that identity is "steady, well-lit, no drama."
Calibration steps:
- Shoot a reference chart. Use a standard color chart (even a printed sRGB reference) or a neutral gray card at arm's length in your recording space. Record 10 seconds in your normal lighting. For a deeper walkthrough, follow our webcam calibration guide.
- Lock manual white balance. In your webcam settings, set white balance to Daylight (around 5500K) or Custom, pointing to your reference card. Disable auto white balance.
- Lock manual exposure. Meter for your face, not the background. If you're using OBS, add a color correction filter set to the same values each session. Screenshot those settings.
- Document it. Save your OBS scene with these locked settings. Name it "Podcast_Standard_[Date]." When you reset or upgrade, you reload this scene and you're back to last week's look in seconds.
Why this matters for audio-focused work: Stable video means no distracting flicker or color shift that draws viewer attention away from your voice. Your audience isn't watching for cinematic beauty; they're listening. Give them a calm, unchanging visual backdrop and your voice becomes the star.
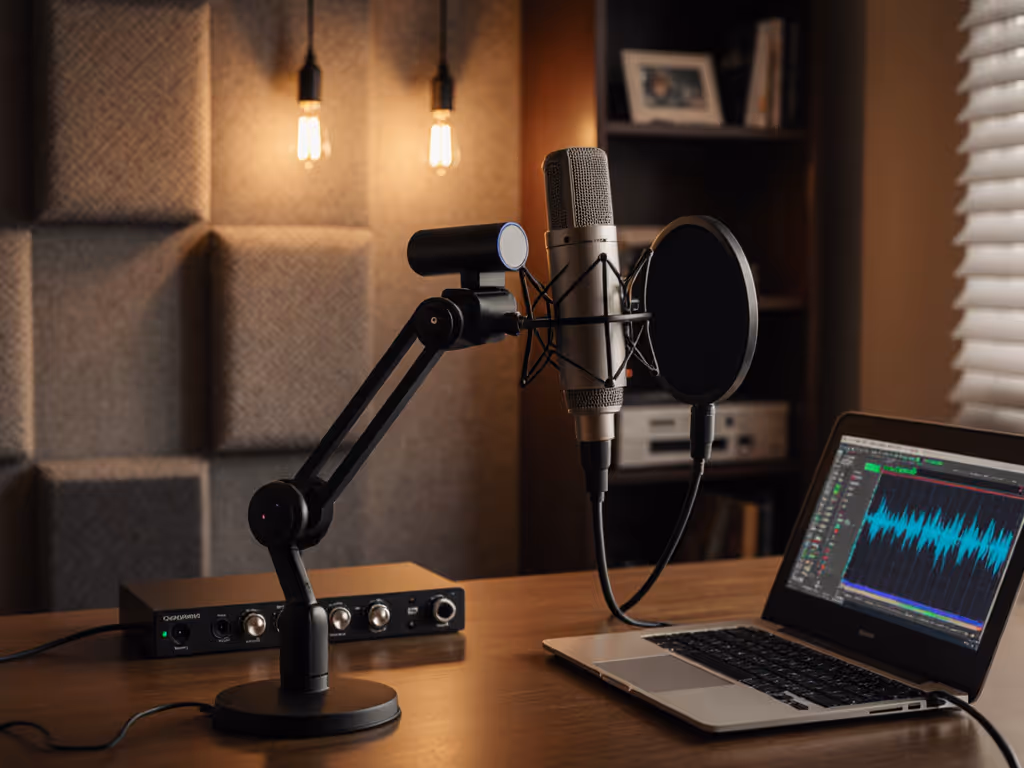
Should I use my webcam's built-in audio or a separate interface?
Separate interface every time. Webcam audio codecs are optimized for real-time compression and bandwidth, not fidelity. Your voice deserves better.
A basic USB audio interface ($50-$150 range) gives you:
- Independent audio buffer management (no contention with video encoding).
- Phantom power for condenser mics if you upgrade later.
- Proper gain staging and monitoring.
- Reproducible levels across sessions (no auto-gain adjustment).
If you're recording to Zoom, Riverside, or Streamlabs directly, their audio codec is still second-rate. But if you have a USB interface, you can apply a mild compressor in OBS before sending to the platform. That's where podcasters get a professional edge: controlled, consistent voice levels that don't startle listeners.
What USB hub and power setup do I need for reliable operation?
USB power and bandwidth are not infinite. A misconfigured hub becomes your single point of failure. Also review our guide on USB cable quality to avoid silent bottlenecks.
Guidelines:
- Powered hub, not passive. Your webcam draws 200-400 mA. Your audio interface draws 100-500 mA depending on phantom power. A passive hub splits power from your laptop and often causes dropout. A 7+ port powered hub ($30-60) provides dedicated power per port.
- USB 3.0 hub. USB 2.0 hubs are cheaper but saturate quickly if you add a capture card or second webcam later. Buy the hub for your future setup, not just today.
- Separate power supply. Don't run your hub and webcam on the same laptop charger if you're also running other USB devices. A dedicated hub power supply ($30) prevents brownout scenarios.
- Port assignment. Plug your audio interface into the hub's first port, your webcam into the second. If you add more devices, isolate real-time audio from storage (external SSD) to prevent contention.
Test: Unplug and replug your hub. If your stream hiccups, the hub is too weak. If it's solid, you've found a reliable config to replicate.
Bring It Together: Your Repeatable Setup
A voice-only webcam setup isn't about minimalism for its own sake, it's about building a predictable, trustworthy presence that your audience recognizes. Every session should feel identical from a technical standpoint, so your voice and ideas are the only variables.
Document your settings: resolution, frame rate, white balance mode, exposure value, USB power config, OBS filters. Store this in a text file or screenshot folder labeled "Podcast Setup Archive." When platforms update or hardware fails, you rebuild in minutes instead of hours.
Your listeners don't care about your camera's sensor size or lens distortion. They care that you show up consistently, sound clear, and deliver value. Get the video out of the way, lock it down, and let your voice do the work.