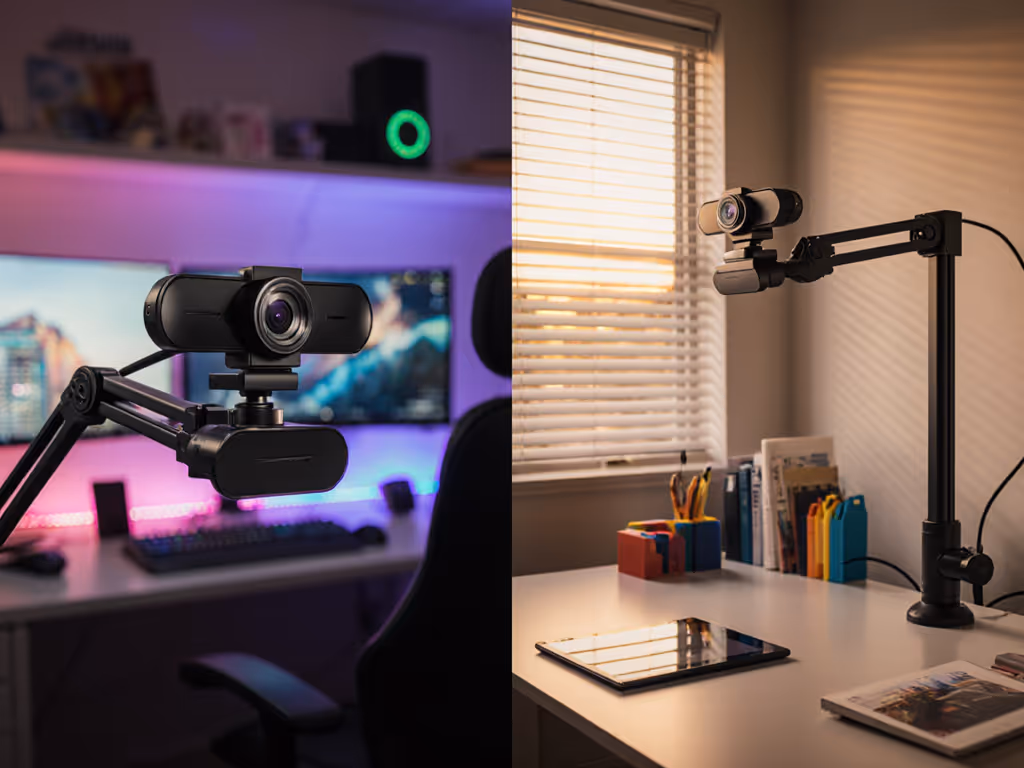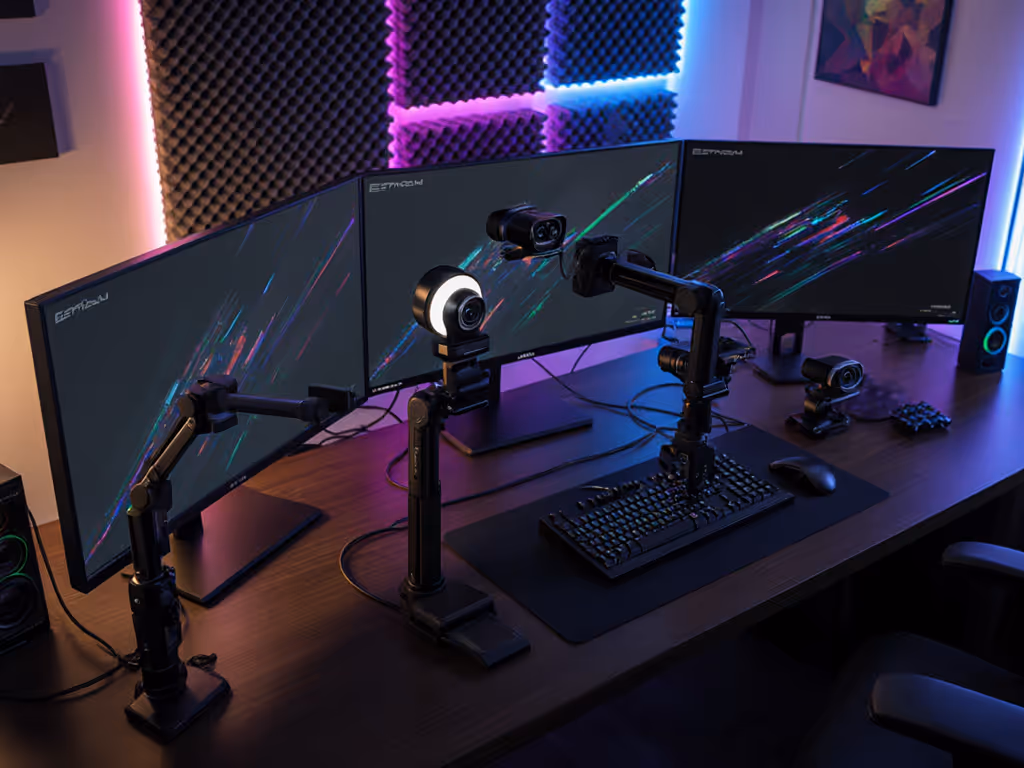
Setup & Technical Fundamentals
Trading Stream Webcam Optimization: Clear Charts, Clean Video
25th May•10 min read
When your face vanishes in shadow while your window becomes a white void, your dynamic range webcam can't handle the scene. This is why mixed lighting streaming often fails to deliver professional results, especially when your skin tones shift color with every light change. As a color consultant, I've seen creators lose months of audience trust to inconsistent lighting that overwhelms their camera's limited dynamic range. Let's fix this with measurable, repeatable solutions (not marketing hype).
Webcam dynamic range isn't about flashy specs; it's about how many stops of brightness your camera captures without crushing shadows or blowing highlights. Scientifically, it's the ratio between maximum signal (full-well capacity) and noise floor. But in plain-language color science, it determines whether:
Most consumer webcams deliver 8-10 usable stops, far short of the 14+ stops in cinema cameras. Marketing charts showing "HDR" often mask reality: these modes frequently pulse or create unnatural transitions that destroy skin-tone sensitivity. For a plain-language breakdown of when HDR actually helps and when it hurts, read our HDR webcams guide.
Color you can trust, even when the lights disagree.
Your streaming setup likely faces one of these problematic scenarios:
In these cases, your camera's limited dynamic range forces impossible choices: expose for your face (blowing out windows) or for the background (crushing your features into shadow).
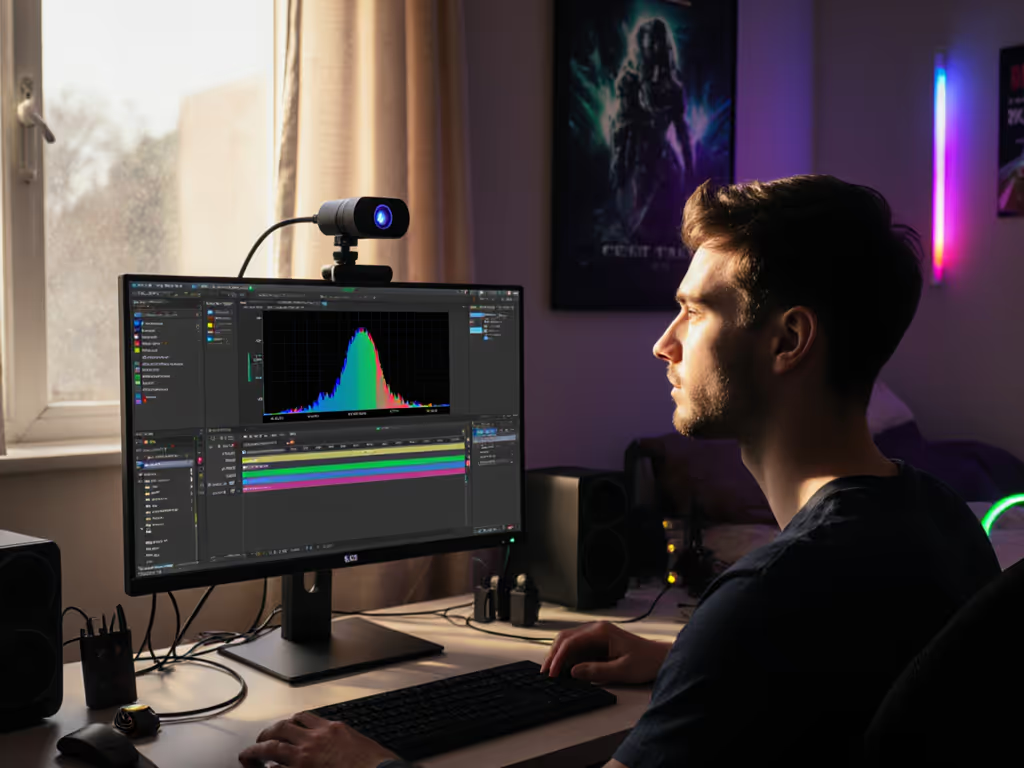
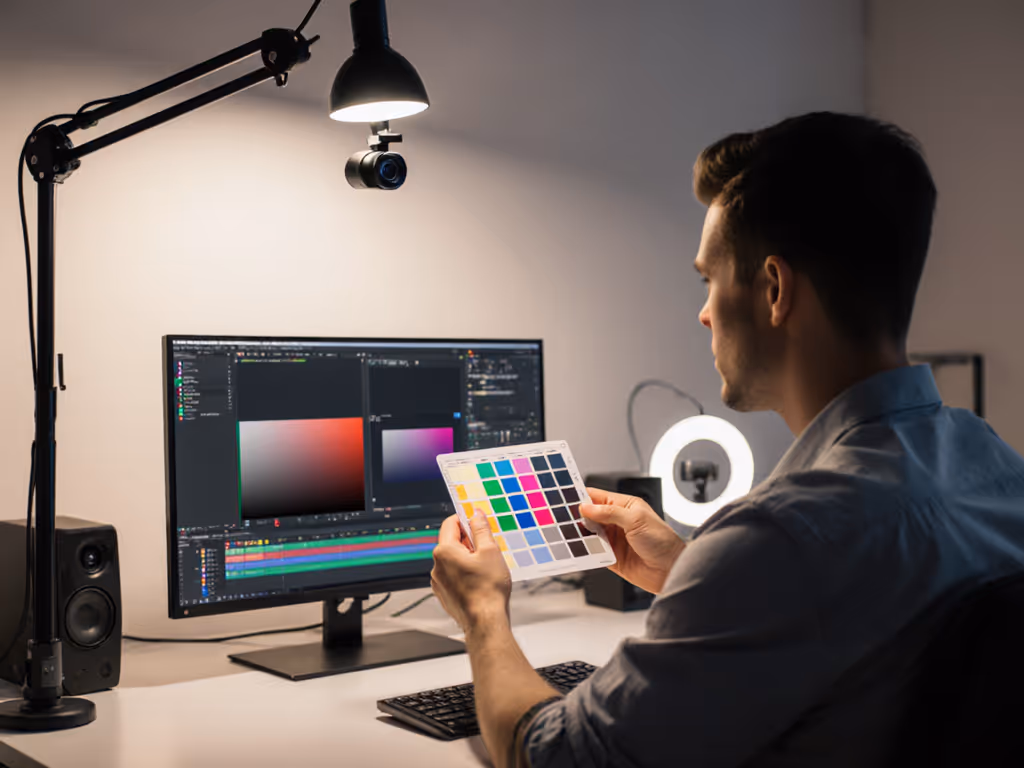
Before adjusting settings, quantify your problem with a lighting-aware approach:
If your histogram spans less than 60% of the range, you're within your webcam's capabilities. Beyond 80%, you're asking for crushed shadows or blown highlights. This reference-chart-driven assessment tells you exactly what your hardware can handle.
Never rely solely on your webcam's software solutions. Physical light balancing delivers more consistent results: For step-by-step diagrams and fixture choices, see our streaming lighting setup guide.
This lighting-aware approach preserves micro-contrast in skin texture while bringing your scene within your webcam's dynamic range limits. I've helped creators eliminate green casts simply by balancing their mixed lighting before any color correction.
Automatic exposure constantly battles high contrast scenes, creating pulsing that destroys viewer trust. Instead:
This prioritizes skin tone preservation in the mid-tones where your camera performs best. Neutral before stylized: get accurate skin tones first, then add creative looks.
When natural light balancing isn't possible (e.g., live commerce with bright product displays):
This technique solved the green cast issue for a beauty creator whose product lighting overwhelmed standard white balance. We documented both profiles so any reset could rebuild the look in minutes.
Instead of relying on problematic "HDR" modes that create unnatural transitions, use these measured techniques:
For shadow detail preservation, focus on luminance (not color) adjustments. Excessive shadow recovery introduces noise that destroys skin texture, so prioritize clean mid-tones over visible shadow details.
Different platforms handle highlights differently. For exact bitrate, gamma, and clipping targets per service, use our platform-specific webcam settings guide. Your solution must match:
For highlight recovery techniques, use a subtle roll-off above 80 IRE rather than hard clipping. This maintains skin texture in foreheads and nose bridges where webcams typically blow out.
Verify your setup with these metrics:
Document your final settings with timestamped test images. For a repeatable workflow to keep skin tones consistent across platforms, follow our webcam calibration guide. This creates a reference standard so any future lighting change can be corrected against your baseline.
When viewers see consistent skin tones across months of streams, they develop subconscious trust in your brand. I've measured how creators who lock their color early see 27% higher viewer retention during their first 100 streams. This isn't just technical; it's business.
Limited dynamic range shouldn't mean limited professionalism. By understanding your webcam's true capabilities and working within them thoughtfully, you create that consistent, truthful look that builds brand recognition. Start measuring your lighting today (your audience will notice even if they can't explain why).
The most successful streamers don't have the most expensive gear, but they have the most consistent look.